


 Price Match Guarantee
Kenmore Dryer Duct & Venting Parts
Find the right part faster
Multiple models matched. Select your model to confirm fit.




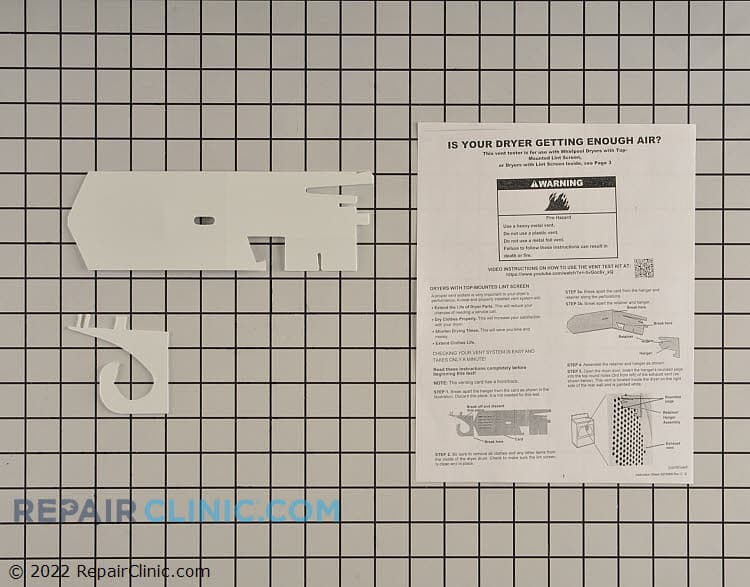
Dryer vent testing kit is for 29" dryers with a top mounted lint screen. Use the plastic card to hang inside your dryer drum, then run the unit three times empty. If the card stays in place, the venting and dryer need to be cleaned out. Complete instructions are included.
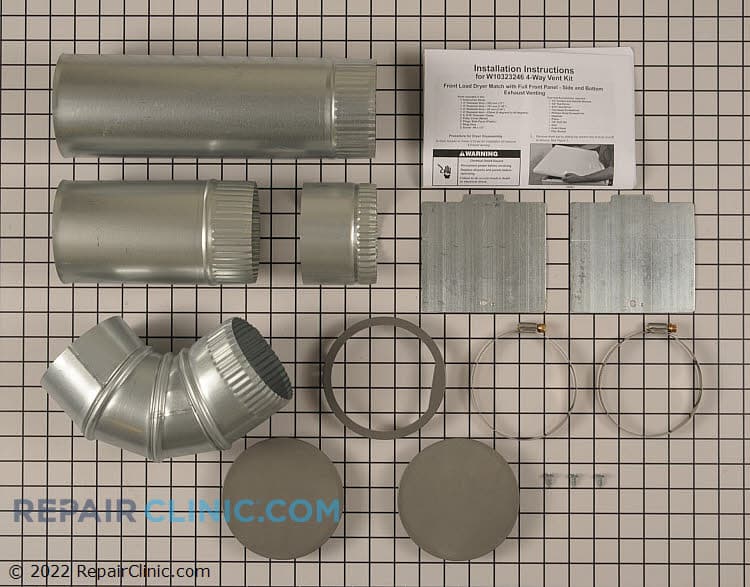
Four way dryer exhaust kit for side and bottom venting
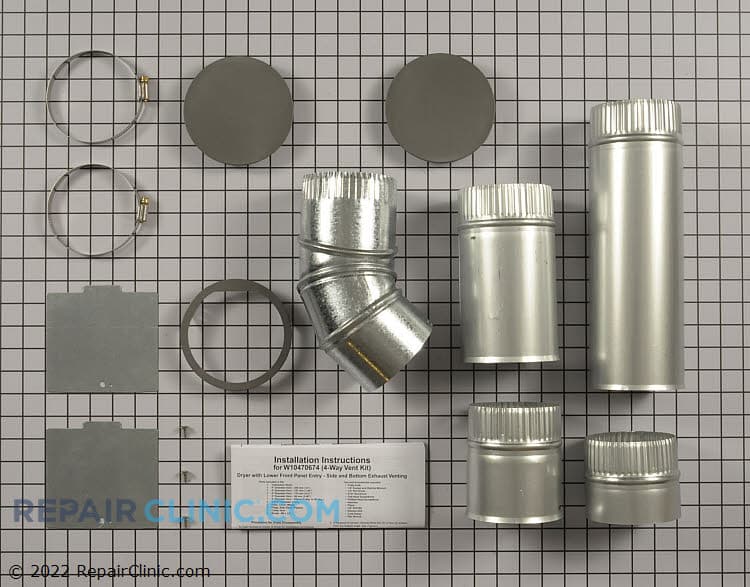
Side or bottom venting kit
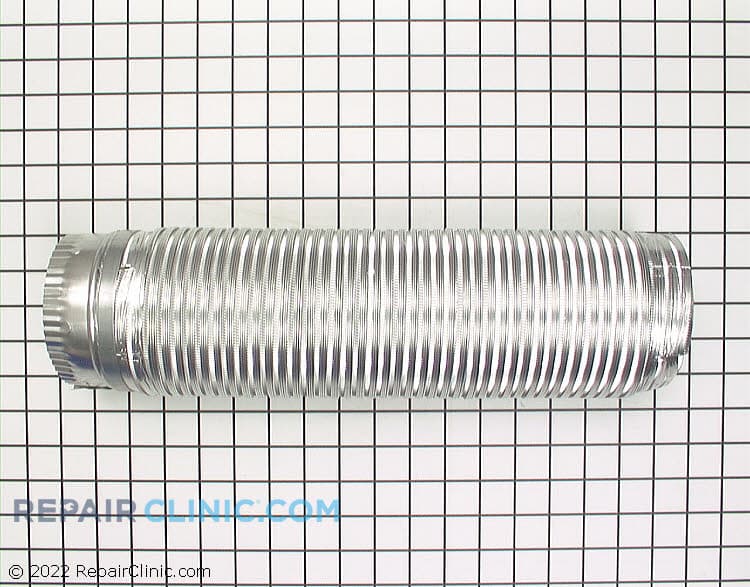
Universal Connect Flexable Vent. 4" diameter extends to five feet.
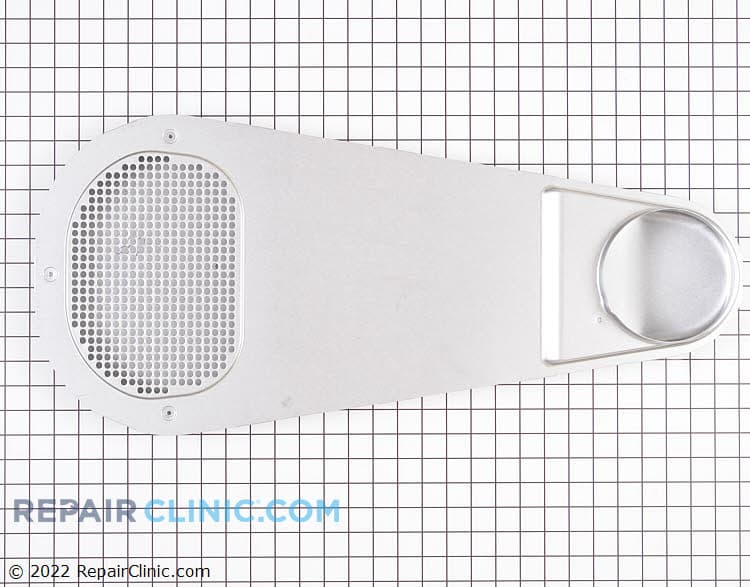
Rear heat duct
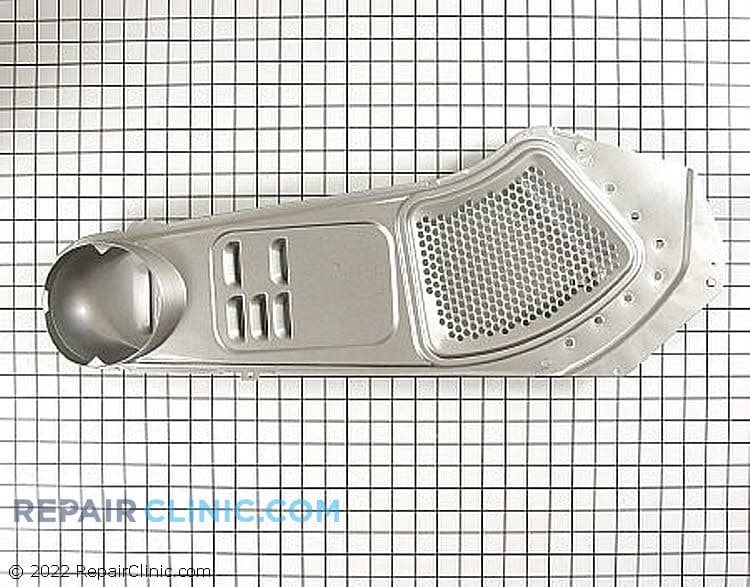
Duct assembly
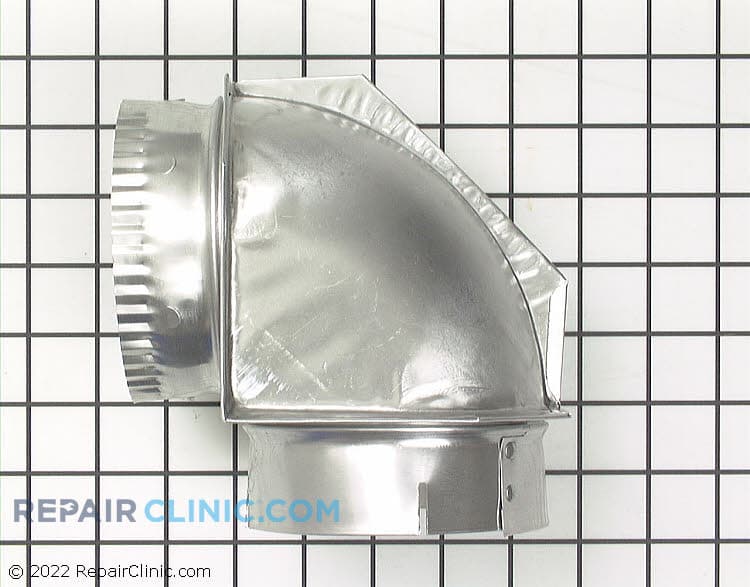
Vent elbow for tight locations, 4" diameter
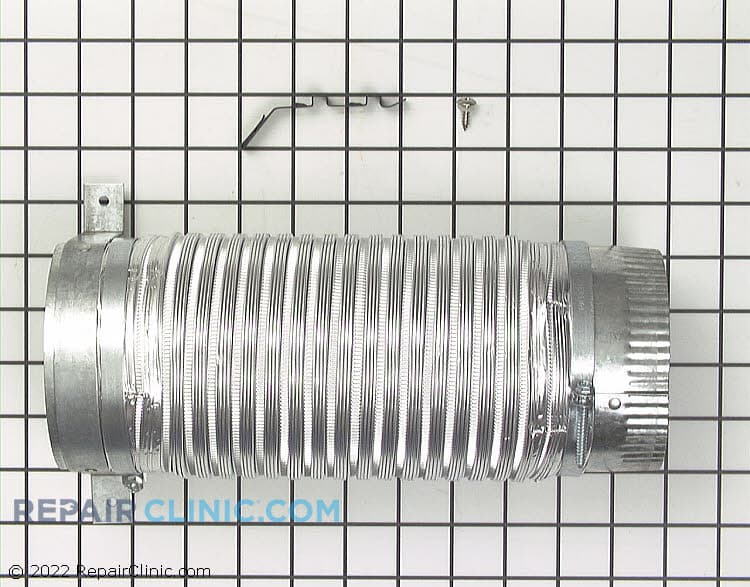
Side exhaust vent kit
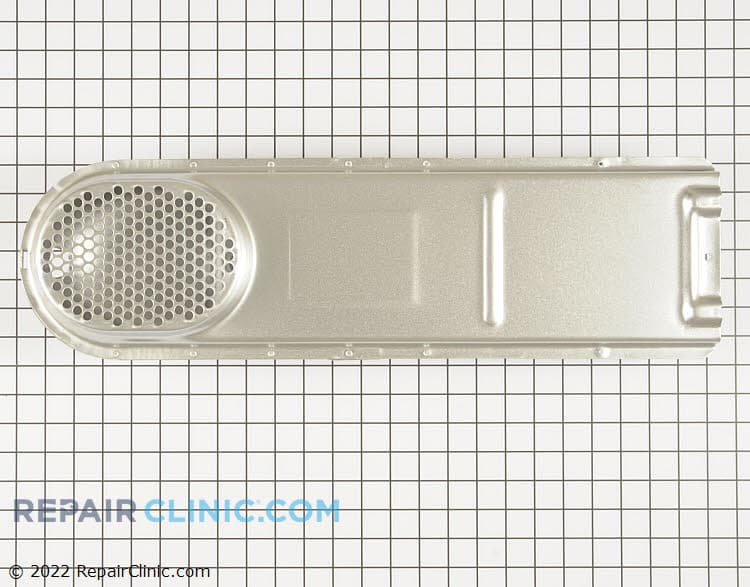
Heating element box
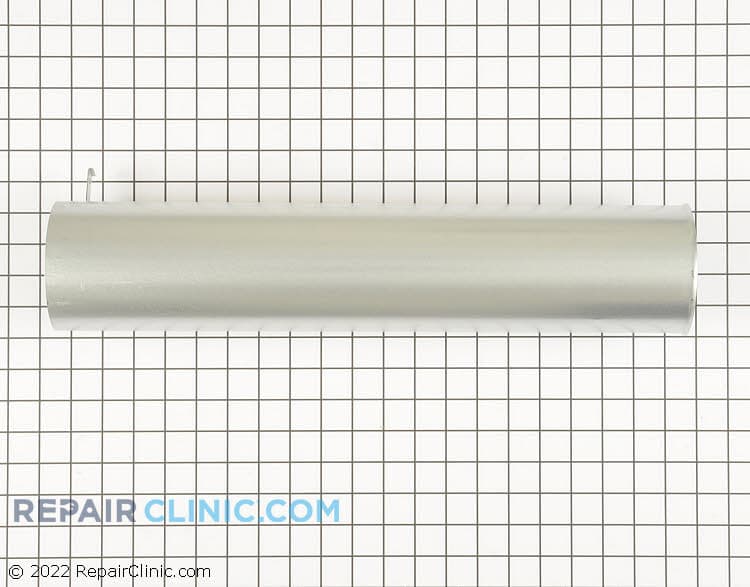
Dryer discharge duct assembly

Venting periscope from 0-18", 2 1/2" wall clearance
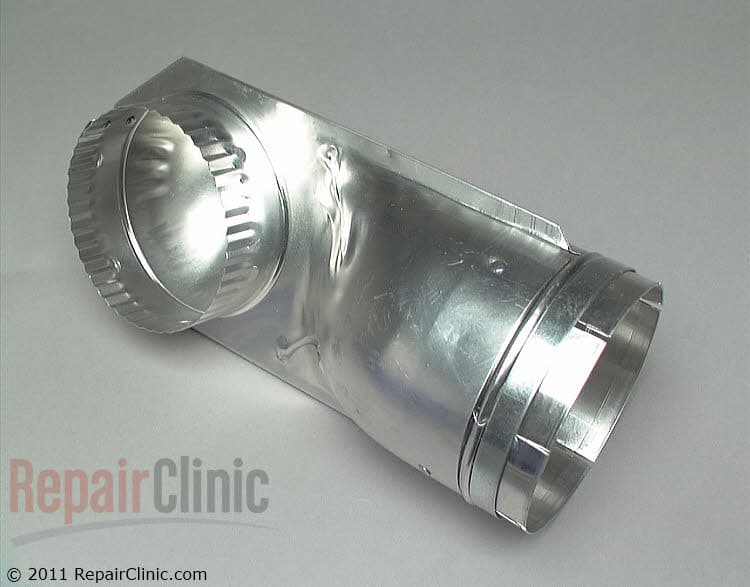
Vent elbow, 4" aluminum, thin profile with female inlet connection
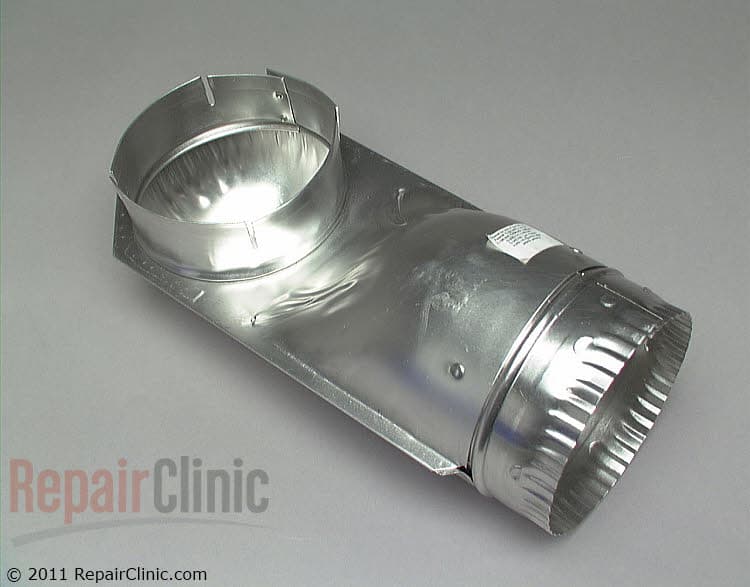
Vent elbow, 4" aluminum, thin profile with male inlet connection
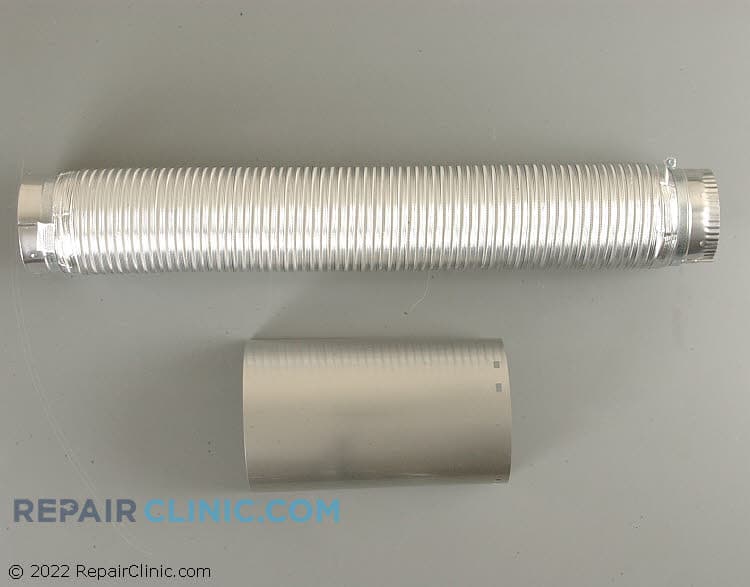
Universal Connect Flexible Vent. Extends to six feet. 4" diameter.
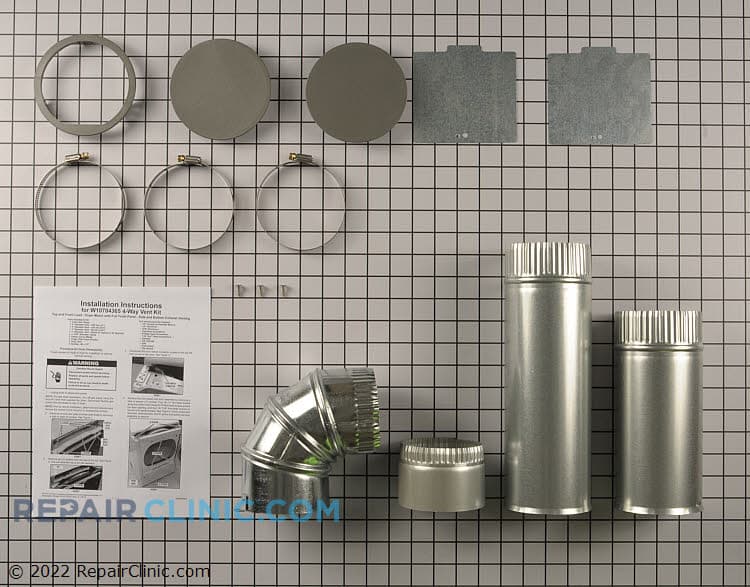
Four way vent kit. Use when venting a dryer in positions other than the back.


Kenmore Dryer Duct and Venting Parts
A clogged or damaged vent duct is one of the most common dryer problems — and one of the easiest to fix. When your Kenmore dryer runs but clothes stay damp, takes forever to dry, or the dryer gets too hot, a blocked or kinked vent duct is usually the culprit. Lint buildup restricts airflow, forcing the dryer to work harder and longer. Replacing the vent duct, elbows, and hose clamps is straightforward, and catching vent problems early prevents expensive heating element or blower wheel damage down the road.
Repair Clinic carries OEM Kenmore vent ducting parts that match your exact model — whether you need a semi-rigid aluminum duct, flexible transition hose, vent elbows, or damper assemblies. Our Kenmore dryer vent parts fit Whirlpool-built and LG-built Kenmore models. Use your model number to get the right duct size and configuration.
- Vent duct clogged or kinked: restricts airflow, dryer runs long and hot
- Vent damper stuck or damaged: outside flapper won't open, backdrafts warm air
- Hose clamps loose: duct disconnects from dryer or wall outlet
- Vent elbow cracked: lint escapes into walls, airflow loss
- Transition hose split or torn: flexible hose between dryer and duct splits from lint pressure
Find Replacement Kenmore Dryer Duct & Venting Parts Online by Model or Part Number
Popular Kenmore Dryer Models
Related Kenmore Dryer Duct & Venting Parts
- Kenmore Dryer Exhaust Duct Parts
- Kenmore Dryer Duct Assembly Parts
- Kenmore Dryer Air Duct Parts
- Kenmore Dryer Blower Housing Parts
- Kenmore Dryer Side Venting Kit Parts
- Kenmore Dryer Vent Connector Parts
- Kenmore Dryer Vent Damper Parts
- Kenmore Dryer Vent Parts
- Kenmore Dryer Damper Parts
- Kenmore Dryer Telescoping Vent Kit Parts
- Kenmore Dryer Diffuser Parts
- Kenmore Dryer Hood Parts
- Kenmore Dryer Vent Testing Kit Parts
Kenmore Dryer Duct and Venting — Frequently Asked Questions
Why does my Kenmore dryer take so long to dry clothes?
The #1 reason is a clogged or restricted vent duct. Lint accumulates inside the duct over time, choking off airflow. When the dryer can't exhaust hot, moist air, it runs longer and hotter to try to dry the load. Check the vent duct first — disconnect it from the dryer and the wall outlet and look for lint blockage. If it's packed with lint, replace the duct. A kinked or crushed duct can have the same effect. Also check the damper flapper on the outside vent — if it's stuck or broken, warm air backs up into the duct instead of exhausting outside.
How do I know which vent duct size and type fits my Kenmore dryer?
Kenmore dryers use either a 4-inch semi-rigid aluminum duct or a flexible transition hose that connects the dryer to a wall duct. The duct diameter and configuration depend on your model — some are Whirlpool-built (Kenmore 110 series) and others are LG-built (newer models). Enter your model number into Repair Clinic's lookup tool and we'll show you the exact vent duct, elbows, hose clamps, and damper assembly that matches your dryer. Ordering by model number prevents guessing and ensures the OEM parts fit perfectly.
Can I use a universal dryer duct instead of the OEM Kenmore duct?
Universal ducts are available, but OEM Kenmore ducts are the safer choice. OEM ducts match the exact outlet diameter, length, and connection method for your model. A mismatched duct can cause poor airflow, air leaks at connections, or lint escape into wall cavities. If you already have the dryer apart, use your model number to get the correct OEM duct and hose clamps — it's a $20 to $50 difference that prevents future problems.
What does a dryer vent damper do, and when should I replace it?
The damper flapper is a one-way valve on the outside vent opening. It opens when the dryer exhausts air and closes when the dryer stops, preventing cold outside air and pests from entering the duct. If the damper is stuck, broken, or missing, warm indoor air will backdraft through the duct when the dryer isn't running — wasting energy and allowing insects in. If you can see the outside flapper and it doesn't move freely, or if you feel warm air coming from the duct when the dryer is off, replace the damper assembly. It's a $15 to $30 part that pays for itself in energy savings.
Order Kenmore Dryer Duct & Venting Parts Online
Maintain optimal airflow and temperature control with genuine Kenmore dryer duct and venting parts from Repair Clinic. Proper ductwork is key for efficient drying and preventing overheating issues. Use our model number lookup tool to find the exact replacement parts for your Kenmore dryer, ensuring a proper fit and function. Benefit from same-day shipping, No-Hassle 365-Day Returns, and our Price Match Guarantee for a reliable shopping experience. For expert installation guidance, visit our Dryer Repair Help page. Also, find more solutions like Dryer Duct Venting Parts to keep your appliance running right.
Kenmore Dryer Model Number: Where to Look
On Kenmore dryers, check the model number label inside the door opening or along the cabinet frame. If it is not there, look on the back panel, where the rating plate may list the model and serial numbers together. Copy the model number exactly, including periods, letters, and numbers, then type it into our model number lookup. The catalog will narrow to parts made for your specific dryer, across every part category. Matching the full model before you order saves time and helps prevent ordering a part that is not compatible with your machine.

Get Your Kenmore Dryer Working Again with Online Repair Help
Repair Clinic's online repair resources give you a clear path to fix your Kenmore Dryer without a service call. Symptom articles help identify the likely cause, part testing videos confirm the failed component, and step-by-step repair guides walk you through the installation with photos and video. Look up your model number to match the correct OEM part on the first try.
Related Articles: Dryer Parts
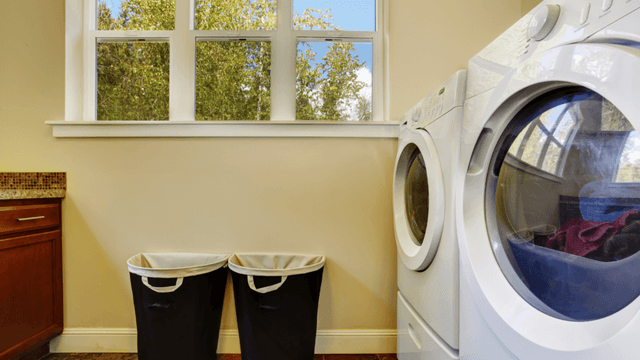
Why Would A Dryer Keep Shutting Off?
Is your dryer shutting off unexpectedly? Learn the common causes of airflow issues, faulty thermostats, heating element failure, and more'plus how to fix them with expert repair tips and OEM parts from Repair Clinic.
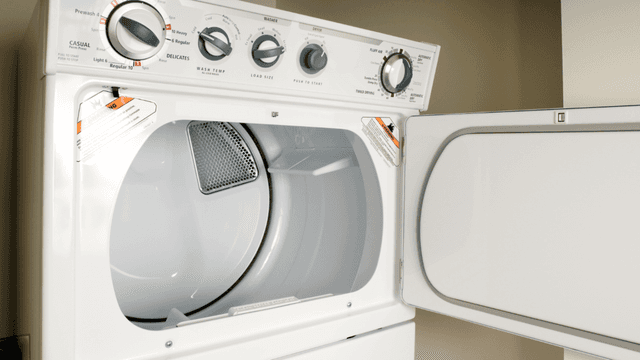
Dryer Won't Start? Let's Troubleshoot
Dryer won't start or turn on? Learn the common causes, from faulty start switches to blown thermal fuses, and find step-by-step troubleshooting tips. Get expert repair advice and genuine OEM parts from Repair Clinic.
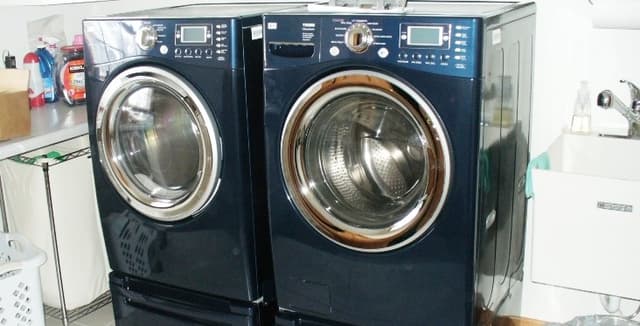
Top 5 Reasons a Dryer Drum Won't Spin
Dryer drum won't spin? Learn the top 5 reasons why, from a broken drive belt to worn rollers or a faulty motor. Get expert troubleshooting tips and shop genuine OEM dryer parts at Repair Clinic.




Family-owned and operated since 1912, Burke America Parts Group is the longest-running genuine appliance, HVAC, and outdoor power equipment parts solution in North America. At Repair Clinic, we're proud to be an international brand trusted by the pros as well as the DIY community.
About Repair Clinic