

Price Match Guarantee

In-stock parts ship the same day

365-Day Return Policy
Price Match GuaranteeGET PRO PRICING
Video & Articles: Appliance & Equipment RepairWhirlpool/Kenmore Top Load Washer Replace Drive Block #389140



Whirlpool/Kenmore Top Load Washer Replace Drive Block #389140
Skill Level
Total Parts Cost
$22.20Estimated Savings
$112.5004:43
- Description
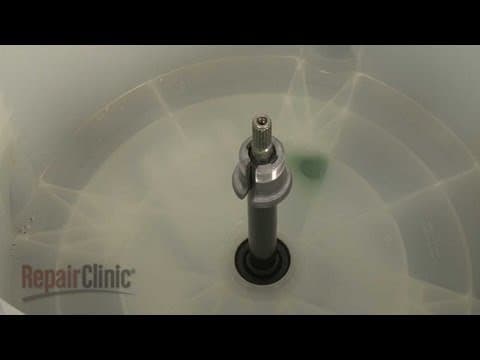
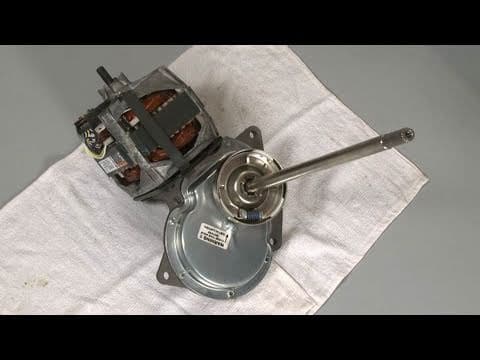
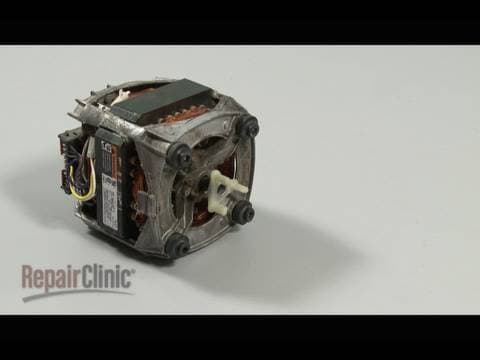
This video provides step-by-step instructions for replacing the drive block on top loading direct drive Whirlpool washing machines. The most common reasons for replacing the drive block are when the washer vibrates too much, leaves clothes soaking wet, makes a loud knocking noise at the beginning or end of the spin cycle, or doesn’t spin at all.
All the information in this drive block replacement video is applicable to the following brands: Whirlpool, Kenmore, KitchenAid, Roper, Maytag, Estate, Inglis, Crosley, Amana, Admiral
Tools used: flat-head screwdriver, Phillips head screwdriver, pliers, putty knife, 7/16” socket, hammer
RepairClinic has millions of replacement parts for appliances, lawn equipment, power tools, and heating & cooling equipment including washers, dryers, dishwashers, refrigerators, lawn mowers, snowblowers, furnaces, and air conditioners. We guarantee the fastest shipping possible—all in-stock parts ship the same business day. Return any part for any reason with our generous 365-day return policy.
In addition to providing replacement parts, RepairClinic.com offers free online troubleshooting information and DIY repair videos. Use our website to choose from a series of problems to discover the likely causes and the correct replacement part(s) for your particular model. Once you’ve determined the solution, our expertly-produced video tutorials will guide you through every step of the repair.
At RepairClinic, we make fixing things easy!
Step By Step Instructions
1
To replace the drive block on your washer, you should first use tape to secure the lid.
2
Next, remove the top two hinge screws securing the main top hinges to the rear panel.
3
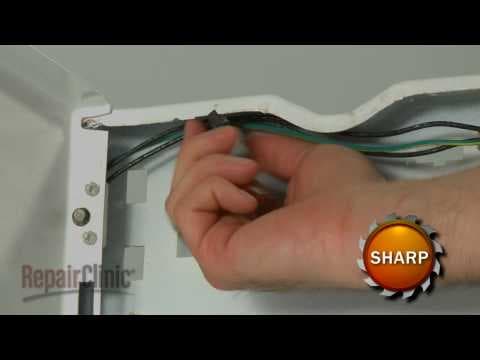
Remove the screw securing the wiring and tube cover and pull the cover off.
4
Pull the main top forward lift it up and support it.
5
Now use a flathead screwdriver to release the tabs securing the tub ring and pull the ring off.
6
Next, remove the fabric dispenser from the agitator. You can use a flathead screwdriver to help pry it off if necessary.
7
Pull out the agitator cap.
8
Use a 7/16th inch socket to remove the agitator bolt and lift the agitator off of the drive shaft.
9
Use a tub nut wrench and hammer to loosen and remove the tub nut by rotating it counter-clockwise.
10
You can now lift out the inner tub.
11
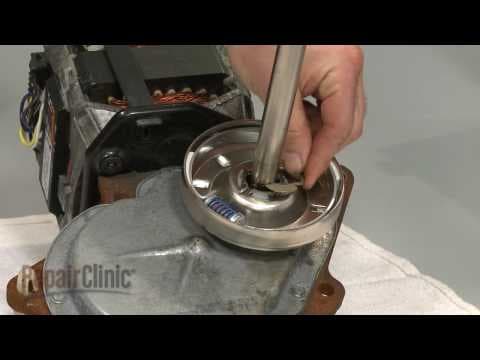
Tap the old drive block with the hammer to loosen and pull it off of the drive tube.
12
Install the new drive block by aligning the notches in the block with the tabs on the drive tube and push the block firmly into place.
13
Replace the inner tub.
14
Replace the tub nut by threading it on clockwise and use the wrench and hammer to tighten.
15
Align the agitator on the drive shaft then secure it with the bolt.
16
Insert the agitator cap push firmly into place. and snap on the fabric dispenser.
17
Replace the tub ring by aligning the tabs on the ring with the catches on the outer tub then snap the ring into place.
18
Remove the support lower the main top align the slots with the bracket tabs on the frame then push the top back.
19
Replace the wiring and tube cover and secure the screw.
20
Reinstall the hinge screws.
21
Then remove the tape securing the lid.
22
You’re now ready to plug the power cord back in and recalibrate the washer to ensure a good wash performance.
23
To do this, first cancel the settings by holding the start button for three seconds.
24
Now, within eight seconds evenly rotate the timer selector knob counter-clockwise one click clockwise for three clicks, then one click counter-clockwise followed by a final clockwise click.
25
All of the led indicator lights should be flashing.
26
Now turn the timer knob so only the “rinse” led indicator light is on and press the start button to begin calibration.
27
The calibration cycle will run for approximately two-to-three minutes and will be completed when the lid unlocks and the washer enters stand-by mode. Once calibrated, your washer is ready for use.
Description
This video provides step-by-step instructions for replacing the drive block on top loading direct drive Whirlpool washing machines. The most common reasons for replacing the drive block are when the washer vibrates too much, leaves clothes soaking wet, makes a loud knocking noise at the beginning or end of the spin cycle, or doesn’t spin at all.
All the information in this drive block replacement video is applicable to the following brands: Whirlpool, Kenmore, KitchenAid, Roper, Maytag, Estate, Inglis, Crosley, Amana, Admiral
Tools used: flat-head screwdriver, Phillips head screwdriver, pliers, putty knife, 7/16” socket, hammer
RepairClinic has millions of replacement parts for appliances, lawn equipment, power tools, and heating & cooling equipment including washers, dryers, dishwashers, refrigerators, lawn mowers, snowblowers, furnaces, and air conditioners. We guarantee the fastest shipping possible—all in-stock parts ship the same business day. Return any part for any reason with our generous 365-day return policy.
In addition to providing replacement parts, RepairClinic.com offers free online troubleshooting information and DIY repair videos. Use our website to choose from a series of problems to discover the likely causes and the correct replacement part(s) for your particular model. Once you’ve determined the solution, our expertly-produced video tutorials will guide you through every step of the repair.
At RepairClinic, we make fixing things easy!
All the information in this drive block replacement video is applicable to the following brands: Whirlpool, Kenmore, KitchenAid, Roper, Maytag, Estate, Inglis, Crosley, Amana, Admiral
Tools used: flat-head screwdriver, Phillips head screwdriver, pliers, putty knife, 7/16” socket, hammer
RepairClinic has millions of replacement parts for appliances, lawn equipment, power tools, and heating & cooling equipment including washers, dryers, dishwashers, refrigerators, lawn mowers, snowblowers, furnaces, and air conditioners. We guarantee the fastest shipping possible—all in-stock parts ship the same business day. Return any part for any reason with our generous 365-day return policy.
In addition to providing replacement parts, RepairClinic.com offers free online troubleshooting information and DIY repair videos. Use our website to choose from a series of problems to discover the likely causes and the correct replacement part(s) for your particular model. Once you’ve determined the solution, our expertly-produced video tutorials will guide you through every step of the repair.
At RepairClinic, we make fixing things easy!
Step-By-Step Instructions
1
To replace the drive block on your washer, you should first use tape to secure the lid.
2
Next, remove the top two hinge screws securing the main top hinges to the rear panel.
3
Remove the screw securing the wiring and tube cover and pull the cover off.
4
Pull the main top forward lift it up and support it.
5
Now use a flathead screwdriver to release the tabs securing the tub ring and pull the ring off.
6
Next, remove the fabric dispenser from the agitator. You can use a flathead screwdriver to help pry it off if necessary.
7
Pull out the agitator cap.
8
Use a 7/16th inch socket to remove the agitator bolt and lift the agitator off of the drive shaft.
9
Use a tub nut wrench and hammer to loosen and remove the tub nut by rotating it counter-clockwise.
10
You can now lift out the inner tub.
11
Tap the old drive block with the hammer to loosen and pull it off of the drive tube.
12
Install the new drive block by aligning the notches in the block with the tabs on the drive tube and push the block firmly into place.
13
Replace the inner tub.
14
Replace the tub nut by threading it on clockwise and use the wrench and hammer to tighten.
15
Align the agitator on the drive shaft then secure it with the bolt.
16
Insert the agitator cap push firmly into place. and snap on the fabric dispenser.
17
Replace the tub ring by aligning the tabs on the ring with the catches on the outer tub then snap the ring into place.
18
Remove the support lower the main top align the slots with the bracket tabs on the frame then push the top back.
19
Replace the wiring and tube cover and secure the screw.
20
Reinstall the hinge screws.
21
Then remove the tape securing the lid.
22
You’re now ready to plug the power cord back in and recalibrate the washer to ensure a good wash performance.
23
To do this, first cancel the settings by holding the start button for three seconds.
24
Now, within eight seconds evenly rotate the timer selector knob counter-clockwise one click clockwise for three clicks, then one click counter-clockwise followed by a final clockwise click.
25
All of the led indicator lights should be flashing.
26
Now turn the timer knob so only the “rinse” led indicator light is on and press the start button to begin calibration.
27
The calibration cycle will run for approximately two-to-three minutes and will be completed when the lid unlocks and the washer enters stand-by mode. Once calibrated, your washer is ready for use.
Applicable Product Model
Parts Needed
Drive Block or Bell
$22.20
Recommended Tools and Accessories
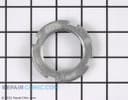
Spanner Nut
$11.06
Cleaner
$7.62
Multi Screwdriver
$59.00
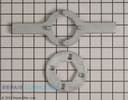
Tub Nut Wrench
$258.45
Total$0.00
Related Articles & Videos
04:10
Part Replacement
Washer Won't Spin? Replace Whirlpool Direct Drive Clutch Assembly Part # 285785




Our Story
Family-owned and operated since 1912, Burke America Parts Group is the longest-running genuine appliance, HVAC, and outdoor power equipment parts solution in North America. At Repair Clinic, we're proud to be an international brand trusted by the pros as well as the DIY community.
About Repair Clinic
© 2026 RepairClinic.com