

Price Match Guarantee

In-stock parts ship the same day

365-Day Return Policy
Price Match GuaranteeGET PRO PRICING
Video & Articles: Appliance & Equipment RepairWater Heater Won't Heat Water? Gas Valve/Thermostat #9004240005


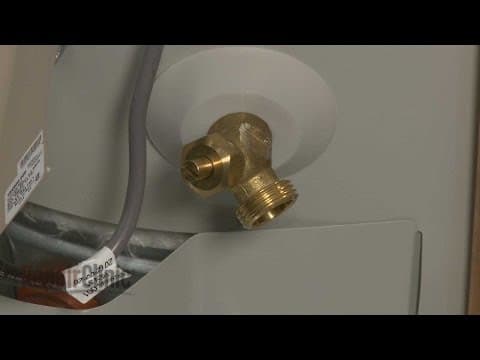
Water Heater Won't Heat Water? Gas Valve/Thermostat #9004240005
Skill Level
Total Parts Cost
$455.96Estimated Savings
$112.5007:29
- Description
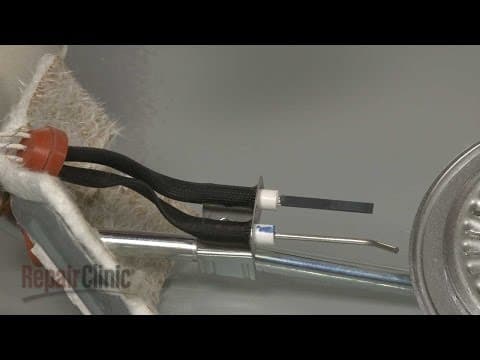
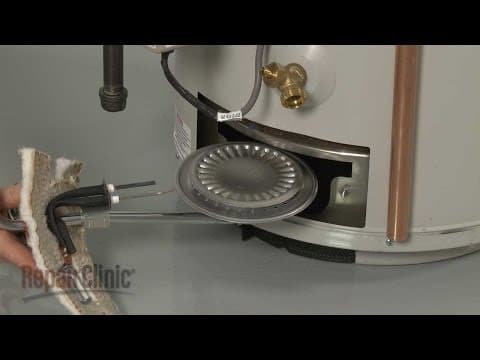
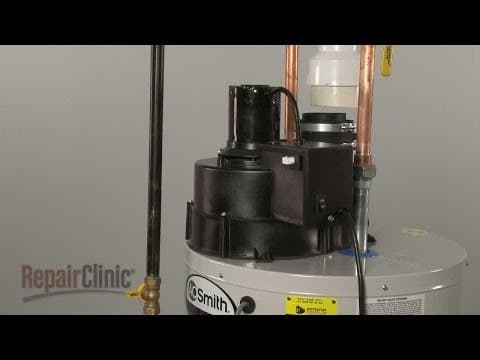
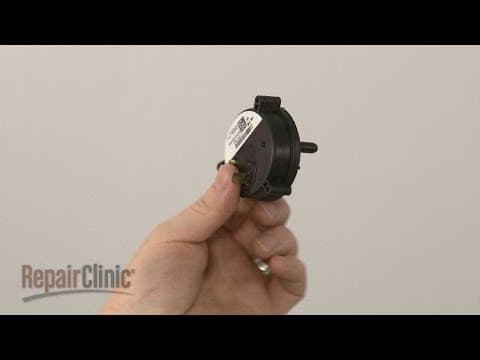
This video provides step-by-step repair instructions for replacing the gas valve and thermostat assembly on an AO Smith gas water heater. The most common reasons for replacing the gas valve and thermostat are when the water heater is too hot or does not heat.
All of the information for this gas valve and thermostat replacement video is applicable to the following brands:
AO Smith
Tools used: flat head screwdriver, pipe wrench, adjustable wrench, sealant
All of the information for this gas valve and thermostat replacement video is applicable to the following brands:
AO Smith
Tools used: flat head screwdriver, pipe wrench, adjustable wrench, sealant
Step By Step Instructions
1
Before you replace the control valve in your water heater unplug the power cord
2
Shut off the gas supply
3
Close the water intake valve.
4
Next, drain all of the water from the tank by using a flathead screwdriver to open the drain valve.
5
Be aware you should open a hot water faucet in the home to assist in releasing water from the tank.
6
After draining the water, close the valve.
7
Use a pipe wrench to help unthread the gas pipe union and separate the pipe.
8
Next, remove the upper and lower pipes from the t-connection pipe.
9
You can now unthread the t-connection pipe from the control valve.
10
Disconnect both the blower assembly wire harness and the igniter and sensor wire harness.
11
Use a 3/4th inch wrench to unthread the nut securing the burner tube to the control valve.
12
Unthread the old control valve by rotating it counter-clockwise.
13
You can insert a half-inch pipe into the gas inlet port to assist in rotating the valve. You’re now ready to install the new control valve.
14
Insert the new valve into the tank.
15
Thread it clockwise and tighten.
16
Apply sealant to the threads on the t-connection pipe.
17
Thread the pipe into the new control valve and tighten.
18
Apply sealant and rethread the upper and lower pipes.
19
Realign the main gas supply pipe and rethread the union to secure.
20
Depending on your water heater model, you may need to replace the burner orifice.
21
To do this, remove the burner access cover and use a 3/8th inch socket to help unthread the mounting nuts securing the burner cover.
22
Detach the vapor sensor and bracket from the tank base and pull the burner assembly free.
23
Now, use a phillips-head screwdriver to unthread the screws securing the burner head to the tube.
24
Carefully pull the burner head free.
25
Use a 3/8th inch socket to help unthread the old burner orifice from the tube by rotating it counter-clockwise.
26
Refer to the instruction sheet to determine which burner orifice is appropriate for your model then thread the new orifice into place on the tube and tighten.
27
Realign the burner head then thread and tighten the screws to secure.
28
Make sure to align the burner tube on the support bracket as you insert the burner assembly into the tank.
29
Thread and tighten the nuts to secure.
30
Snap the vapor sensor bracket into place on the tank base.
31
Now complete the installation by connecting both the blower assembly wire harness and the igniter and sensor wire harness to the new control valve.
32
Attach the burner tube to the valve by threading and tightening the nut.
33
Replace the access cover.
34
Open the water intake valve and allow the tank to refill then turn the gas supply back on and plug the power cord back in.
35
You should check the reassembled gas pipes for leaks.
36
Then set the new control valve to the desired temperature and your water heater should be ready for use.
Description
This video provides step-by-step repair instructions for replacing the gas valve and thermostat assembly on an AO Smith gas water heater. The most common reasons for replacing the gas valve and thermostat are when the water heater is too hot or does not heat.
All of the information for this gas valve and thermostat replacement video is applicable to the following brands:
AO Smith
Tools used: flat head screwdriver, pipe wrench, adjustable wrench, sealant
All of the information for this gas valve and thermostat replacement video is applicable to the following brands:
AO Smith
Tools used: flat head screwdriver, pipe wrench, adjustable wrench, sealant
Step-By-Step Instructions
1
Before you replace the control valve in your water heater unplug the power cord
2
Shut off the gas supply
3
Close the water intake valve.
4
Next, drain all of the water from the tank by using a flathead screwdriver to open the drain valve.
5
Be aware you should open a hot water faucet in the home to assist in releasing water from the tank.
6
After draining the water, close the valve.
7
Use a pipe wrench to help unthread the gas pipe union and separate the pipe.
8
Next, remove the upper and lower pipes from the t-connection pipe.
9
You can now unthread the t-connection pipe from the control valve.
10
Disconnect both the blower assembly wire harness and the igniter and sensor wire harness.
11
Use a 3/4th inch wrench to unthread the nut securing the burner tube to the control valve.
12
Unthread the old control valve by rotating it counter-clockwise.
13
You can insert a half-inch pipe into the gas inlet port to assist in rotating the valve. You’re now ready to install the new control valve.
14
Insert the new valve into the tank.
15
Thread it clockwise and tighten.
16
Apply sealant to the threads on the t-connection pipe.
17
Thread the pipe into the new control valve and tighten.
18
Apply sealant and rethread the upper and lower pipes.
19
Realign the main gas supply pipe and rethread the union to secure.
20
Depending on your water heater model, you may need to replace the burner orifice.
21
To do this, remove the burner access cover and use a 3/8th inch socket to help unthread the mounting nuts securing the burner cover.
22
Detach the vapor sensor and bracket from the tank base and pull the burner assembly free.
23
Now, use a phillips-head screwdriver to unthread the screws securing the burner head to the tube.
24
Carefully pull the burner head free.
25
Use a 3/8th inch socket to help unthread the old burner orifice from the tube by rotating it counter-clockwise.
26
Refer to the instruction sheet to determine which burner orifice is appropriate for your model then thread the new orifice into place on the tube and tighten.
27
Realign the burner head then thread and tighten the screws to secure.
28
Make sure to align the burner tube on the support bracket as you insert the burner assembly into the tank.
29
Thread and tighten the nuts to secure.
30
Snap the vapor sensor bracket into place on the tank base.
31
Now complete the installation by connecting both the blower assembly wire harness and the igniter and sensor wire harness to the new control valve.
32
Attach the burner tube to the valve by threading and tightening the nut.
33
Replace the access cover.
34
Open the water intake valve and allow the tank to refill then turn the gas supply back on and plug the power cord back in.
35
You should check the reassembled gas pipes for leaks.
36
Then set the new control valve to the desired temperature and your water heater should be ready for use.
Applicable Product Model
Parts Needed
Gas Valve Assembly
$455.96
Total$0.00
Related Articles & Videos




Our Story
Family-owned and operated since 1912, Burke America Parts Group is the longest-running genuine appliance, HVAC, and outdoor power equipment parts solution in North America. At Repair Clinic, we're proud to be an international brand trusted by the pros as well as the DIY community.
About Repair Clinic
© 2026 RepairClinic.com