

Price Match Guarantee

In-stock parts ship the same day

365-Day Return Policy
Price Match GuaranteeGET PRO PRICING
Video & Articles: Appliance & Equipment RepairAO Smith Electric Water Heater Thermostat #9000507045

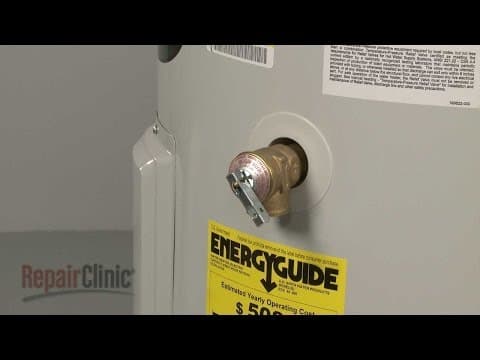
AO Smith Electric Water Heater Thermostat #9000507045
Skill Level
Total Parts Cost
$18.26Estimated Savings
$112.5002:31
- Description
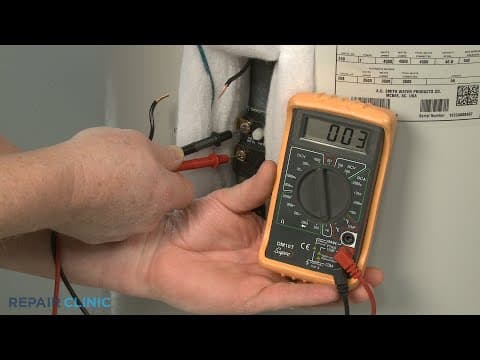
This video provides step-by-step instructions for replacing the temperature control thermostat on AO Smith electric water heaters. The most common reasons for replacing the temperature control thermostat are if the water heater gets too hot or does not heat.
All of the information in this thermostat replacement video is applicable to the following brands: AO Smith
Tools used: Phillips head screwdriver, tape, flat-head screwdriver
All of the information in this thermostat replacement video is applicable to the following brands: AO Smith
Tools used: Phillips head screwdriver, tape, flat-head screwdriver
Step By Step Instructions
1
Before you replace the lower thermostat in your water heater shut off the power to the unit.
2
Use a phillips-head screwdriver to remove the mounting screw securing the access cover and remove the cover.
3
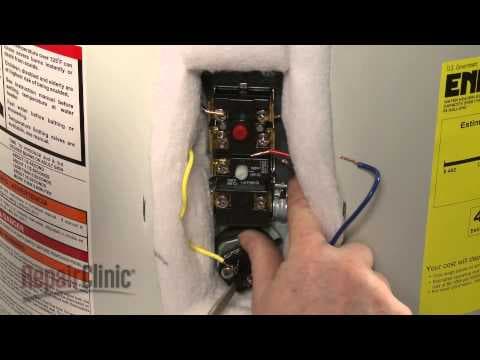
Move the insulation out of the way and remove the plastic cover.
4
Note the orientation of the wires attached to the thermostat then loosen the screws to detach the wires.
5
Pull the mounting bracket tabs forward to release the old thermostat. You’re now ready to install the new thermostat.
6
Align the thermostat on the bracket and snap it into place.
7
Attach the wires to the appropriate terminals on the new thermostat and tighten the screws to secure.
8
Position the new plastic cover.
9
Use a flathead screwdriver to adjust the thermostat setting to the desired temperature – 120 degrees Fahrenheit is recommended.
10
Reposition the insulation and realign the access cover.
11
Replace the mounting screw to secure the cover.
12
Restore power to the unit and your water heater should be ready for use.
Description
This video provides step-by-step instructions for replacing the temperature control thermostat on AO Smith electric water heaters. The most common reasons for replacing the temperature control thermostat are if the water heater gets too hot or does not heat.
All of the information in this thermostat replacement video is applicable to the following brands: AO Smith
Tools used: Phillips head screwdriver, tape, flat-head screwdriver
All of the information in this thermostat replacement video is applicable to the following brands: AO Smith
Tools used: Phillips head screwdriver, tape, flat-head screwdriver
Step-By-Step Instructions
1
Before you replace the lower thermostat in your water heater shut off the power to the unit.
2
Use a phillips-head screwdriver to remove the mounting screw securing the access cover and remove the cover.
3
Move the insulation out of the way and remove the plastic cover.
4
Note the orientation of the wires attached to the thermostat then loosen the screws to detach the wires.
5
Pull the mounting bracket tabs forward to release the old thermostat. You’re now ready to install the new thermostat.
6
Align the thermostat on the bracket and snap it into place.
7
Attach the wires to the appropriate terminals on the new thermostat and tighten the screws to secure.
8
Position the new plastic cover.
9
Use a flathead screwdriver to adjust the thermostat setting to the desired temperature – 120 degrees Fahrenheit is recommended.
10
Reposition the insulation and realign the access cover.
11
Replace the mounting screw to secure the cover.
12
Restore power to the unit and your water heater should be ready for use.
Applicable Product Model
Parts Needed

Total$0.00
Related Articles & Videos




Our Story
Family-owned and operated since 1912, Burke America Parts Group is the longest-running genuine appliance, HVAC, and outdoor power equipment parts solution in North America. At Repair Clinic, we're proud to be an international brand trusted by the pros as well as the DIY community.
About Repair Clinic
© 2026 RepairClinic.com