

Price Match Guarantee

In-stock parts ship the same day

365-Day Return Policy
Price Match GuaranteeGET PRO PRICING
Video & Articles: Appliance & Equipment RepairLoud/Noisy LG Top Load Washer? Clutch/Tub Bearing #3661EA1009E

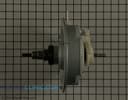
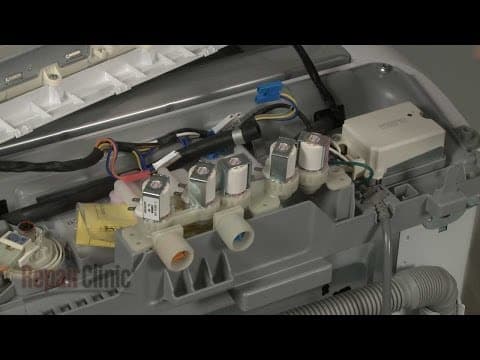
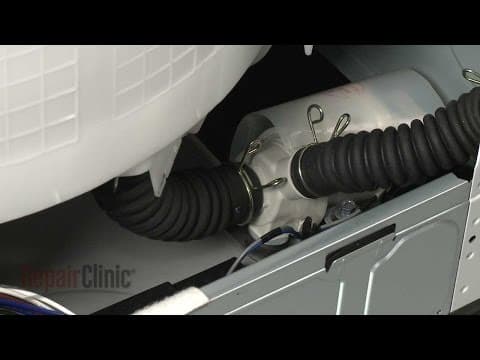
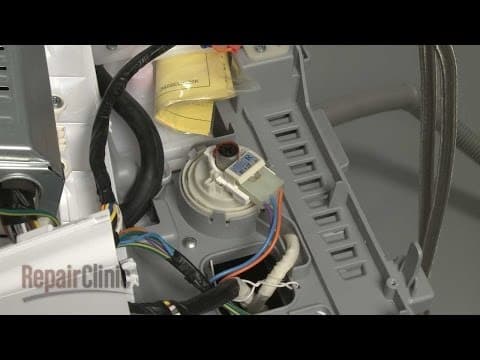
Loud/Noisy LG Top Load Washer? Clutch/Tub Bearing #3661EA1009E
Skill Level
Total Parts Cost
$381.98Estimated Savings
$112.5009:14
- Description
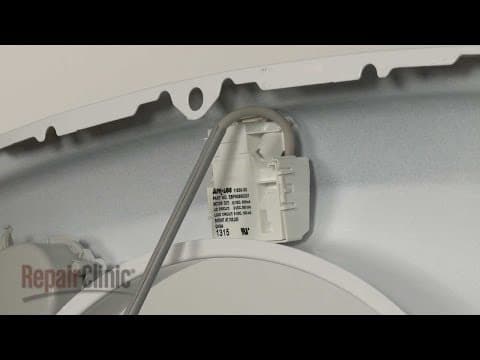
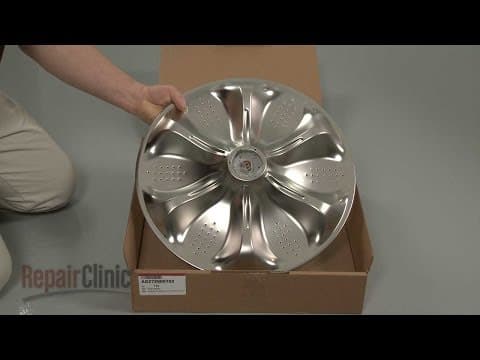
This video provides step-by-step instructions for replacing the clutch and tub bearing on LG and Kenmore top-load washing machines. The most common reason for replacing the clutch assembly is when it has worn out, preventing the tub from spinning or causing the washer to make a loud noise.
All of the information in this clutch replacement video is applicable to the following brands: LG, Kenmore
Tools used: putty knife, Phillips head screwdriver, small flat-head screwdriver, 10mm socket, 38mm socket, hammer, adjustable wrench
All of the information in this clutch replacement video is applicable to the following brands: LG, Kenmore
Tools used: putty knife, Phillips head screwdriver, small flat-head screwdriver, 10mm socket, 38mm socket, hammer, adjustable wrench
Step By Step Instructions
1
Before you replace the clutch & bearing assembly in your washer unplug the power cord
2
Shut off the water supply.
3
Next, remove the hot and cold water supply lines from the inlet valve – be prepared for some water to spill out.
4
Now lift up the lid and use a putty knife to help release the retaining clips securing the main top.
5
Lift up the main top and support it.
6
Use a phillips-head screwdriver to remove all of the mounting screws securing the tub ring.
7
With the screws removed, pull the tub ring off.
8
Use a small flat-head screwdriver to pry off the wash plate cap.
9
Now use a 10mm socket to unthread the wash plate mounting screw.
10
With the screw removed, lift off the plate.
11
Slide off the washer.
12
Use a 38mm socket to loosen and remove the tub nut – we recommend using an impact wrench to do this.
13
With the nut removed lift out the inner tub.
14
Now remove the support lower the main top and snap it into place.
15
Carefully tip the washer back so it rests on the rear panel.
16
Use an adjustable wrench and strike it with a hammer to help unthread the rotor mounting nut.
17
With the nut removed, carefully pull off the rotor assembly.
18
Now use a 10mm socket to remove the mounting bolts securing the stator.
19
Carefully set the stator down and use a small flat-head screwdriver to help disconnect the wire connecters.
20
Next, disconnect the diverter motor wire connecter.
21
Use a 10mm socket to remove the mounting bolts securing the motor to the outer tub.
22
Detach the motor from the actuator arm to remove.
23
You can use a towel to help prop up the outer tub then use the 10mm socket to remove the screw securing the rotor shield.
24
Remove the screw to release the grounding wire then set the shield and wires aside.
25
Now remove the screws securing the support bracket to the clutch & bearing assembly and set the bracket aside.
26
Next, remove all of the 10mm mounting screws securing the clutch & bearing assembly to the outer tub.
27
With the screws removed, pull the old assembly from the outer tub.
28
You’re now ready to install the new clutch & bearing assembly.
29
Apply some liquid dish soap or rinse aid to the seal then insert the assembly into the outer tub, making sure the actuator arm is at the “three o’clock” position.
30
Align the support and replace the screws to secure.
31
Replace all of the remaining screws to secure the assembly.
32
Next, secure the grounding wire.
33
Reposition the rotor shield and replace the screw to secure it.
34
If applicable, remove the towel.
35
Reinstall the diverter motor by first hooking it onto the actuator arm.
36
Now align the motor on the outer tub and replace the mounting bolts to secure.
37
Reconnect the wire connecter to the motor.
38
Reinstall the stator by first reconnecting the wire connecters.
39
Align the stator on the clutch & bearing housing and replace the mounting bolts to secure.
40
Replace the rotor assembly by aligning it on the shaft.
41
Rethread the mounting nut and tighten.
42
Confirm that the tub outlet hose is securely attached to the outer tub then return the washer to its upright position.
43
Release the retaining clips securing the main top then lift up the main top and support it.
44
Replace the inner tub.
45
Confirm that the tub washer is in place then rethread the tub nut and tighten.
46
Slide on the tub nut washer.
47
Realign the wash plate on the shaft.
48
Tighten the mounting screw to secure it.
49
Realign the cap on the wash plate and snap it into place.
50
Realign the tub ring and replace the mounting screws to secure.
51
Remove the support lower the main top and snap it into place.
52
Reattach the hot and cold water supply lines to the inlet valve.
53
With the repair completed turn the water supply back on plug the power cord back in and your washer should be ready for use.
Description
This video provides step-by-step instructions for replacing the clutch and tub bearing on LG and Kenmore top-load washing machines. The most common reason for replacing the clutch assembly is when it has worn out, preventing the tub from spinning or causing the washer to make a loud noise.
All of the information in this clutch replacement video is applicable to the following brands: LG, Kenmore
Tools used: putty knife, Phillips head screwdriver, small flat-head screwdriver, 10mm socket, 38mm socket, hammer, adjustable wrench
All of the information in this clutch replacement video is applicable to the following brands: LG, Kenmore
Tools used: putty knife, Phillips head screwdriver, small flat-head screwdriver, 10mm socket, 38mm socket, hammer, adjustable wrench
Step-By-Step Instructions
1
Before you replace the clutch & bearing assembly in your washer unplug the power cord
2
Shut off the water supply.
3
Next, remove the hot and cold water supply lines from the inlet valve – be prepared for some water to spill out.
4
Now lift up the lid and use a putty knife to help release the retaining clips securing the main top.
5
Lift up the main top and support it.
6
Use a phillips-head screwdriver to remove all of the mounting screws securing the tub ring.
7
With the screws removed, pull the tub ring off.
8
Use a small flat-head screwdriver to pry off the wash plate cap.
9
Now use a 10mm socket to unthread the wash plate mounting screw.
10
With the screw removed, lift off the plate.
11
Slide off the washer.
12
Use a 38mm socket to loosen and remove the tub nut – we recommend using an impact wrench to do this.
13
With the nut removed lift out the inner tub.
14
Now remove the support lower the main top and snap it into place.
15
Carefully tip the washer back so it rests on the rear panel.
16
Use an adjustable wrench and strike it with a hammer to help unthread the rotor mounting nut.
17
With the nut removed, carefully pull off the rotor assembly.
18
Now use a 10mm socket to remove the mounting bolts securing the stator.
19
Carefully set the stator down and use a small flat-head screwdriver to help disconnect the wire connecters.
20
Next, disconnect the diverter motor wire connecter.
21
Use a 10mm socket to remove the mounting bolts securing the motor to the outer tub.
22
Detach the motor from the actuator arm to remove.
23
You can use a towel to help prop up the outer tub then use the 10mm socket to remove the screw securing the rotor shield.
24
Remove the screw to release the grounding wire then set the shield and wires aside.
25
Now remove the screws securing the support bracket to the clutch & bearing assembly and set the bracket aside.
26
Next, remove all of the 10mm mounting screws securing the clutch & bearing assembly to the outer tub.
27
With the screws removed, pull the old assembly from the outer tub.
28
You’re now ready to install the new clutch & bearing assembly.
29
Apply some liquid dish soap or rinse aid to the seal then insert the assembly into the outer tub, making sure the actuator arm is at the “three o’clock” position.
30
Align the support and replace the screws to secure.
31
Replace all of the remaining screws to secure the assembly.
32
Next, secure the grounding wire.
33
Reposition the rotor shield and replace the screw to secure it.
34
If applicable, remove the towel.
35
Reinstall the diverter motor by first hooking it onto the actuator arm.
36
Now align the motor on the outer tub and replace the mounting bolts to secure.
37
Reconnect the wire connecter to the motor.
38
Reinstall the stator by first reconnecting the wire connecters.
39
Align the stator on the clutch & bearing housing and replace the mounting bolts to secure.
40
Replace the rotor assembly by aligning it on the shaft.
41
Rethread the mounting nut and tighten.
42
Confirm that the tub outlet hose is securely attached to the outer tub then return the washer to its upright position.
43
Release the retaining clips securing the main top then lift up the main top and support it.
44
Replace the inner tub.
45
Confirm that the tub washer is in place then rethread the tub nut and tighten.
46
Slide on the tub nut washer.
47
Realign the wash plate on the shaft.
48
Tighten the mounting screw to secure it.
49
Realign the cap on the wash plate and snap it into place.
50
Realign the tub ring and replace the mounting screws to secure.
51
Remove the support lower the main top and snap it into place.
52
Reattach the hot and cold water supply lines to the inlet valve.
53
With the repair completed turn the water supply back on plug the power cord back in and your washer should be ready for use.
Applicable Product Model
Parts Needed
Clutch
$381.98

Total$0.00
Related Articles & Videos




Our Story
Family-owned and operated since 1912, Burke America Parts Group is the longest-running genuine appliance, HVAC, and outdoor power equipment parts solution in North America. At Repair Clinic, we're proud to be an international brand trusted by the pros as well as the DIY community.
About Repair Clinic
© 2026 RepairClinic.com