

Price Match Guarantee

In-stock parts ship the same day

365-Day Return Policy
Price Match GuaranteeGET PRO PRICING
Video & Articles: Appliance & Equipment RepairCraftsman Chainsaw Handle Trigger Replacement #576752801

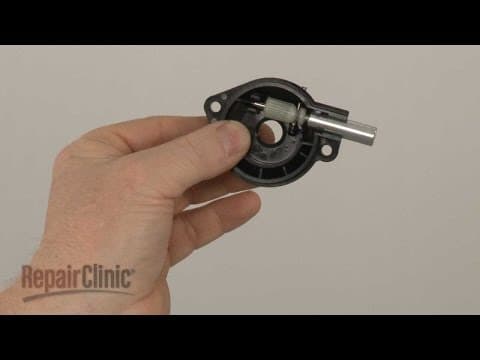
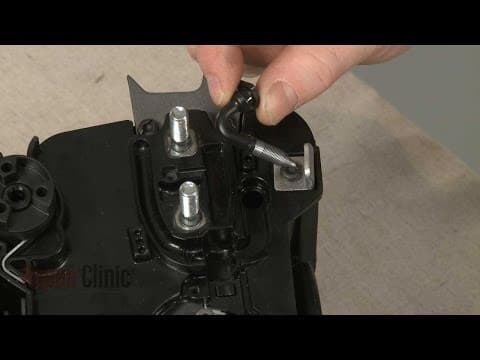
Craftsman Chainsaw Handle Trigger Replacement #576752801
Skill Level
Total Parts Cost
$9.52Estimated Savings
$112.5002:05
- Description
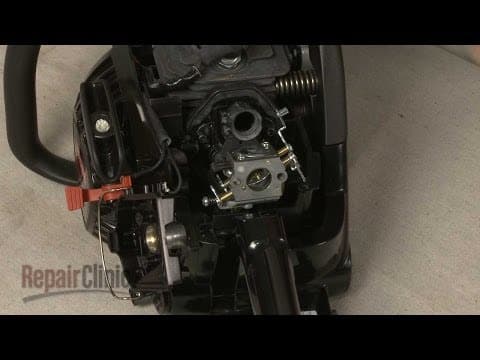
This video provides step-by-step repair instructions for replacing the handle trigger on a Craftsman chainsaw. The most common reason for replacing the handle trigger is when it is broken.
All of the information for this chainsaw handle trigger replacement video is applicable to the following brands:
Craftsman
Tools needed: T-25 Torx bit screwdriver
All of the information for this chainsaw handle trigger replacement video is applicable to the following brands:
Craftsman
Tools needed: T-25 Torx bit screwdriver
Step By Step Instructions
1
Before you replace the handle trigger in your chainsaw first make sure the engine has cooled and that the on-off switch is in the “off” position.
2
Now use a t-25 torx bit screwdriver to remove the screws holding the two halves of the handle together.
3
Separate the handle assembly and remove the trigger lock and trigger.
4
You’re now ready to install the new handle trigger components.
5
Insert the new spring into the new trigger and position the trigger in the handle.
6
Position the new trigger lock.
7
Rejoin the two halves of the handle and replace the screws to secure.
8
With the repair completed. turn the on-off switch to the “on” position and your chainsaw should be ready for use.
Description
This video provides step-by-step repair instructions for replacing the handle trigger on a Craftsman chainsaw. The most common reason for replacing the handle trigger is when it is broken.
All of the information for this chainsaw handle trigger replacement video is applicable to the following brands:
Craftsman
Tools needed: T-25 Torx bit screwdriver
All of the information for this chainsaw handle trigger replacement video is applicable to the following brands:
Craftsman
Tools needed: T-25 Torx bit screwdriver
Step-By-Step Instructions
1
Before you replace the handle trigger in your chainsaw first make sure the engine has cooled and that the on-off switch is in the “off” position.
2
Now use a t-25 torx bit screwdriver to remove the screws holding the two halves of the handle together.
3
Separate the handle assembly and remove the trigger lock and trigger.
4
You’re now ready to install the new handle trigger components.
5
Insert the new spring into the new trigger and position the trigger in the handle.
6
Position the new trigger lock.
7
Rejoin the two halves of the handle and replace the screws to secure.
8
With the repair completed. turn the on-off switch to the “on” position and your chainsaw should be ready for use.
Applicable Product Model
Parts Needed
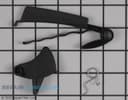
Handle Trigger
$9.52



Total$0.00
Related Articles & Videos




Our Story
Family-owned and operated since 1912, Burke America Parts Group is the longest-running genuine appliance, HVAC, and outdoor power equipment parts solution in North America. At Repair Clinic, we're proud to be an international brand trusted by the pros as well as the DIY community.
About Repair Clinic
© 2026 RepairClinic.com