

Price Match Guarantee

In-stock parts ship the same day

365-Day Return Policy
Price Match GuaranteeGET PRO PRICING
Video & Articles: Appliance & Equipment RepairCraftsman Chainsaw Clutch Drum & Sprocket Assembly #545171901

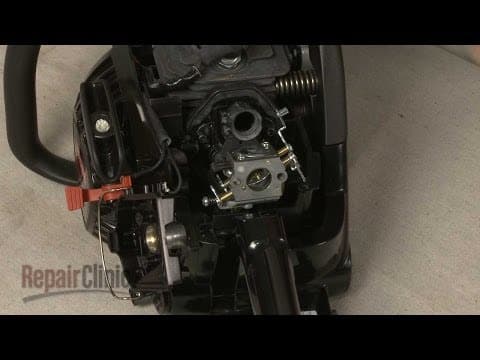
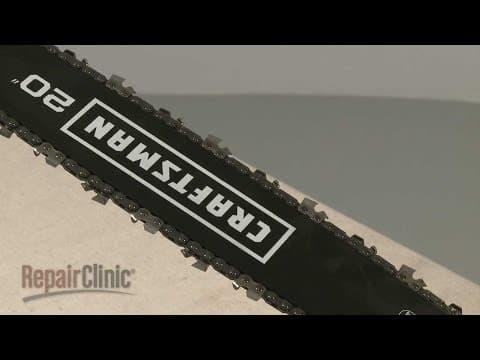
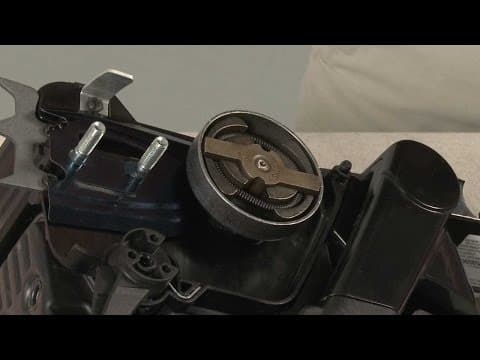
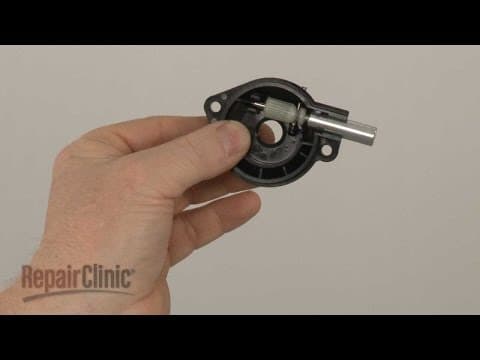
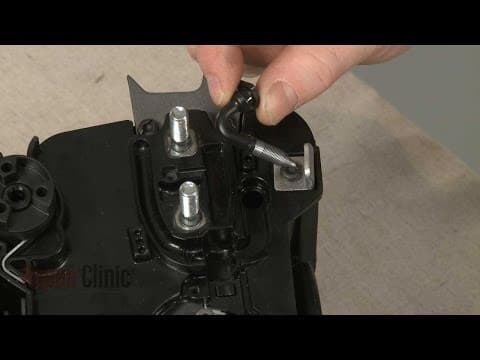
Craftsman Chainsaw Clutch Drum & Sprocket Assembly #545171901
Skill Level
Total Parts Cost
$15.44Estimated Savings
$112.5004:51
- Description
This video provides step-by-step instructions for replacing the clutch drum and sprocket assembly on Craftsman chainsaws. The most common reasons for replacing the drum and sprocket assembly is if it is worn down or has broken gear, causing the chain to not work properly.
All of the information for this clutch drum and sprocket assembly replacement video is applicable to the following brands: Craftsman
Tools used: 13mm socket, large flat-head screwdriver, hammer
All of the information for this clutch drum and sprocket assembly replacement video is applicable to the following brands: Craftsman
Tools used: 13mm socket, large flat-head screwdriver, hammer
Step By Step Instructions
1
Before you replace the clutch drum & sprocket assembly in your chainsaw first make sure the engine has cooled and that the on-off switch is in the “off” position.
2
Now use the provided wrench or a 13mm socket to help loosen and unthread the nuts securing the clutch cover.
3
Confirm that the chain brake is disengaged and pull off the cover.
4
Next, lift off the front chain guard then remove the cutting chain and chain bar.
5
Now unthread the knob securing the air filter cover and pull the cover off.
6
Remove the wire and boot from the spark plug.
7
Use the provided wrench to help loosen the spark plug then unthread it.
8
Confirm that the piston is in the “down” position then insert a cord into the cylinder to prevent the piston from moving.
9
Next, use a large flat-head screwdriver and strike it with a hammer to rotate the clutch clockwise to unthread it from the crankshaft.
10
You can now pull off the old clutch drum and sprocket assembly.
11
Before you install the new clutch drum & sprocket assembly confirm that the rear washer is in place on the crankshaft.
12
Now align the new assembly on the crankshaft along with the inner drum washer.
13
Rethread the clutch counter-clockwise onto the crankshaft then tighten.
14
Remove the cord from the cylinder.
15
Rethread the spark plug.
16
Be careful not to strip the threads by over tightening.
17
Reattach the wire and boot.
18
Realign the air filter cover and rethread the knob to secure.
19
Realign the chain bar on the mounting posts.
20
Replace the chain by aligning on the sprocket and on the chain bar.
21
Make sure the teeth on the chain are facing towards the front end of the chain bar on the top and away from the front end on the bottom.
22
With the chain in place, reposition the front chain guard.
23
To replace the clutch cover, the chain tensioner pin will need to be inserted into the hole in the chain bar.
24
You will probably need to rotate the tension adjustment screw counter-clockwise to properly align the tensioner pin.
25
With the cover in place, hand-tighten the nuts.
26
Now lift the bar and rotate the adjustment screw clockwise until there is no slack in the chain.
27
Fully tighten the nuts and confirm that the chain is taut.
28
With the repair completed turn the on-off switch to the “on” position and your chainsaw should be ready for use.
Description
This video provides step-by-step instructions for replacing the clutch drum and sprocket assembly on Craftsman chainsaws. The most common reasons for replacing the drum and sprocket assembly is if it is worn down or has broken gear, causing the chain to not work properly.
All of the information for this clutch drum and sprocket assembly replacement video is applicable to the following brands: Craftsman
Tools used: 13mm socket, large flat-head screwdriver, hammer
All of the information for this clutch drum and sprocket assembly replacement video is applicable to the following brands: Craftsman
Tools used: 13mm socket, large flat-head screwdriver, hammer
Step-By-Step Instructions
1
Before you replace the clutch drum & sprocket assembly in your chainsaw first make sure the engine has cooled and that the on-off switch is in the “off” position.
2
Now use the provided wrench or a 13mm socket to help loosen and unthread the nuts securing the clutch cover.
3
Confirm that the chain brake is disengaged and pull off the cover.
4
Next, lift off the front chain guard then remove the cutting chain and chain bar.
5
Now unthread the knob securing the air filter cover and pull the cover off.
6
Remove the wire and boot from the spark plug.
7
Use the provided wrench to help loosen the spark plug then unthread it.
8
Confirm that the piston is in the “down” position then insert a cord into the cylinder to prevent the piston from moving.
9
Next, use a large flat-head screwdriver and strike it with a hammer to rotate the clutch clockwise to unthread it from the crankshaft.
10
You can now pull off the old clutch drum and sprocket assembly.
11
Before you install the new clutch drum & sprocket assembly confirm that the rear washer is in place on the crankshaft.
12
Now align the new assembly on the crankshaft along with the inner drum washer.
13
Rethread the clutch counter-clockwise onto the crankshaft then tighten.
14
Remove the cord from the cylinder.
15
Rethread the spark plug.
16
Be careful not to strip the threads by over tightening.
17
Reattach the wire and boot.
18
Realign the air filter cover and rethread the knob to secure.
19
Realign the chain bar on the mounting posts.
20
Replace the chain by aligning on the sprocket and on the chain bar.
21
Make sure the teeth on the chain are facing towards the front end of the chain bar on the top and away from the front end on the bottom.
22
With the chain in place, reposition the front chain guard.
23
To replace the clutch cover, the chain tensioner pin will need to be inserted into the hole in the chain bar.
24
You will probably need to rotate the tension adjustment screw counter-clockwise to properly align the tensioner pin.
25
With the cover in place, hand-tighten the nuts.
26
Now lift the bar and rotate the adjustment screw clockwise until there is no slack in the chain.
27
Fully tighten the nuts and confirm that the chain is taut.
28
With the repair completed turn the on-off switch to the “on” position and your chainsaw should be ready for use.



Related Articles & Videos




Our Story
Family-owned and operated since 1912, Burke America Parts Group is the longest-running genuine appliance, HVAC, and outdoor power equipment parts solution in North America. At Repair Clinic, we're proud to be an international brand trusted by the pros as well as the DIY community.
About Repair Clinic
© 2026 RepairClinic.com