

Price Match Guarantee

In-stock parts ship the same day

365-Day Return Policy
Price Match GuaranteeGET PRO PRICING
Video & Articles: Appliance & Equipment RepairCraftsman Riding Mower Transmission Fan Blade #584282001

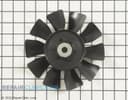
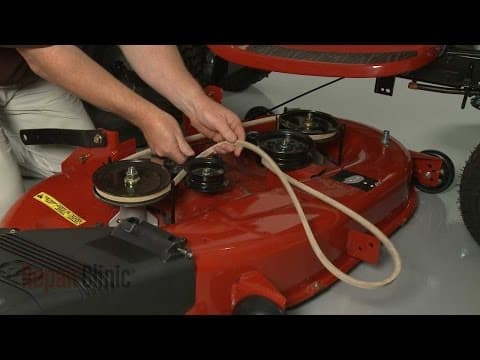
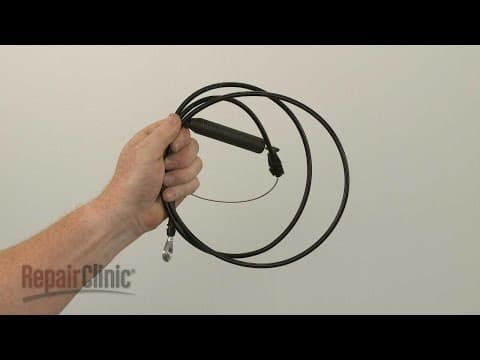
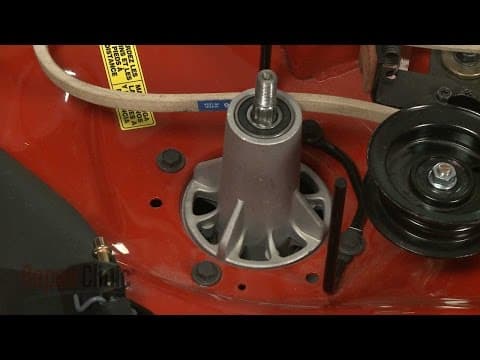
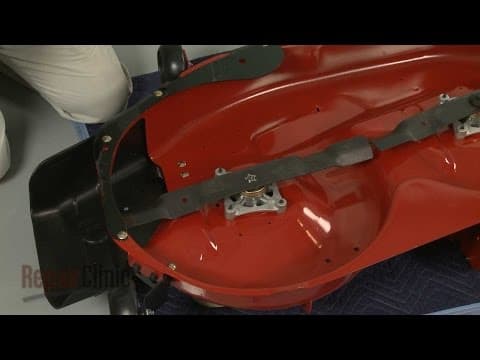
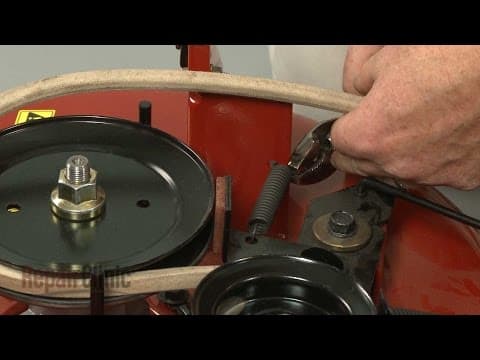
Craftsman Riding Mower Transmission Fan Blade #584282001
Skill Level
Total Parts Cost
$48.74Estimated Savings
$112.5003:12
- Description
This video provides step-by-step repair instructions for replacing the transmission cooling fan blade a Craftsman riding lawn mower. The most common reason for replacing the cooling fan blade is when it is damaged or broken.
All of the information for this transmission cooling fan blade replacement video is applicable to the following brands:
Craftsman
Tools needed: 7/16 inch wrench, ¾ inch socket on an impact driver
All of the information for this transmission cooling fan blade replacement video is applicable to the following brands:
Craftsman
Tools needed: 7/16 inch wrench, ¾ inch socket on an impact driver
Step By Step Instructions
1
Before you replace the transmission cooling fan in your riding mower make sure the ignition switch is in the “off” position and the key has been removed.
2
Now lift up the seat and use two 7/16th inch wrenches to unthread the nuts to disconnect the battery cables.
3
Disconnect the negative cable first.
4
With the cables disconnected, carefully lift out the battery.
5
Release the retaining tabs then lift out the battery box and set it aside.
6
Use a three-quarter inch socket to loosen and remove the cooling fan mounting nut – we recommend using an impact driver to make this easier.
7
Next, engage the brake to loosen the drive belt and pull off the old cooling fan.
8
You’re now ready to install the new transmission cooling fan.
9
Confirm that the drive belt is in place on the transmission shaft then align the new fan.
10
Thread the mounting nut and tighten.
11
You will need to release the brake to fully tighten the nut.
12
Reposition the battery box and snap into the frame.
13
With the terminals facing the rear, replace the battery itself.
14
Connect the red cable to the positive terminal then thread and tighten the nut to secure.
15
Connect the black cable to the negative terminal and secure it with the nut.
16
Make sure the insulating cover is on the positive terminal and the wire retainer is secured.
17
With the repair completed, lower the seat and your riding mower should be ready for use.
Description
This video provides step-by-step repair instructions for replacing the transmission cooling fan blade a Craftsman riding lawn mower. The most common reason for replacing the cooling fan blade is when it is damaged or broken.
All of the information for this transmission cooling fan blade replacement video is applicable to the following brands:
Craftsman
Tools needed: 7/16 inch wrench, ¾ inch socket on an impact driver
All of the information for this transmission cooling fan blade replacement video is applicable to the following brands:
Craftsman
Tools needed: 7/16 inch wrench, ¾ inch socket on an impact driver
Step-By-Step Instructions
1
Before you replace the transmission cooling fan in your riding mower make sure the ignition switch is in the “off” position and the key has been removed.
2
Now lift up the seat and use two 7/16th inch wrenches to unthread the nuts to disconnect the battery cables.
3
Disconnect the negative cable first.
4
With the cables disconnected, carefully lift out the battery.
5
Release the retaining tabs then lift out the battery box and set it aside.
6
Use a three-quarter inch socket to loosen and remove the cooling fan mounting nut – we recommend using an impact driver to make this easier.
7
Next, engage the brake to loosen the drive belt and pull off the old cooling fan.
8
You’re now ready to install the new transmission cooling fan.
9
Confirm that the drive belt is in place on the transmission shaft then align the new fan.
10
Thread the mounting nut and tighten.
11
You will need to release the brake to fully tighten the nut.
12
Reposition the battery box and snap into the frame.
13
With the terminals facing the rear, replace the battery itself.
14
Connect the red cable to the positive terminal then thread and tighten the nut to secure.
15
Connect the black cable to the negative terminal and secure it with the nut.
16
Make sure the insulating cover is on the positive terminal and the wire retainer is secured.
17
With the repair completed, lower the seat and your riding mower should be ready for use.
Applicable Product Model
Parts Needed
Fan Blade
$48.74


Total$0.00
Related Articles & Videos
05:37
Part Replacement
Craftsman Riding Mower Blades Won't Engage? Clutch Cable 584243501




Our Story
Family-owned and operated since 1912, Burke America Parts Group is the longest-running genuine appliance, HVAC, and outdoor power equipment parts solution in North America. At Repair Clinic, we're proud to be an international brand trusted by the pros as well as the DIY community.
About Repair Clinic
© 2026 RepairClinic.com