

Price Match Guarantee

In-stock parts ship the same day

365-Day Return Policy
Price Match GuaranteeGET PRO PRICING
Video & Articles: Appliance & Equipment RepairBriggs & Stratton Small Engine Replace Cylinder Head #591750

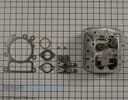
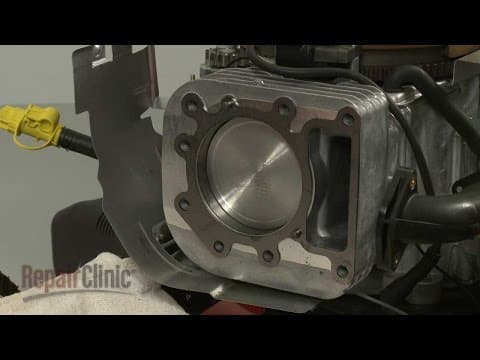
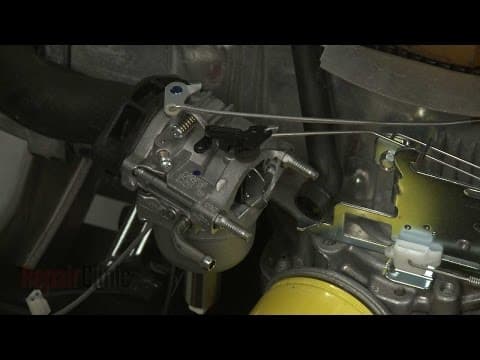
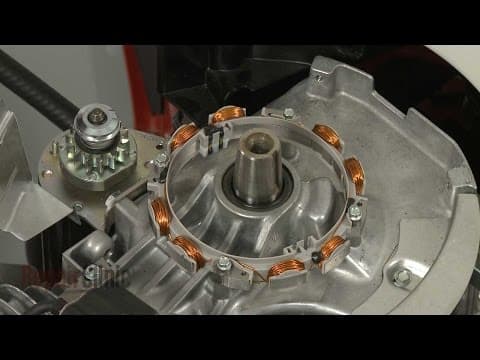
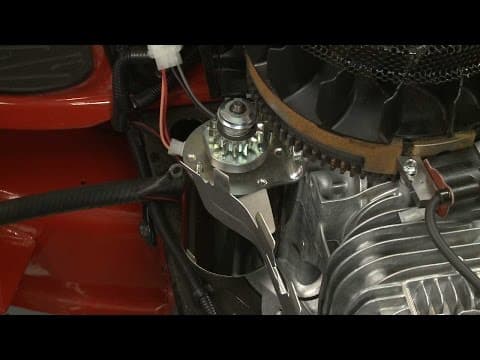
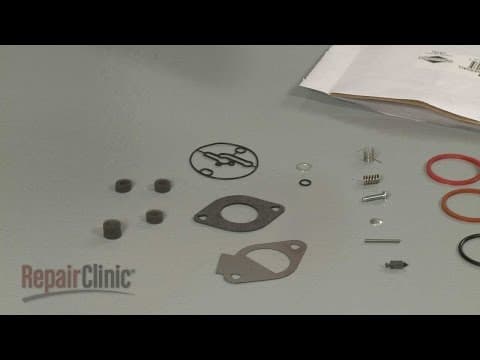
Briggs & Stratton Small Engine Replace Cylinder Head #591750
Skill Level
Total Parts Cost
$351.66Estimated Savings
$112.5010:30
- Description
This video provides step-by-step repair instructions for replacing the cylinder head on a Briggs and Stratton small engine (commonly found in riding lawn mowers). The most common reason for replacing the cylinder head is when the engine is damaged.
All of the information for this cylinder head replacement video is applicable to the following brands:
Briggs & Stratton
Tools needed: 1/4 inch socket or nut driver, 3/8th inch socket or nut driver, 5/8th inch socket or a spark plug wrench, 1/4 hex bit, large flat-head screwdriver, T-20 Torx bit screwdriver, torque wrench, gauge
All of the information for this cylinder head replacement video is applicable to the following brands:
Briggs & Stratton
Tools needed: 1/4 inch socket or nut driver, 3/8th inch socket or nut driver, 5/8th inch socket or a spark plug wrench, 1/4 hex bit, large flat-head screwdriver, T-20 Torx bit screwdriver, torque wrench, gauge
Step By Step Instructions
1
In this video, we will show one or more of these icons to alert you when to use caution before you replace the cylinder head on your engine.
2
Make sure the engine has cooled, the ignition switch is in the off position, and the key has been removed if applicable.
3
If necessary, disconnect the headlight wire harness.
4
Then lift up the hood or engine cover and detach it.
5
Now, rotate the air filter cover retaining knobs counterclockwise and pull off the cover.
6
Lift out the air filter.
7
Use a quarter-inch socket or nut driver to unthread the screw inside the filter housing.
8
Now, use a 3/8 inch socket or wrench to unthread the four blower housing mounting bolts.
9
Detach the oil drain tube and lift off the blower housing.
10
Use a 3/8 inch socket to unthread the bolts to release the intake manifold.
11
Detach the breather tube from the air inlet pipe.
12
Slide the choke rod out of the control bracket to set the carburetor assembly aside.
13
Next, detach the wire and boot from the spark plug and pull the wire free of the mounting bracket.
14
Use a 5/8 inch socket or a spark plug wrench to help unthread the spark plug.
15
Use the 3/8 inch socket to remove the bolt securing the mounting bracket.
16
Pull the bracket off.
17
Now, use a quarter-inch hex bit to unthread the exhaust manifold bolts.
18
With the bolts removed, pull the exhaust manifold free of the muffler.
19
Use the 3/8 inch socket to unthread the valve cover mounting bolts.
20
Starting on a corner, you can use a putty knife to help break the seal and a large flat-head screwdriver to assist in prying off the cover.
21
Be prepared for a small amount of oil to spill.
22
If necessary, rotate the flywheel to loosen the rocker arms.
23
Then use a 5/8 inch wrench to secure the pivot nuts and a T20 Torx bit screwdriver to loosen the set screws securing the rocker arms.
24
Rotate the arms and remove the two push rods.
25
Use the 3/8 inch socket to unthread all of the cylinder head mounting bolts.
26
With the bolts removed, pull off the old cylinder head.
27
You're now ready to install the new cylinder head.
28
Clean off any residue from the cylinder.
29
Align the provided head gasket on the cylinder mounting pins.
30
Now position the new cylinder head and thread the mounting bolts.
31
To avoid warping the head, first torque the bolts to 150 inch pounds in a specific alternating pattern.
32
Now torque the bolts in the same pattern to 250 inch pounds.
33
With the head fully secured, insert the aluminum intake push rod through the lower guide.
34
You can rotate the flywheel to help determine if the rod is properly positioned.
35
With the rod in the down position, confirm that the valve cap is in place.
36
Then align the rocker arm on the cap and push rod and secure it loosely.
37
Repeat this procedure to install the steel exhaust push rod with the red indicator mark.
38
With the rocker arms in place, rotate the flywheel until the piston is approximately a quarter of the way past its top position and both rocker arms are loose.
39
Confirm that the gaps between the rocker arms and the valve caps are at manufacturer's specifications.
40
The intake valve gap should be between three and five thousandths of an inch.
41
The exhaust valve gap should be between five and seven thousandths of an inch.
42
With the gap set, tighten the pivot nut set screws.
43
Next, scrape off any sealant residue from the valve cover.
44
Insert the mounting bolts into the cover and align the provided valve cover gasket.
45
Now position the cover on the new cylinder head.
46
Thread the bolts and torque the bolts to 60 inch pounds.
47
Insert the exhaust manifold into the muffler.
48
Insert a mounting bolt, then align the provided gasket.
49
Secure the manifold to the cylinder head by threading and tightening the bolts.
50
Rethread the spark plug.
51
Be careful not to damage the threads by over-tightening.
52
Reattach the boot to the plug.
53
Reposition the mounting bracket and secure it with the bolts.
54
Now replace the intake manifold O-ring with the new one.
55
Attach the choke rod to the control bracket and the breather tube to the air inlet pipe.
56
Position the intake manifold on the cylinder head, then thread and tighten the bolts to secure.
57
Reposition the blower housing.
58
Make sure the housing is properly seated on the air diverter.
59
Rethread and tighten the mounting bolts to secure the housing.
60
The longer bolts go in the back.
61
Replace the screw in the filter housing.
62
Reposition the air filter.
63
Realign the cover and rotate the retaining knobs clockwise to secure.
64
Reattach the oil drain tube to the blower housing.
65
Reinstall the hood or engine cover and reconnect the headlight wire harness if applicable.
Description
This video provides step-by-step repair instructions for replacing the cylinder head on a Briggs and Stratton small engine (commonly found in riding lawn mowers). The most common reason for replacing the cylinder head is when the engine is damaged.
All of the information for this cylinder head replacement video is applicable to the following brands:
Briggs & Stratton
Tools needed: 1/4 inch socket or nut driver, 3/8th inch socket or nut driver, 5/8th inch socket or a spark plug wrench, 1/4 hex bit, large flat-head screwdriver, T-20 Torx bit screwdriver, torque wrench, gauge
All of the information for this cylinder head replacement video is applicable to the following brands:
Briggs & Stratton
Tools needed: 1/4 inch socket or nut driver, 3/8th inch socket or nut driver, 5/8th inch socket or a spark plug wrench, 1/4 hex bit, large flat-head screwdriver, T-20 Torx bit screwdriver, torque wrench, gauge
Step-By-Step Instructions
1
In this video, we will show one or more of these icons to alert you when to use caution before you replace the cylinder head on your engine.
2
Make sure the engine has cooled, the ignition switch is in the off position, and the key has been removed if applicable.
3
If necessary, disconnect the headlight wire harness.
4
Then lift up the hood or engine cover and detach it.
5
Now, rotate the air filter cover retaining knobs counterclockwise and pull off the cover.
6
Lift out the air filter.
7
Use a quarter-inch socket or nut driver to unthread the screw inside the filter housing.
8
Now, use a 3/8 inch socket or wrench to unthread the four blower housing mounting bolts.
9
Detach the oil drain tube and lift off the blower housing.
10
Use a 3/8 inch socket to unthread the bolts to release the intake manifold.
11
Detach the breather tube from the air inlet pipe.
12
Slide the choke rod out of the control bracket to set the carburetor assembly aside.
13
Next, detach the wire and boot from the spark plug and pull the wire free of the mounting bracket.
14
Use a 5/8 inch socket or a spark plug wrench to help unthread the spark plug.
15
Use the 3/8 inch socket to remove the bolt securing the mounting bracket.
16
Pull the bracket off.
17
Now, use a quarter-inch hex bit to unthread the exhaust manifold bolts.
18
With the bolts removed, pull the exhaust manifold free of the muffler.
19
Use the 3/8 inch socket to unthread the valve cover mounting bolts.
20
Starting on a corner, you can use a putty knife to help break the seal and a large flat-head screwdriver to assist in prying off the cover.
21
Be prepared for a small amount of oil to spill.
22
If necessary, rotate the flywheel to loosen the rocker arms.
23
Then use a 5/8 inch wrench to secure the pivot nuts and a T20 Torx bit screwdriver to loosen the set screws securing the rocker arms.
24
Rotate the arms and remove the two push rods.
25
Use the 3/8 inch socket to unthread all of the cylinder head mounting bolts.
26
With the bolts removed, pull off the old cylinder head.
27
You're now ready to install the new cylinder head.
28
Clean off any residue from the cylinder.
29
Align the provided head gasket on the cylinder mounting pins.
30
Now position the new cylinder head and thread the mounting bolts.
31
To avoid warping the head, first torque the bolts to 150 inch pounds in a specific alternating pattern.
32
Now torque the bolts in the same pattern to 250 inch pounds.
33
With the head fully secured, insert the aluminum intake push rod through the lower guide.
34
You can rotate the flywheel to help determine if the rod is properly positioned.
35
With the rod in the down position, confirm that the valve cap is in place.
36
Then align the rocker arm on the cap and push rod and secure it loosely.
37
Repeat this procedure to install the steel exhaust push rod with the red indicator mark.
38
With the rocker arms in place, rotate the flywheel until the piston is approximately a quarter of the way past its top position and both rocker arms are loose.
39
Confirm that the gaps between the rocker arms and the valve caps are at manufacturer's specifications.
40
The intake valve gap should be between three and five thousandths of an inch.
41
The exhaust valve gap should be between five and seven thousandths of an inch.
42
With the gap set, tighten the pivot nut set screws.
43
Next, scrape off any sealant residue from the valve cover.
44
Insert the mounting bolts into the cover and align the provided valve cover gasket.
45
Now position the cover on the new cylinder head.
46
Thread the bolts and torque the bolts to 60 inch pounds.
47
Insert the exhaust manifold into the muffler.
48
Insert a mounting bolt, then align the provided gasket.
49
Secure the manifold to the cylinder head by threading and tightening the bolts.
50
Rethread the spark plug.
51
Be careful not to damage the threads by over-tightening.
52
Reattach the boot to the plug.
53
Reposition the mounting bracket and secure it with the bolts.
54
Now replace the intake manifold O-ring with the new one.
55
Attach the choke rod to the control bracket and the breather tube to the air inlet pipe.
56
Position the intake manifold on the cylinder head, then thread and tighten the bolts to secure.
57
Reposition the blower housing.
58
Make sure the housing is properly seated on the air diverter.
59
Rethread and tighten the mounting bolts to secure the housing.
60
The longer bolts go in the back.
61
Replace the screw in the filter housing.
62
Reposition the air filter.
63
Realign the cover and rotate the retaining knobs clockwise to secure.
64
Reattach the oil drain tube to the blower housing.
65
Reinstall the hood or engine cover and reconnect the headlight wire harness if applicable.
Applicable Product Model
Parts Needed
Cylinder Head
$351.66
Total$0.00
Related Articles & Videos
05:19
Part Replacement
Briggs & Stratton Mower Battery Keeps Dying? Engine Alternator 592831




Our Story
Family-owned and operated since 1912, Burke America Parts Group is the longest-running genuine appliance, HVAC, and outdoor power equipment parts solution in North America. At Repair Clinic, we're proud to be an international brand trusted by the pros as well as the DIY community.
About Repair Clinic
© 2026 RepairClinic.com