

Price Match Guarantee

In-stock parts ship the same day

365-Day Return Policy
Price Match GuaranteeGET PRO PRICING
Video & Articles: Appliance & Equipment RepairBriggs & Stratton Riding Mower Exhaust Manifold Gasket #692236

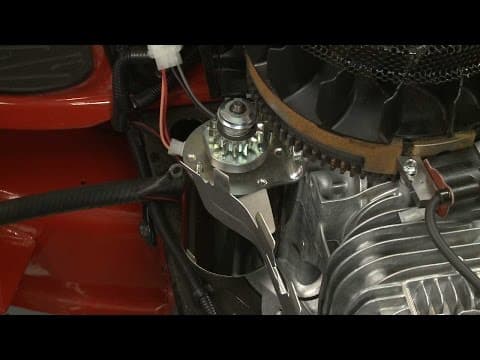
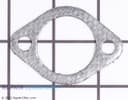
Briggs & Stratton Riding Mower Exhaust Manifold Gasket #692236
Skill Level
Total Parts Cost
$6.18Estimated Savings
$112.5003:52
- Description
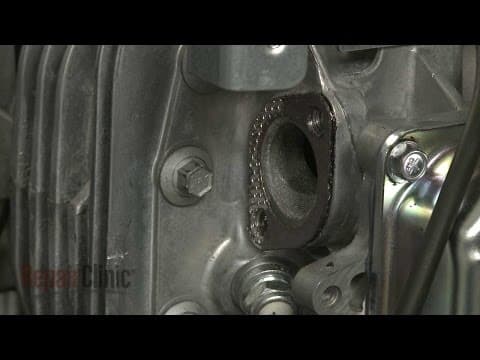
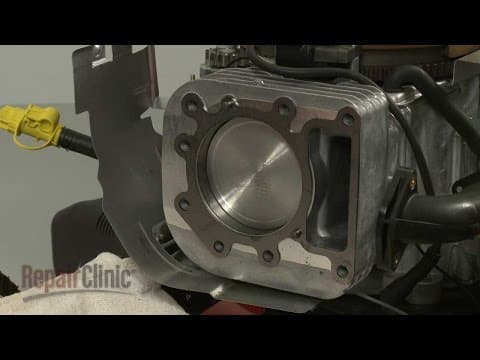
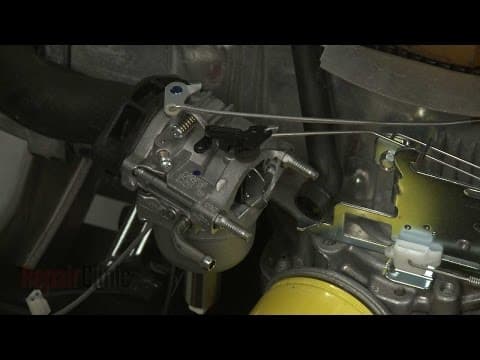
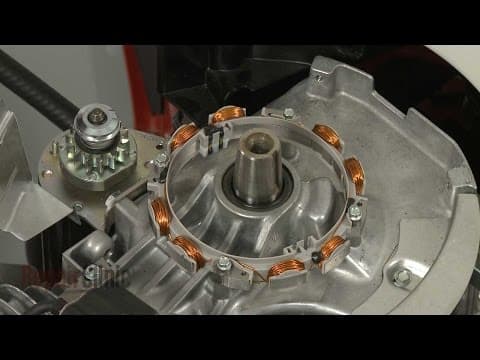
This video provides step-by-step repair instructions for replacing the exhaust manifold gasket (or intake manifold gasket) on a Briggs and Stratton small engine. The most common reason for replacing the exhaust gasket is when it is damaged, causing the engine to run poorly.
All of the information for this exhaust gasket replacement video is applicable to the following brands:
Briggs & Stratton, Toro, John Deere, Simplicity, Lawn Boy, Craftsman, Wheel Horse
Tools needed: ¼ inch socket or nut driver, 3/8 inch socket or nut driver, ¼ inch hex bit
All of the information for this exhaust gasket replacement video is applicable to the following brands:
Briggs & Stratton, Toro, John Deere, Simplicity, Lawn Boy, Craftsman, Wheel Horse
Tools needed: ¼ inch socket or nut driver, 3/8 inch socket or nut driver, ¼ inch hex bit
Step By Step Instructions
1
Before you replace the exhaust manifold gasket in your engine, make sure the engine has cooled, the ignition switch is in the off position, and the key has been removed if applicable.
2
If necessary, disconnect the headlight wire harness.
3
Then, lift up the hood or engine cover and detach it.
4
Now, rotate the air filter cover retaining knobs counterclockwise and pull off the cover.
5
Lift out the air filter.
6
Use a quarter-inch socket or nut driver to unthread the screw inside the filter housing.
7
Now, use a 3/8 inch socket or wrench to unthread the four blower housing mounting bolts.
8
Detach the oil drain tube and lift off the blower housing.
9
Now, use a quarter-inch hex bit to unthread the exhaust manifold bolts.
10
Release the exhaust manifold from the cylinder head and remove the old gasket.
11
If still intact, clean off any residue from the head and the manifold.
12
Install the new exhaust manifold gasket by aligning it on the manifold.
13
Insert a mounting bolt to hold the gasket in place.
14
Then, reposition the manifold and thread and tighten the bolts to secure.
15
Reposition the blower housing.
16
Make sure the housing is properly seated on the air diverter.
17
Rethread and tighten the mounting bolts to secure the housing.
18
The longer bolts go in the back.
19
Replace the screw in the filter housing.
20
Reposition the air filter.
21
Realign the cover and rotate the retaining knobs clockwise to secure.
22
Reattach the oil drain tube to the blower housing.
23
Reinstall the hood or engine cover and reconnect the headlight wire harness if applicable.
Description
This video provides step-by-step repair instructions for replacing the exhaust manifold gasket (or intake manifold gasket) on a Briggs and Stratton small engine. The most common reason for replacing the exhaust gasket is when it is damaged, causing the engine to run poorly.
All of the information for this exhaust gasket replacement video is applicable to the following brands:
Briggs & Stratton, Toro, John Deere, Simplicity, Lawn Boy, Craftsman, Wheel Horse
Tools needed: ¼ inch socket or nut driver, 3/8 inch socket or nut driver, ¼ inch hex bit
All of the information for this exhaust gasket replacement video is applicable to the following brands:
Briggs & Stratton, Toro, John Deere, Simplicity, Lawn Boy, Craftsman, Wheel Horse
Tools needed: ¼ inch socket or nut driver, 3/8 inch socket or nut driver, ¼ inch hex bit
Step-By-Step Instructions
1
Before you replace the exhaust manifold gasket in your engine, make sure the engine has cooled, the ignition switch is in the off position, and the key has been removed if applicable.
2
If necessary, disconnect the headlight wire harness.
3
Then, lift up the hood or engine cover and detach it.
4
Now, rotate the air filter cover retaining knobs counterclockwise and pull off the cover.
5
Lift out the air filter.
6
Use a quarter-inch socket or nut driver to unthread the screw inside the filter housing.
7
Now, use a 3/8 inch socket or wrench to unthread the four blower housing mounting bolts.
8
Detach the oil drain tube and lift off the blower housing.
9
Now, use a quarter-inch hex bit to unthread the exhaust manifold bolts.
10
Release the exhaust manifold from the cylinder head and remove the old gasket.
11
If still intact, clean off any residue from the head and the manifold.
12
Install the new exhaust manifold gasket by aligning it on the manifold.
13
Insert a mounting bolt to hold the gasket in place.
14
Then, reposition the manifold and thread and tighten the bolts to secure.
15
Reposition the blower housing.
16
Make sure the housing is properly seated on the air diverter.
17
Rethread and tighten the mounting bolts to secure the housing.
18
The longer bolts go in the back.
19
Replace the screw in the filter housing.
20
Reposition the air filter.
21
Realign the cover and rotate the retaining knobs clockwise to secure.
22
Reattach the oil drain tube to the blower housing.
23
Reinstall the hood or engine cover and reconnect the headlight wire harness if applicable.
Applicable Product Model
Related Articles & Videos
05:19
Part Replacement
Briggs & Stratton Mower Battery Keeps Dying? Engine Alternator 592831




Our Story
Family-owned and operated since 1912, Burke America Parts Group is the longest-running genuine appliance, HVAC, and outdoor power equipment parts solution in North America. At Repair Clinic, we're proud to be an international brand trusted by the pros as well as the DIY community.
About Repair Clinic
© 2026 RepairClinic.com