

Price Match Guarantee

In-stock parts ship the same day

365-Day Return Policy
Price Match GuaranteeGET PRO PRICING
Video & Articles: Appliance & Equipment RepairMTD Snowblower Carburetor Insulator Replacement #951-11568

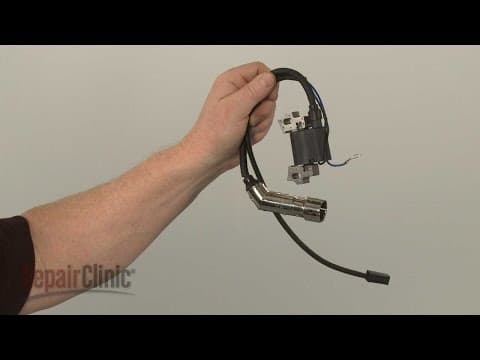
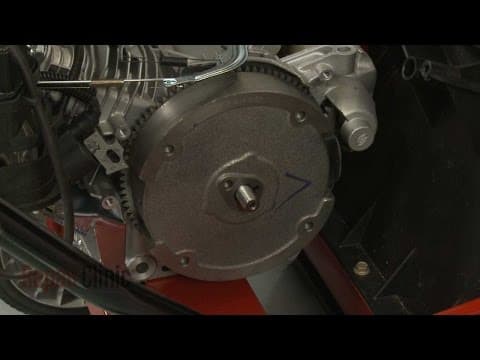
MTD Snowblower Carburetor Insulator Replacement #951-11568
Skill Level
Total Parts Cost
$4.22Estimated Savings
$112.5004:13
- Description
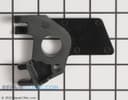
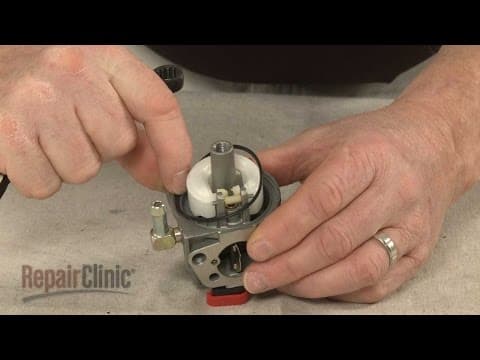
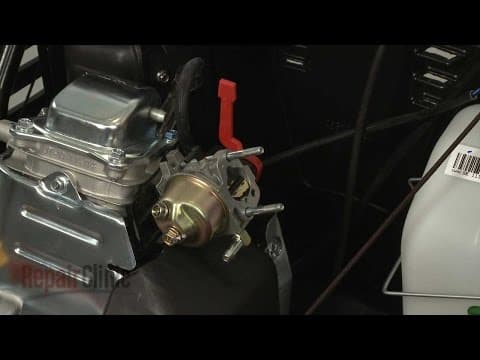
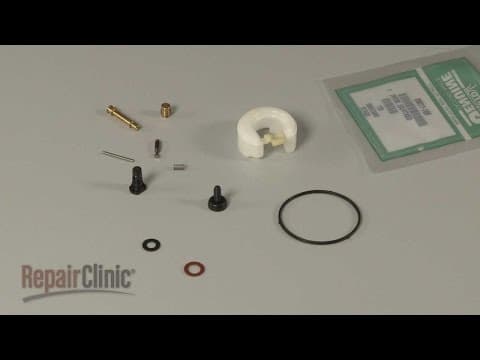
This video provides step-by-step instructions for replacing the carburetor insulator on MTD small engines, commonly found in MTD, Craftsman, Cub Cadet, Huskee, MasterCut, Troy-Bilt, Yard Machines, and Yard-Man snowblowers,, tillers, and log splitters. The most common reason for replacing the insulator is if it is broken or missing.
All of the information in this carburetor insulator replacement video is applicable to the following brands: MTD, Craftsman, Yard Machines, Cub Cadet, Troy-Bilt, Yard-Man, Huskee, MasterCut
Tools used: 3/8” socket, 10mm socket
All of the information in this carburetor insulator replacement video is applicable to the following brands: MTD, Craftsman, Yard Machines, Cub Cadet, Troy-Bilt, Yard-Man, Huskee, MasterCut
Tools used: 3/8” socket, 10mm socket
Step By Step Instructions
1
In this video, we will show one or more of these icons to alert you when to use caution before you replace the carburetor insulator on your snowblower engine.
2
Make sure the engine has cooled and the ignition key has been removed.
3
Now, carefully tip the snow blower forward so it rests on the auger housing.
4
Detach the choke lever extension.
5
Next, use a 3/8 inch socket to unthread the three mounting screws securing the lower shroud.
6
Lift the lower shroud off.
7
Next, use a 10 millimeter socket to unthread the nuts securing the air intake housing.
8
Detach the primer hose from the retaining bracket.
9
Detach the breather tube from the valve cover, then lift off the housing and set it aside.
10
Slide off the carburetor inlet gasket.
11
Detach the throttle spring and linkage from the carburetor.
12
Slide the carburetor off of the mounting posts and set it aside.
13
Remove the outlet gasket.
14
Detach the ignition wire from the insulator and slide off the old insulator.
15
Before you install the new carburetor insulator, replace the gasket if necessary.
16
Now, slide the new insulator onto the mounting posts and attach the ignition wire.
17
Replace the outlet gasket.
18
Slide on the carburetor and reattach the throttle spring and linkage.
19
Slide on the carburetor inlet gasket.
20
Reposition the air intake housing and attach the breather tube to the valve cover.
21
Secure the primer hose in the retaining bracket.
22
Re-thread the nuts to secure the housing and tighten.
23
Replace the lower shroud by first inserting the tabs into the slots in the frame.
24
Position the shroud and re-thread the mounting screws.
25
Replace the choke lever extension with the support tabs facing up.
26
Return the snow blower to its upright position.
27
With the repair completed, reinsert the ignition key and your snow blower should be ready for use.
Description
This video provides step-by-step instructions for replacing the carburetor insulator on MTD small engines, commonly found in MTD, Craftsman, Cub Cadet, Huskee, MasterCut, Troy-Bilt, Yard Machines, and Yard-Man snowblowers,, tillers, and log splitters. The most common reason for replacing the insulator is if it is broken or missing.
All of the information in this carburetor insulator replacement video is applicable to the following brands: MTD, Craftsman, Yard Machines, Cub Cadet, Troy-Bilt, Yard-Man, Huskee, MasterCut
Tools used: 3/8” socket, 10mm socket
All of the information in this carburetor insulator replacement video is applicable to the following brands: MTD, Craftsman, Yard Machines, Cub Cadet, Troy-Bilt, Yard-Man, Huskee, MasterCut
Tools used: 3/8” socket, 10mm socket
Step-By-Step Instructions
1
In this video, we will show one or more of these icons to alert you when to use caution before you replace the carburetor insulator on your snowblower engine.
2
Make sure the engine has cooled and the ignition key has been removed.
3
Now, carefully tip the snow blower forward so it rests on the auger housing.
4
Detach the choke lever extension.
5
Next, use a 3/8 inch socket to unthread the three mounting screws securing the lower shroud.
6
Lift the lower shroud off.
7
Next, use a 10 millimeter socket to unthread the nuts securing the air intake housing.
8
Detach the primer hose from the retaining bracket.
9
Detach the breather tube from the valve cover, then lift off the housing and set it aside.
10
Slide off the carburetor inlet gasket.
11
Detach the throttle spring and linkage from the carburetor.
12
Slide the carburetor off of the mounting posts and set it aside.
13
Remove the outlet gasket.
14
Detach the ignition wire from the insulator and slide off the old insulator.
15
Before you install the new carburetor insulator, replace the gasket if necessary.
16
Now, slide the new insulator onto the mounting posts and attach the ignition wire.
17
Replace the outlet gasket.
18
Slide on the carburetor and reattach the throttle spring and linkage.
19
Slide on the carburetor inlet gasket.
20
Reposition the air intake housing and attach the breather tube to the valve cover.
21
Secure the primer hose in the retaining bracket.
22
Re-thread the nuts to secure the housing and tighten.
23
Replace the lower shroud by first inserting the tabs into the slots in the frame.
24
Position the shroud and re-thread the mounting screws.
25
Replace the choke lever extension with the support tabs facing up.
26
Return the snow blower to its upright position.
27
With the repair completed, reinsert the ignition key and your snow blower should be ready for use.
Applicable Product Model
Parts Needed
Insulator
$4.22
Total$0.00
Related Articles & Videos




Our Story
Family-owned and operated since 1912, Burke America Parts Group is the longest-running genuine appliance, HVAC, and outdoor power equipment parts solution in North America. At Repair Clinic, we're proud to be an international brand trusted by the pros as well as the DIY community.
About Repair Clinic
© 2026 RepairClinic.com