

Price Match Guarantee

In-stock parts ship the same day

365-Day Return Policy
Price Match GuaranteeGET PRO PRICING
Video & Articles: Appliance & Equipment RepairBriggs & Stratton Small Engine Brake Replacement Part # 691487

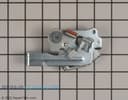
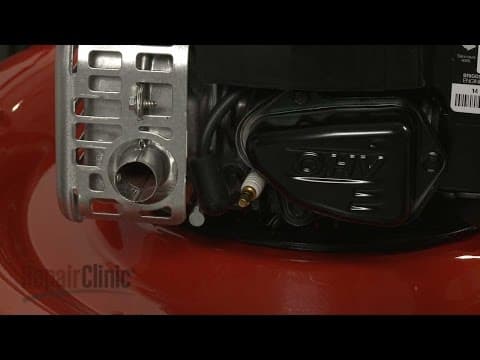
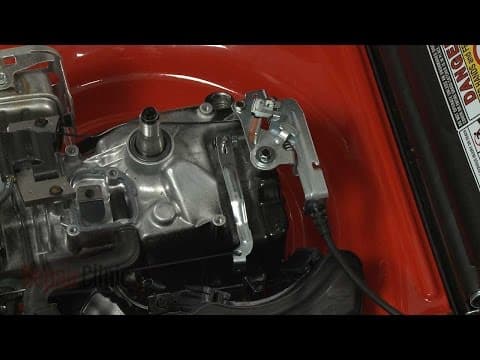
Briggs & Stratton Small Engine Brake Replacement Part # 691487
Skill Level
Total Parts Cost
$44.04Estimated Savings
$112.5006:43
- Description
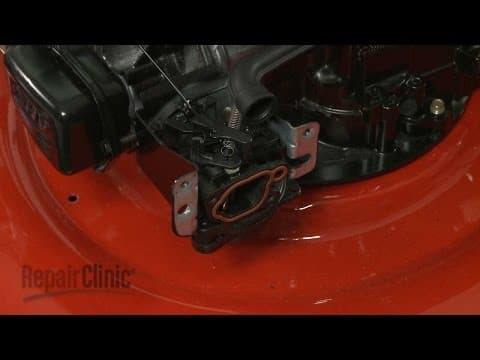
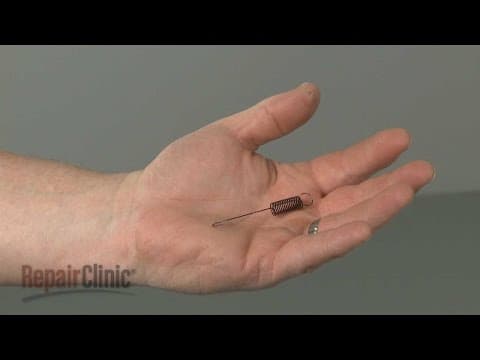
This video provides step-by-step repair instructions for replacing the brake on a Briggs and Stratton small engine. The most common reason for replacing the brake is when the engine won’t start.
All of the information for this engine brake replacement video is applicable to the following brands:
Briggs & Stratton, MTD
Tools needed: 5/16 inch socket or nut driver, mallet, spring clamp, flywheel puller, pliers, torque wrench
All of the information for this engine brake replacement video is applicable to the following brands:
Briggs & Stratton, MTD
Tools needed: 5/16 inch socket or nut driver, mallet, spring clamp, flywheel puller, pliers, torque wrench
Step By Step Instructions
1
Before you replace the brake on your engine first make sure the engine has cooled.
2
Next, you should remove the wire and boot from the spark plug to prevent the engine from accidentally starting.
3
We recommend performing this procedure with little or no fuel in the tank.
4
Now loosen the rope guide wing nut and remove the starter rope.
5
Use a 5/16th inch socket or nut driver to unthread the bolts securing the blower housing cover.
6
Lift off the cover.
7
Next, use a support to prevent the flywheel from rotating.
8
Now use a 15/16th inch socket and strike it with a mallet to help loosen the flywheel mounting nut.
9
Unthread the nut and remove the flywheel cup.
10
Now depress the bail arm and use a spring clamp to hold the arm in place.
11
Use a flywheel puller and the mallet to help loosen the flywheel.
12
Lift off the flywheel.
13
Remove the flywheel key as well if still intact.
14
Next, detach the fuel tank from the blower housing and remove the dipstick tube assembly.
15
Now unthread the screws securing the blower housing. You will need to break the breather chamber seal to be able to lift off the housing.
16
With the housing removed, release the spring clamp from the bail arm.
17
Now use pliers to detach the brake cable from the bracket then unhook the z-end from the brake arm.
18
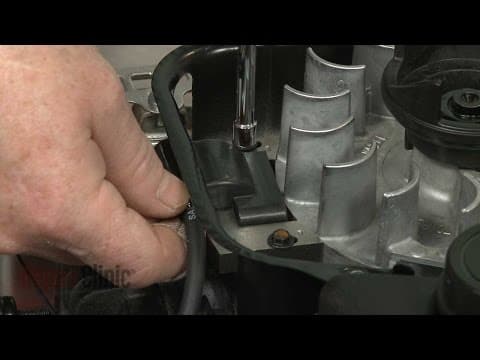
Depress the tab to release the ignition coil wire.
19
Now unthread the screws securing the engine brake.
20
Remove the old brake.
21
Install the new engine brake by aligning it on the crankcase then thread the screws to secure.
22
Attach the ignition coil wire to the engine brake bracket.
23
Clean any residue from the blower housing and the edge of the breather chamber.
24
Avoid getting any debris in the chamber.
25
Apply some sealant to the edge of the breather chamber.
26
Reposition the blower housing and thread the screws to secure.
27
Reinsert the dipstick tube assembly firmly into the crankcase as you clip the assembly onto the blower housing.
28
Realign the fuel tank tabs with the slots in the housing.
29
Reinstall the flywheel by aligning the notch in the flywheel with the slot in the crankshaft.
30
Push the key into place.
31
Align the flywheel cup on the flywheel.
32
Position the washer and thread the mounting nut.
33
Use a torque wrench to torque the nut to 60 foot pounds.
34
Remove the support.
35
Remove the tension lock arm from the engine brake.
36
Now hook the z-end of the brake cable onto the brake arm.
37
Snap the cable into place on the bracket.
38
Replace the blower housing cover then thread and tighten the bolts to secure.
39
Depress the bail arm extend the starter rope and hook the rope on the guide.
40
Tighten the rope guide wing nut.
41
With the repair completed reattach the wire and boot to the spark plug refill the fuel tank and your engine should be ready for use.
Description
This video provides step-by-step repair instructions for replacing the brake on a Briggs and Stratton small engine. The most common reason for replacing the brake is when the engine won’t start.
All of the information for this engine brake replacement video is applicable to the following brands:
Briggs & Stratton, MTD
Tools needed: 5/16 inch socket or nut driver, mallet, spring clamp, flywheel puller, pliers, torque wrench
All of the information for this engine brake replacement video is applicable to the following brands:
Briggs & Stratton, MTD
Tools needed: 5/16 inch socket or nut driver, mallet, spring clamp, flywheel puller, pliers, torque wrench
Step-By-Step Instructions
1
Before you replace the brake on your engine first make sure the engine has cooled.
2
Next, you should remove the wire and boot from the spark plug to prevent the engine from accidentally starting.
3
We recommend performing this procedure with little or no fuel in the tank.
4
Now loosen the rope guide wing nut and remove the starter rope.
5
Use a 5/16th inch socket or nut driver to unthread the bolts securing the blower housing cover.
6
Lift off the cover.
7
Next, use a support to prevent the flywheel from rotating.
8
Now use a 15/16th inch socket and strike it with a mallet to help loosen the flywheel mounting nut.
9
Unthread the nut and remove the flywheel cup.
10
Now depress the bail arm and use a spring clamp to hold the arm in place.
11
Use a flywheel puller and the mallet to help loosen the flywheel.
12
Lift off the flywheel.
13
Remove the flywheel key as well if still intact.
14
Next, detach the fuel tank from the blower housing and remove the dipstick tube assembly.
15
Now unthread the screws securing the blower housing. You will need to break the breather chamber seal to be able to lift off the housing.
16
With the housing removed, release the spring clamp from the bail arm.
17
Now use pliers to detach the brake cable from the bracket then unhook the z-end from the brake arm.
18
Depress the tab to release the ignition coil wire.
19
Now unthread the screws securing the engine brake.
20
Remove the old brake.
21
Install the new engine brake by aligning it on the crankcase then thread the screws to secure.
22
Attach the ignition coil wire to the engine brake bracket.
23
Clean any residue from the blower housing and the edge of the breather chamber.
24
Avoid getting any debris in the chamber.
25
Apply some sealant to the edge of the breather chamber.
26
Reposition the blower housing and thread the screws to secure.
27
Reinsert the dipstick tube assembly firmly into the crankcase as you clip the assembly onto the blower housing.
28
Realign the fuel tank tabs with the slots in the housing.
29
Reinstall the flywheel by aligning the notch in the flywheel with the slot in the crankshaft.
30
Push the key into place.
31
Align the flywheel cup on the flywheel.
32
Position the washer and thread the mounting nut.
33
Use a torque wrench to torque the nut to 60 foot pounds.
34
Remove the support.
35
Remove the tension lock arm from the engine brake.
36
Now hook the z-end of the brake cable onto the brake arm.
37
Snap the cable into place on the bracket.
38
Replace the blower housing cover then thread and tighten the bolts to secure.
39
Depress the bail arm extend the starter rope and hook the rope on the guide.
40
Tighten the rope guide wing nut.
41
With the repair completed reattach the wire and boot to the spark plug refill the fuel tank and your engine should be ready for use.
Applicable Product Model
Parts Needed
Engine Brake
$44.04
Total$0.00
Related Articles & Videos
04:55
Part Replacement
Briggs & Stratton Small Engine Carburetor Replacement Part # 799584
03:07
Part Replacement
Briggs & Stratton Small Engine Ignition Coil Replacement Part # 593872
01:40
Part Replacement
Briggs & Stratton Small Engine Spark Plug Replacement Part # 692051
06:24
Part Replacement
Briggs & Stratton Small Engine Replace Governor Lever Part # 590520




Our Story
Family-owned and operated since 1912, Burke America Parts Group is the longest-running genuine appliance, HVAC, and outdoor power equipment parts solution in North America. At Repair Clinic, we're proud to be an international brand trusted by the pros as well as the DIY community.
About Repair Clinic
© 2026 RepairClinic.com