

Price Match Guarantee

In-stock parts ship the same day

365-Day Return Policy
Price Match GuaranteeGET PRO PRICING
Video & Articles: Appliance & Equipment RepairHonda Lawn Mower Handle Lock Collar Replacement Part # 91551-VL0-B00

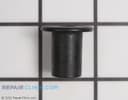
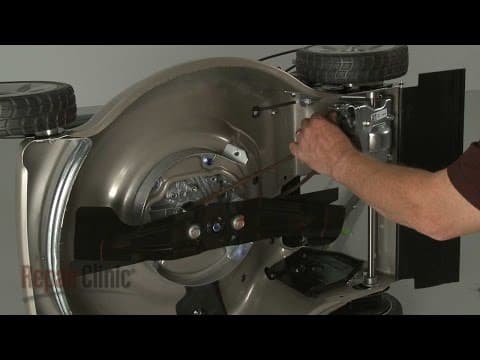
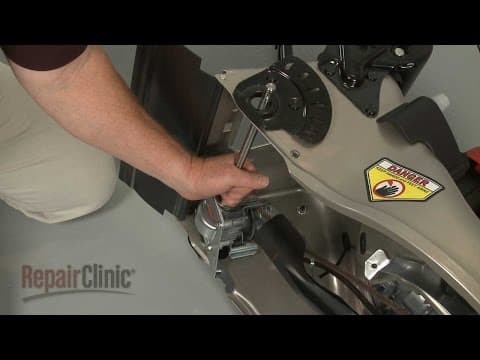
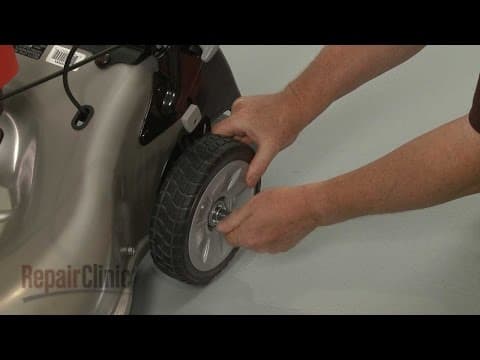
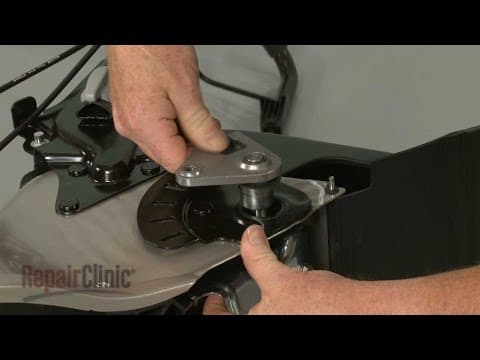
Honda Lawn Mower Handle Lock Collar Replacement Part # 91551-VL0-B00
Skill Level
Total Parts Cost
$6.33Estimated Savings
$112.5001:43
- Description
This video provides step-by-step repair instructions for replacing the handle lock collar on a Honda lawn mower. The most common reason for replacing the collar is if the handle will not stay in place.
All of the information for this collar replacement video is applicable to the following brands:
Honda
Tools needed: 1/16 inch punch, rubber mallet
All of the information for this collar replacement video is applicable to the following brands:
Honda
Tools needed: 1/16 inch punch, rubber mallet
Step By Step Instructions
1
To replace a handle lock collar on your lawn mower first remove the grass bag if applicable.
2
Rotate the handle lock knobs a quarter-turn to release the lock pins.
3
Lift the handle up.
4
Rotate the applicable knob another quarter-turn to release the spring tension then use a 1/16th inch punch and a rubber mallet to knock out the roll pin securing the knob.
5
Remove the knob and lock pin assembly.
6
If still intact, remove the old collar.
7
Install the new handle lock collar by inserting it into the hole on the inside of the handle.
8
Making sure the spring is positioned on the lock pin, insert the pin into the collar.
9
Now align the hole in the knob with the hole in the lock pin.
10
Insert the roll pin and use the punch and mallet to knock it into place.
11
Rotate the knob a quarter-turn
12
Lower the handle to the desired position then rotate both knobs a quarter-turn to secure.
Description
This video provides step-by-step repair instructions for replacing the handle lock collar on a Honda lawn mower. The most common reason for replacing the collar is if the handle will not stay in place.
All of the information for this collar replacement video is applicable to the following brands:
Honda
Tools needed: 1/16 inch punch, rubber mallet
All of the information for this collar replacement video is applicable to the following brands:
Honda
Tools needed: 1/16 inch punch, rubber mallet
Step-By-Step Instructions
1
To replace a handle lock collar on your lawn mower first remove the grass bag if applicable.
2
Rotate the handle lock knobs a quarter-turn to release the lock pins.
3
Lift the handle up.
4
Rotate the applicable knob another quarter-turn to release the spring tension then use a 1/16th inch punch and a rubber mallet to knock out the roll pin securing the knob.
5
Remove the knob and lock pin assembly.
6
If still intact, remove the old collar.
7
Install the new handle lock collar by inserting it into the hole on the inside of the handle.
8
Making sure the spring is positioned on the lock pin, insert the pin into the collar.
9
Now align the hole in the knob with the hole in the lock pin.
10
Insert the roll pin and use the punch and mallet to knock it into place.
11
Rotate the knob a quarter-turn
12
Lower the handle to the desired position then rotate both knobs a quarter-turn to secure.
Applicable Product Model
Parts Needed
Bushing
$6.33
Total$0.00
Related Articles & Videos
04:36
Part Replacement
Honda Lawn Mower Replace Left Rear Wheel Support Part # 42940-VG3-B01




Our Story
Family-owned and operated since 1912, Burke America Parts Group is the longest-running genuine appliance, HVAC, and outdoor power equipment parts solution in North America. At Repair Clinic, we're proud to be an international brand trusted by the pros as well as the DIY community.
About Repair Clinic
© 2026 RepairClinic.com