

Price Match Guarantee

In-stock parts ship the same day

365-Day Return Policy
Price Match GuaranteeGET PRO PRICING
Video & Articles: Appliance & Equipment RepairFrigidaire Dryer Glide Pad Replacement, Upper #5303937139

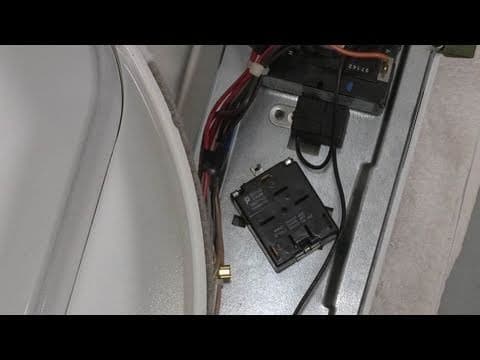
Frigidaire Dryer Glide Pad Replacement, Upper #5303937139
Skill Level
Total Parts Cost
$158.60Estimated Savings
$150.0002:36
- Description
This video provides step-by-step repair instructions for replacing the upper glide pad on a Frigidaire dryer. The most common reasons for replacing the upper glide pad are when the dryer makes noise, stops turning mid-cycle, or won’t turn at all.
All of the information for this upper glide pad replacement video is applicable to the following brands:
Frigidaire, Westinghouse, Kenmore, Gibson, Universal, Kelvinator, Tappan, Montgomery Ward, Electrolux
Tools needed: putty knife, screwdriver
All of the information for this upper glide pad replacement video is applicable to the following brands:
Frigidaire, Westinghouse, Kenmore, Gibson, Universal, Kelvinator, Tappan, Montgomery Ward, Electrolux
Tools needed: putty knife, screwdriver
Step By Step Instructions
1
As with any repair, be sure you unplug the appliance before beginning.
2
Your first step is to insert a putty knife under the front of the main top to release the spring clips.
3
Now rotate the top up and support it.
4
If you dryer has a rear control panel
5
You next step is to disconnect the door switch wires.
6
If your dryer has the control panel in the front you will need to disconnect the wire harness.
7
If necessary, you may also need to remove the zip tie securing the wires.
8
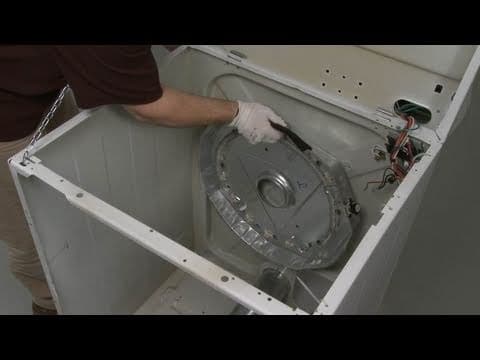
Now, remove the front panel mounting screws and pull the front panel up and out to remove.
9
If still intact, remove the old felt glide pad and clean off any residue.
10
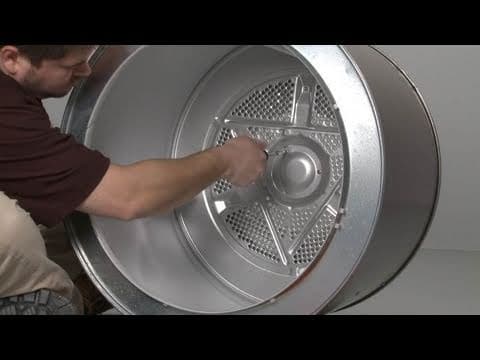
Prepare the new felt glide pad for installation by first applying the high temperature adhesive to the drum support rim.
11
Allow the adhesive to set for one minute then align the new glide pad around the rim, applying pressure as you go.
12
Allow 20 minutes for the adhesive to dry.
13
Once the adhesive has dried, reinstall the front panel by aligning the slots at the bottom of the panel with the support clips then lift up the drum as you snap the front panel into place.
14
Secure the mounting screws and reconnect the wire harness or door switch wires depending on your model.
15
Use a zip tie to secure the wires.
16
Rotate the main top back into place and press down on the front to secure the spring clips.
17
You’re now ready to plug the appliance back in to make sure it’s functioning properly.
Description
This video provides step-by-step repair instructions for replacing the upper glide pad on a Frigidaire dryer. The most common reasons for replacing the upper glide pad are when the dryer makes noise, stops turning mid-cycle, or won’t turn at all.
All of the information for this upper glide pad replacement video is applicable to the following brands:
Frigidaire, Westinghouse, Kenmore, Gibson, Universal, Kelvinator, Tappan, Montgomery Ward, Electrolux
Tools needed: putty knife, screwdriver
All of the information for this upper glide pad replacement video is applicable to the following brands:
Frigidaire, Westinghouse, Kenmore, Gibson, Universal, Kelvinator, Tappan, Montgomery Ward, Electrolux
Tools needed: putty knife, screwdriver
Step-By-Step Instructions
1
As with any repair, be sure you unplug the appliance before beginning.
2
Your first step is to insert a putty knife under the front of the main top to release the spring clips.
3
Now rotate the top up and support it.
4
If you dryer has a rear control panel
5
You next step is to disconnect the door switch wires.
6
If your dryer has the control panel in the front you will need to disconnect the wire harness.
7
If necessary, you may also need to remove the zip tie securing the wires.
8
Now, remove the front panel mounting screws and pull the front panel up and out to remove.
9
If still intact, remove the old felt glide pad and clean off any residue.
10
Prepare the new felt glide pad for installation by first applying the high temperature adhesive to the drum support rim.
11
Allow the adhesive to set for one minute then align the new glide pad around the rim, applying pressure as you go.
12
Allow 20 minutes for the adhesive to dry.
13
Once the adhesive has dried, reinstall the front panel by aligning the slots at the bottom of the panel with the support clips then lift up the drum as you snap the front panel into place.
14
Secure the mounting screws and reconnect the wire harness or door switch wires depending on your model.
15
Use a zip tie to secure the wires.
16
Rotate the main top back into place and press down on the front to secure the spring clips.
17
You’re now ready to plug the appliance back in to make sure it’s functioning properly.
Applicable Product Model

Total$0.00
Related Articles & Videos
04:26
Part Replacement
Frigidaire & GE Dryer Drive Motor Part Numbers 131560100 & WE17X10001




Our Story
Family-owned and operated since 1912, Burke America Parts Group is the longest-running genuine appliance, HVAC, and outdoor power equipment parts solution in North America. At Repair Clinic, we're proud to be an international brand trusted by the pros as well as the DIY community.
About Repair Clinic
© 2026 RepairClinic.com