

Price Match Guarantee

In-stock parts ship the same day

365-Day Return Policy
Price Match GuaranteeGET PRO PRICING
Video & Articles: Appliance & Equipment RepairHusqvarna String Trimmer Ignition Coil Wire Harness #530039227

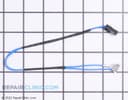
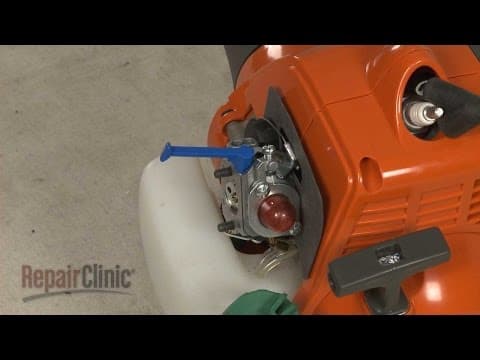
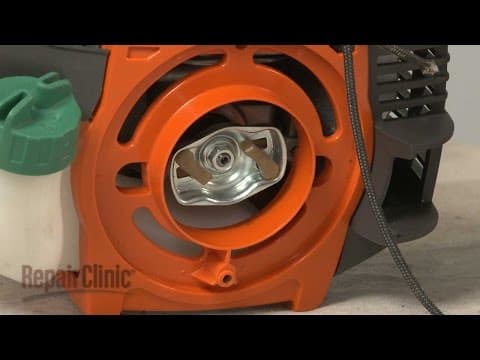
Husqvarna String Trimmer Ignition Coil Wire Harness #530039227
Skill Level
Total Parts Cost
$7.72Estimated Savings
$112.5006:42
- Description
This video provides step-by-step instructions for replacing the ignition coil wire harness on a Husqvarna string trimmer. The most common reason for replacing the harness is if the string trimmer will not start.
All of the information in this wire harness replacement video is applicable to the following brands: Poulan, Husqvarna, Craftsman, Poulan Pro
Tools used: T-25 Torx head screwdriver, 8 mm socket
All of the information in this wire harness replacement video is applicable to the following brands: Poulan, Husqvarna, Craftsman, Poulan Pro
Tools used: T-25 Torx head screwdriver, 8 mm socket
Step By Step Instructions
1
Anncr: repairclinic makes fixing things easy…
2
…with millions of replacement parts available on our website…
3
…and the help you need to do the repair yourself.
4
Since we encourage you to perform this repair safely, a warning icon will appear when you should use caution.
5
Before you replace the ignition coil wire harness in your string trimmer…
6
…make sure the engine has cooled.
7
Next, remove the wire and boot from the spark plug to prevent the engine from accidentally starting.
8
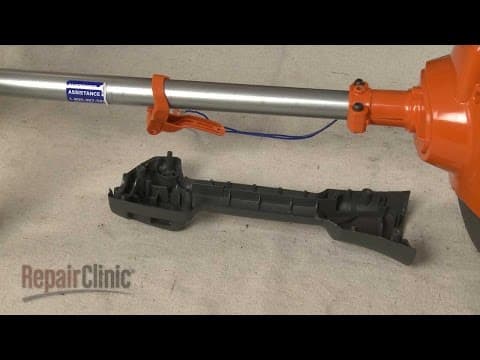
Use a t-25 torx bit to unthread the mounting screw securing the throttle housing.
9
Next, loosen the clamp screw…
10
…and the two screws closest to the trigger.
11
You can now slide the drive shaft out…
12
…and detach the throttle housing.
13
Now unthread the screws securing the muffler cover.
14
Detach the cover.
15
Next, remove the screws to release the muffler shield.
16
Remove all of the screws so you can separate the two halves of the engine housing.
17
Now unthread the screw to release the ignition coil eyelet wire.
18
Disconnect the other coil wire from the terminal.
19
Next, loosen the knob to release the air filter cover.
20
Remove the filter…
21
…and use an 8mm socket or nut driver to unthread the air filter housing mounting nuts.
22
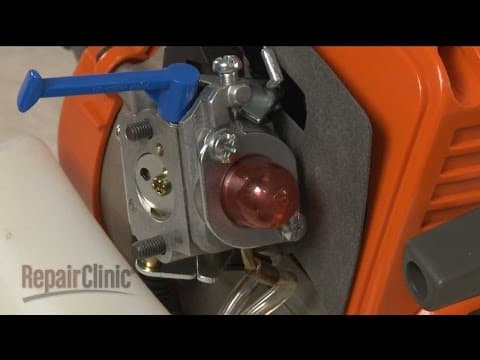
Lift up the choke lever and remove the housing.
23
Disconnect the ignition coil wire connecter…
24
…and remove the old wire harness – rotating the harness as you pull it out may make this easier.
25
Install the new ignition coil wire harness…
26
…by feeding the connecter end through the hole in the crankcase.
27
Connect the wire connecter.
28
With the choke lever up, realign the air filter housing…
29
…and secure it with the nuts.
30
Open the choke and replace the air filter.
31
Reposition the air filter cover and tighten the knob to secure.
32
Connect the wire to the ignition coil terminal…
33
…and secure the eyelet wire with the screw.
34
Be aware the ignition coil may have become misaligned.
35
To realign the coil…
36
…first make sure the flywheel magnets are aligned with the coil.
37
Place a business card between the coil and the flywheel…then loosen the screws to align the coil the correct distance from the magnets.
38
Tighten the screws and remove the card.
39
Join the two halves of the engine housing together.
40
Rethread all of the screws to secure.
41
Realign the muffler shield and secure it with the screws.
42
Realign the muffler cover and rethread the screws to secure.
43
Reposition the throttle housing…
44
…and slide the drive shaft through the housing until it locks into place.
45
Rethread the mounting screw…
46
…then tighten the other screws.
47
With the repair completed, reattach the wire and boot to the spark plug…
48
…and your string trimmer should be ready for use.
49
At repairclinic – we make fixing things easy.
50
Thank you for supporting the production of these videos by purchasing your parts from our website.
Description
This video provides step-by-step instructions for replacing the ignition coil wire harness on a Husqvarna string trimmer. The most common reason for replacing the harness is if the string trimmer will not start.
All of the information in this wire harness replacement video is applicable to the following brands: Poulan, Husqvarna, Craftsman, Poulan Pro
Tools used: T-25 Torx head screwdriver, 8 mm socket
All of the information in this wire harness replacement video is applicable to the following brands: Poulan, Husqvarna, Craftsman, Poulan Pro
Tools used: T-25 Torx head screwdriver, 8 mm socket
Step-By-Step Instructions
1
Anncr: repairclinic makes fixing things easy…
2
…with millions of replacement parts available on our website…
3
…and the help you need to do the repair yourself.
4
Since we encourage you to perform this repair safely, a warning icon will appear when you should use caution.
5
Before you replace the ignition coil wire harness in your string trimmer…
6
…make sure the engine has cooled.
7
Next, remove the wire and boot from the spark plug to prevent the engine from accidentally starting.
8
Use a t-25 torx bit to unthread the mounting screw securing the throttle housing.
9
Next, loosen the clamp screw…
10
…and the two screws closest to the trigger.
11
You can now slide the drive shaft out…
12
…and detach the throttle housing.
13
Now unthread the screws securing the muffler cover.
14
Detach the cover.
15
Next, remove the screws to release the muffler shield.
16
Remove all of the screws so you can separate the two halves of the engine housing.
17
Now unthread the screw to release the ignition coil eyelet wire.
18
Disconnect the other coil wire from the terminal.
19
Next, loosen the knob to release the air filter cover.
20
Remove the filter…
21
…and use an 8mm socket or nut driver to unthread the air filter housing mounting nuts.
22
Lift up the choke lever and remove the housing.
23
Disconnect the ignition coil wire connecter…
24
…and remove the old wire harness – rotating the harness as you pull it out may make this easier.
25
Install the new ignition coil wire harness…
26
…by feeding the connecter end through the hole in the crankcase.
27
Connect the wire connecter.
28
With the choke lever up, realign the air filter housing…
29
…and secure it with the nuts.
30
Open the choke and replace the air filter.
31
Reposition the air filter cover and tighten the knob to secure.
32
Connect the wire to the ignition coil terminal…
33
…and secure the eyelet wire with the screw.
34
Be aware the ignition coil may have become misaligned.
35
To realign the coil…
36
…first make sure the flywheel magnets are aligned with the coil.
37
Place a business card between the coil and the flywheel…then loosen the screws to align the coil the correct distance from the magnets.
38
Tighten the screws and remove the card.
39
Join the two halves of the engine housing together.
40
Rethread all of the screws to secure.
41
Realign the muffler shield and secure it with the screws.
42
Realign the muffler cover and rethread the screws to secure.
43
Reposition the throttle housing…
44
…and slide the drive shaft through the housing until it locks into place.
45
Rethread the mounting screw…
46
…then tighten the other screws.
47
With the repair completed, reattach the wire and boot to the spark plug…
48
…and your string trimmer should be ready for use.
49
At repairclinic – we make fixing things easy.
50
Thank you for supporting the production of these videos by purchasing your parts from our website.
Applicable Product Model
Parts Needed
Wire Harness
$7.72



Total$0.00
Related Articles & Videos




Our Story
Family-owned and operated since 1912, Burke America Parts Group is the longest-running genuine appliance, HVAC, and outdoor power equipment parts solution in North America. At Repair Clinic, we're proud to be an international brand trusted by the pros as well as the DIY community.
About Repair Clinic
© 2026 RepairClinic.com