

Price Match Guarantee

In-stock parts ship the same day

365-Day Return Policy
Price Match GuaranteeGET PRO PRICING
Video & Articles: Appliance & Equipment RepairGE Refrigerator Replace Damper Control Assembly #WR09X10050

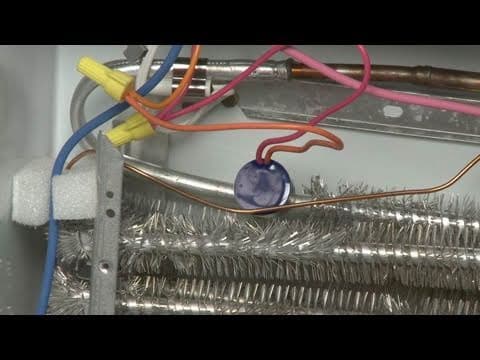
GE Refrigerator Replace Damper Control Assembly #WR09X10050
Skill Level
Total Parts Cost
$157.93Estimated Savings
$112.5001:47
- Description
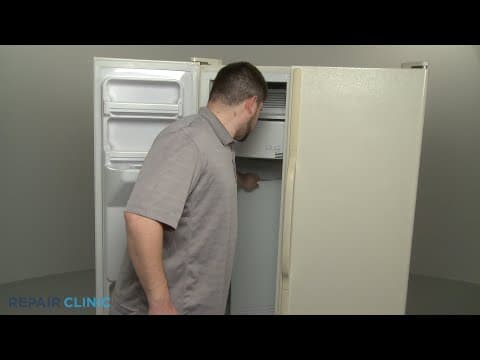
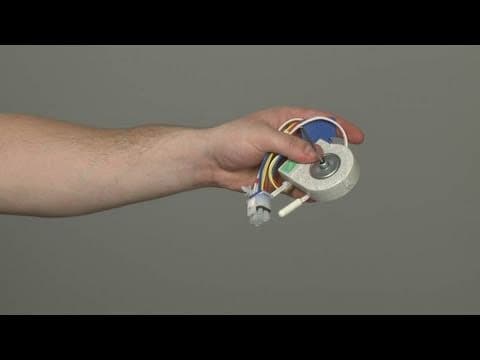
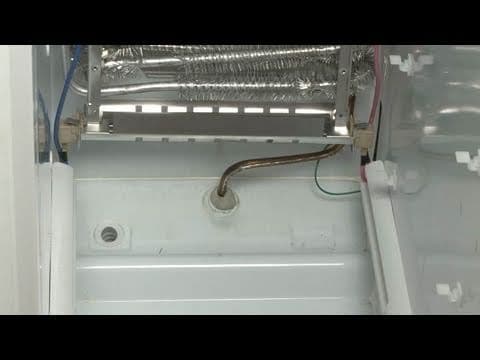
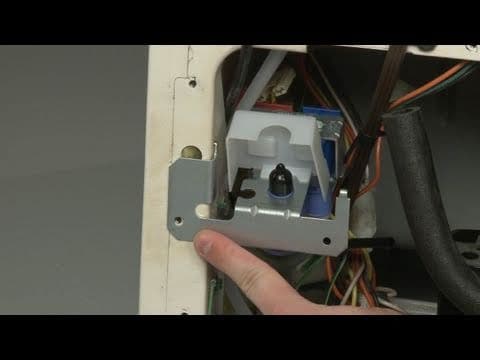
This video provides step-by-step instructions for replacing the damper control assembly in GE refrigerators. The most common reasons for replacing the damper control is when the fridge is freezing food or the freezer is cold but the fridge is warm.
All the information in this control assembly replacement video is applicable to the following brands: GE, Hotpoint, RCA
Tools used: screwdriver, nutdriver, wrench
All the information in this control assembly replacement video is applicable to the following brands: GE, Hotpoint, RCA
Tools used: screwdriver, nutdriver, wrench
Step By Step Instructions
1
As with any repair, be sure you unplug the appliance before beginning.
2
Your first step is to remove the screws to release the damper housing.
3
Next, disconnect the wire harness and release the thermistor.
4
Now, pull the old air damper assembly away from the interior wall.
5
Since the damper is secured with adhesive, this may require some effort.
6
Remove any residue.
7
You're now ready to install the new air damper.
8
First, peel off the adhesive backing to the gasket and attach it to the damper.
9
Peel off the second adhesive backing from the gasket and position the new air damper assembly into place.
10
Connect the wire harness and secure the thermistor.
11
Replace the damper housing and secure it with the screws.
12
You're now ready to plug the appliance back in to make sure it's functioning properly.
Description
This video provides step-by-step instructions for replacing the damper control assembly in GE refrigerators. The most common reasons for replacing the damper control is when the fridge is freezing food or the freezer is cold but the fridge is warm.
All the information in this control assembly replacement video is applicable to the following brands: GE, Hotpoint, RCA
Tools used: screwdriver, nutdriver, wrench
All the information in this control assembly replacement video is applicable to the following brands: GE, Hotpoint, RCA
Tools used: screwdriver, nutdriver, wrench
Step-By-Step Instructions
1
As with any repair, be sure you unplug the appliance before beginning.
2
Your first step is to remove the screws to release the damper housing.
3
Next, disconnect the wire harness and release the thermistor.
4
Now, pull the old air damper assembly away from the interior wall.
5
Since the damper is secured with adhesive, this may require some effort.
6
Remove any residue.
7
You're now ready to install the new air damper.
8
First, peel off the adhesive backing to the gasket and attach it to the damper.
9
Peel off the second adhesive backing from the gasket and position the new air damper assembly into place.
10
Connect the wire harness and secure the thermistor.
11
Replace the damper housing and secure it with the screws.
12
You're now ready to plug the appliance back in to make sure it's functioning properly.
Applicable Product Model
Related Articles & Videos




Our Story
Family-owned and operated since 1912, Burke America Parts Group is the longest-running genuine appliance, HVAC, and outdoor power equipment parts solution in North America. At Repair Clinic, we're proud to be an international brand trusted by the pros as well as the DIY community.
About Repair Clinic
© 2026 RepairClinic.com