

Price Match Guarantee

In-stock parts ship the same day

365-Day Return Policy
Price Match GuaranteeGET PRO PRICING
Video & Articles: Appliance & Equipment RepairKitchenAid Dishwasher Handle Mounting Stud Installation #WP8564951

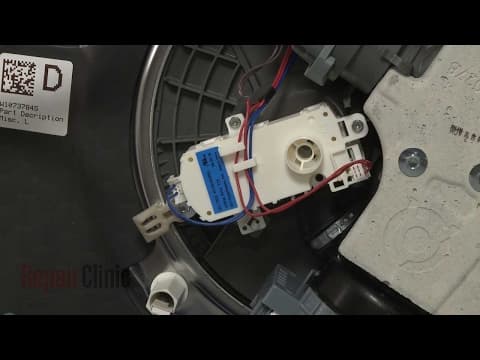
KitchenAid Dishwasher Handle Mounting Stud Installation #WP8564951
Skill Level
Total Parts Cost
$13.25Estimated Savings
$112.5001:54
- Description
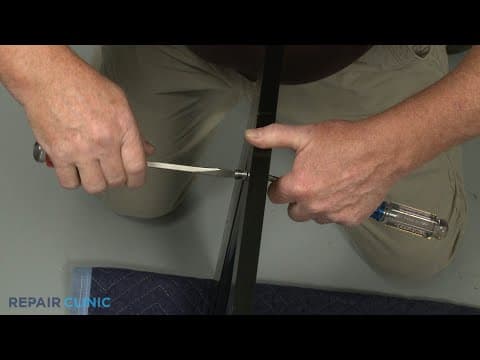
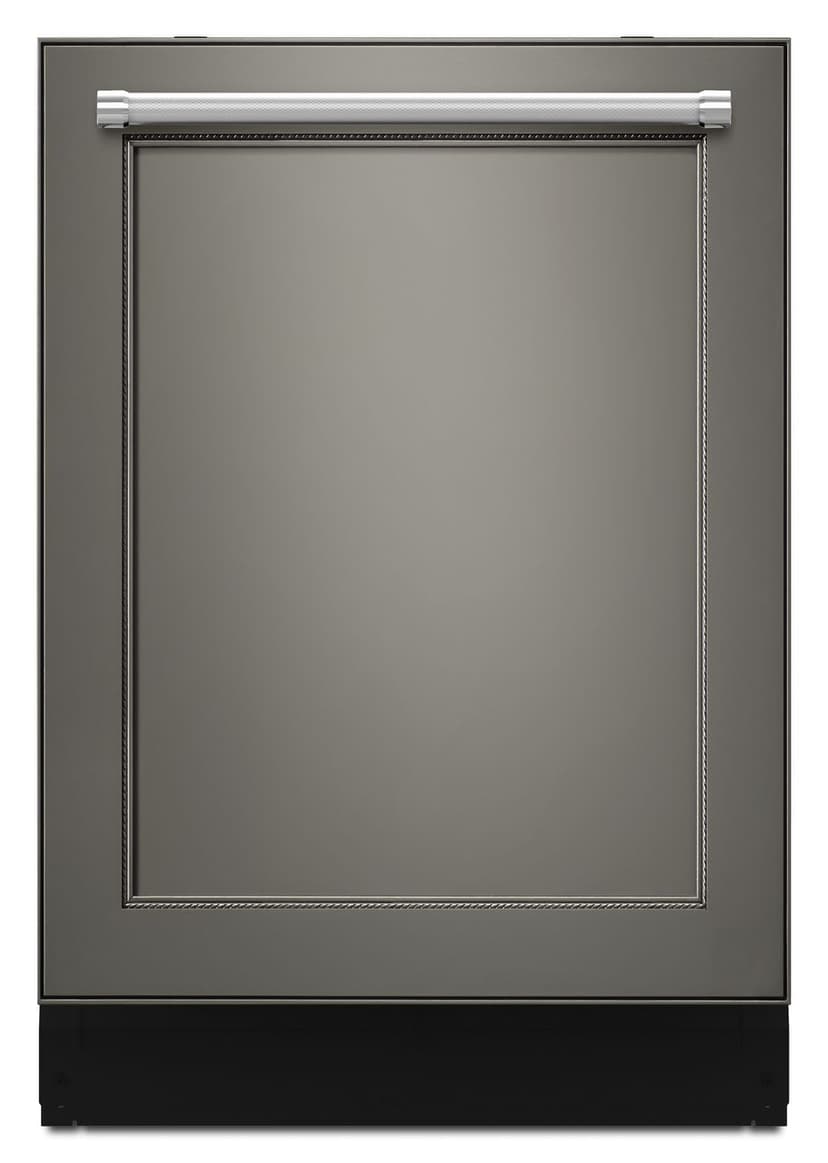
This video provides step-by-step repair instructions for installing the handle mounting stud on KitchenAid dishwasher model #KDTE204EPA3.
All of the information for this stud installation video is applicable to the following brands:
Kenmore, KitchenAid, Whirlpool, Ikea, Amana, Jenn Air, Maytag
Tools needed: 3/16" drill bit
All of the information for this stud installation video is applicable to the following brands:
Kenmore, KitchenAid, Whirlpool, Ikea, Amana, Jenn Air, Maytag
Tools needed: 3/16" drill bit
Step By Step Instructions
1
When installing the dishwasher door handle mounting studs on a custom wood panel the handle and studs should be centered on the panel and positioned two to five inches from the top edge.
2
Measure the distance between the mounting stud holes on the handle and mark the panel accordingly.
3
Use a 3/16th inch drill bit to drill pilot holes through the front of the panel.
4
Use an appropriate-size drill bit to drill out the area surrounding the screw holes on the back of the panel to countersink the holes.
5
Now insert the mounting screws through the back of the panel making sure the heads of the screws are flush with the panel surface.
6
Thread the mounting studs onto the ends of the screws and tighten.
7
If necessary, use an appropriate-size Allen wrench to thread the two set screws loosely into the handle.
8
Align the handle on the mounting studs and use the Allen wrench to tighten the set screws to secure the handle.
Description
This video provides step-by-step repair instructions for installing the handle mounting stud on KitchenAid dishwasher model #KDTE204EPA3.
All of the information for this stud installation video is applicable to the following brands:
Kenmore, KitchenAid, Whirlpool, Ikea, Amana, Jenn Air, Maytag
Tools needed: 3/16" drill bit
All of the information for this stud installation video is applicable to the following brands:
Kenmore, KitchenAid, Whirlpool, Ikea, Amana, Jenn Air, Maytag
Tools needed: 3/16" drill bit
Step-By-Step Instructions
1
When installing the dishwasher door handle mounting studs on a custom wood panel the handle and studs should be centered on the panel and positioned two to five inches from the top edge.
2
Measure the distance between the mounting stud holes on the handle and mark the panel accordingly.
3
Use a 3/16th inch drill bit to drill pilot holes through the front of the panel.
4
Use an appropriate-size drill bit to drill out the area surrounding the screw holes on the back of the panel to countersink the holes.
5
Now insert the mounting screws through the back of the panel making sure the heads of the screws are flush with the panel surface.
6
Thread the mounting studs onto the ends of the screws and tighten.
7
If necessary, use an appropriate-size Allen wrench to thread the two set screws loosely into the handle.
8
Align the handle on the mounting studs and use the Allen wrench to tighten the set screws to secure the handle.
Applicable Product Model
Related Articles & Videos
02:48
Part Replacement
Door Handle Mounting Stud (part WP8564951) - Jenn-Air Wine Cellar Refrigerator Repair




Our Story
Family-owned and operated since 1912, Burke America Parts Group is the longest-running genuine appliance, HVAC, and outdoor power equipment parts solution in North America. At Repair Clinic, we're proud to be an international brand trusted by the pros as well as the DIY community.
About Repair Clinic
© 2026 RepairClinic.com