

Price Match Guarantee

In-stock parts ship the same day

365-Day Return Policy
Price Match GuaranteeGET PRO PRICING
Video & Articles: Appliance & Equipment RepairKitchenAid Dishwasher Door Panel Seal Installation #WPW10366978
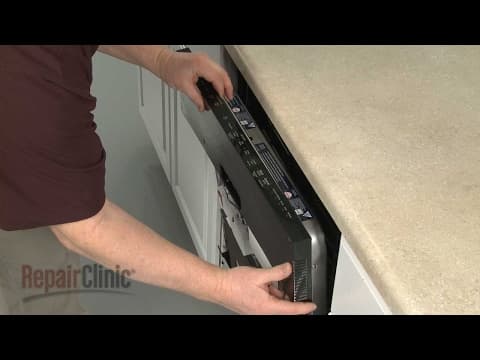
KitchenAid Dishwasher Door Panel Seal Installation #WPW10366978
Skill Level
Total Parts Cost
$16.84Estimated Savings
$112.5003:07
- Description
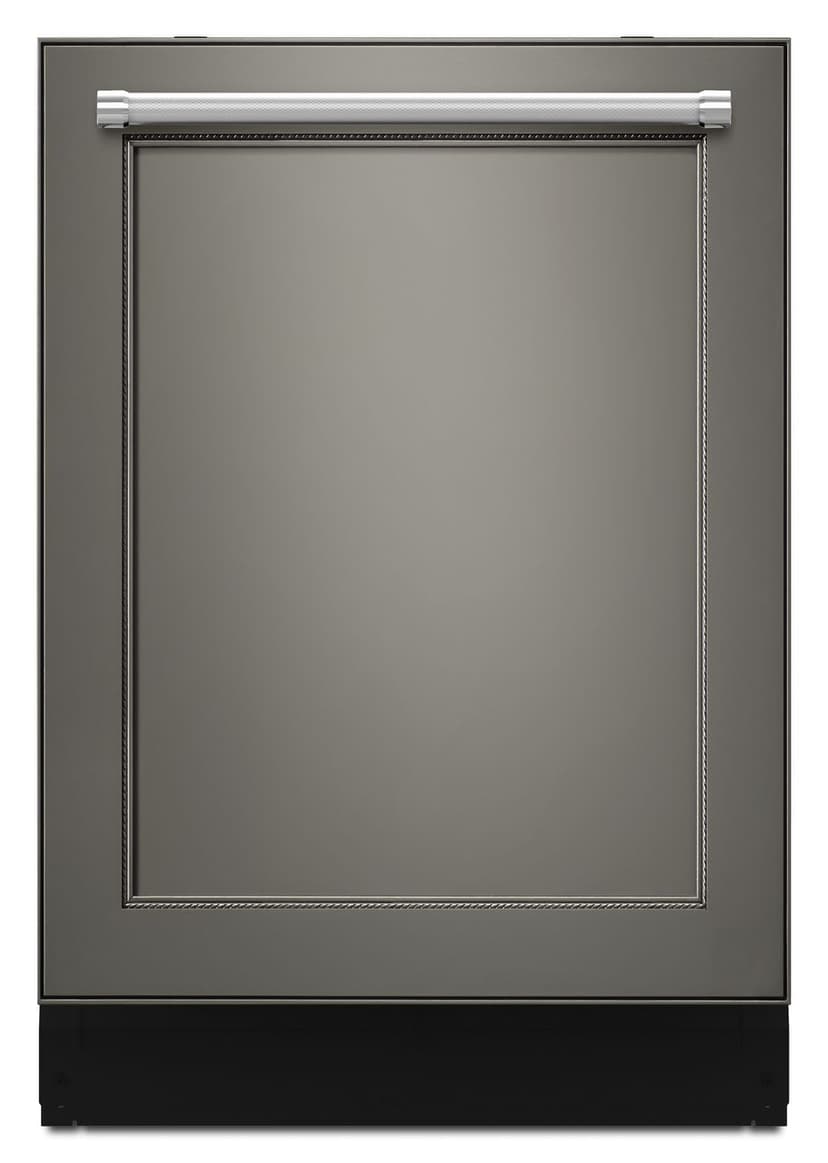
This video provides step-by-step repair instructions for installing a custom panel seal on KitchenAid dishwasher model #KDTE204EPA3.
All of the information for this seal installation video is applicable to the following brands:
Kenmore, KitchenAid, Whirlpool, Ikea, Amana, Jenn Air, Maytag
Tools needed: 3/16" drill bit
All of the information for this seal installation video is applicable to the following brands:
Kenmore, KitchenAid, Whirlpool, Ikea, Amana, Jenn Air, Maytag
Tools needed: 3/16" drill bit
Step By Step Instructions
1
Anncr: repairclinic makes fixing things easy…
2
…with millions of replacement parts available on our website…
3
…and the help you need to do the repair yourself.
4
Since we encourage you to perform this procedure safely, a warning icon will appear when you should use caution.
5
When installing a custom wood panel on a dishwasher…
6
…the two panel seal strips will need to be installed first.
7
Confirm that the seal strips are right-side up and that the holes align with the key-hole slots in the dishwasher’s metal door panel.
8
The seal strips should not overhang the metal panel on the top, bottom or sides.
9
Remove the backing…
10
…and accurately align the two seal strips on the metal panel.
11
You can now insert the custom panel studs into the key-hole slots.
12
Slide the wood panel down until the top of the wood panel is flush with the top of the control panel.
13
Gently slide the dishwasher part way into the cabinet to prevent it from tipping over.
14
Now open the door and unthread the two short screws at the top.
15
Confirm that the top edges of the custom panel and the control panel are aligned…
16
…then drill one-and-a-half inch pilot holes into the top corners of the door using a 3/32nd inch drill bit.
17
You can apply tape to mark the bit to gauge the hole depth.
18
Now using a t-15 torx bit, thread the one-and-three-eights inch screws into the corners to secure the custom panel.
19
Remove the short door screws second from the bottom on the left and right sides.
20
As with the top corners, drill one-and-a-half inch pilot holes.
21
You may need a longer drill bit to avoid hitting the side of the inner door panel.
22
Install the two remaining one-and-three-eights inch screws.
23
With the custom panel fully secured, confirm that the dishwasher door opens and closes properly.
24
At repairclinic – we make fixing things easy.
25
Thank you for supporting the production of these videos by purchasing your parts from our website.
Description
This video provides step-by-step repair instructions for installing a custom panel seal on KitchenAid dishwasher model #KDTE204EPA3.
All of the information for this seal installation video is applicable to the following brands:
Kenmore, KitchenAid, Whirlpool, Ikea, Amana, Jenn Air, Maytag
Tools needed: 3/16" drill bit
All of the information for this seal installation video is applicable to the following brands:
Kenmore, KitchenAid, Whirlpool, Ikea, Amana, Jenn Air, Maytag
Tools needed: 3/16" drill bit
Step-By-Step Instructions
1
Anncr: repairclinic makes fixing things easy…
2
…with millions of replacement parts available on our website…
3
…and the help you need to do the repair yourself.
4
Since we encourage you to perform this procedure safely, a warning icon will appear when you should use caution.
5
When installing a custom wood panel on a dishwasher…
6
…the two panel seal strips will need to be installed first.
7
Confirm that the seal strips are right-side up and that the holes align with the key-hole slots in the dishwasher’s metal door panel.
8
The seal strips should not overhang the metal panel on the top, bottom or sides.
9
Remove the backing…
10
…and accurately align the two seal strips on the metal panel.
11
You can now insert the custom panel studs into the key-hole slots.
12
Slide the wood panel down until the top of the wood panel is flush with the top of the control panel.
13
Gently slide the dishwasher part way into the cabinet to prevent it from tipping over.
14
Now open the door and unthread the two short screws at the top.
15
Confirm that the top edges of the custom panel and the control panel are aligned…
16
…then drill one-and-a-half inch pilot holes into the top corners of the door using a 3/32nd inch drill bit.
17
You can apply tape to mark the bit to gauge the hole depth.
18
Now using a t-15 torx bit, thread the one-and-three-eights inch screws into the corners to secure the custom panel.
19
Remove the short door screws second from the bottom on the left and right sides.
20
As with the top corners, drill one-and-a-half inch pilot holes.
21
You may need a longer drill bit to avoid hitting the side of the inner door panel.
22
Install the two remaining one-and-three-eights inch screws.
23
With the custom panel fully secured, confirm that the dishwasher door opens and closes properly.
24
At repairclinic – we make fixing things easy.
25
Thank you for supporting the production of these videos by purchasing your parts from our website.
Applicable Product Model
Related Articles & Videos




Our Story
Family-owned and operated since 1912, Burke America Parts Group is the longest-running genuine appliance, HVAC, and outdoor power equipment parts solution in North America. At Repair Clinic, we're proud to be an international brand trusted by the pros as well as the DIY community.
About Repair Clinic
© 2026 RepairClinic.com