

Price Match Guarantee

In-stock parts ship the same day

365-Day Return Policy
Price Match GuaranteeGET PRO PRICING
Video & Articles: Appliance & Equipment RepairWhirlpool Electric Cooktop Main Glass Top Replacement #W10365146

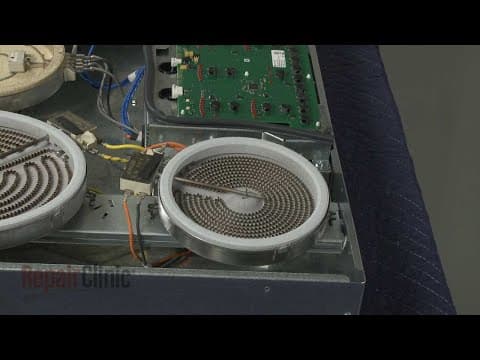
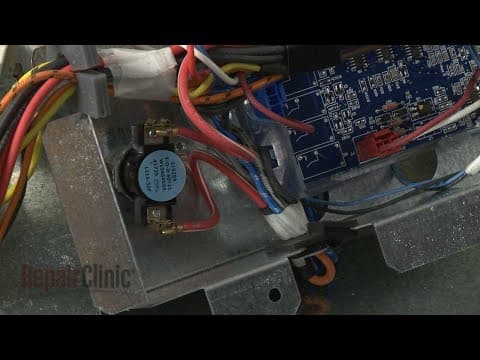
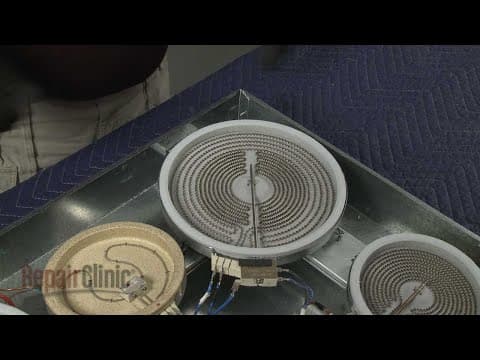
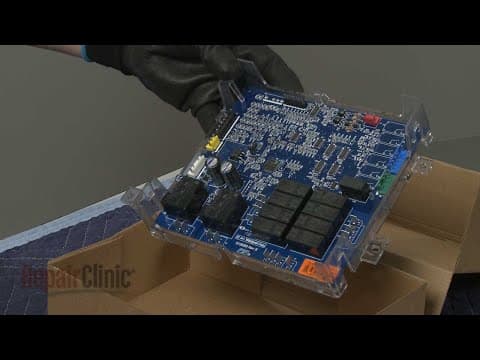
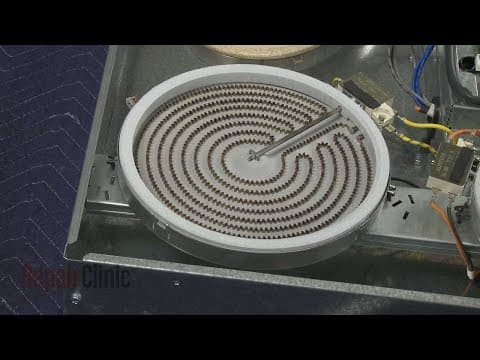
Whirlpool Electric Cooktop Main Glass Top Replacement #W10365146
Skill Level
Total Parts Cost
$338.77Estimated Savings
$112.5006:54
- Description
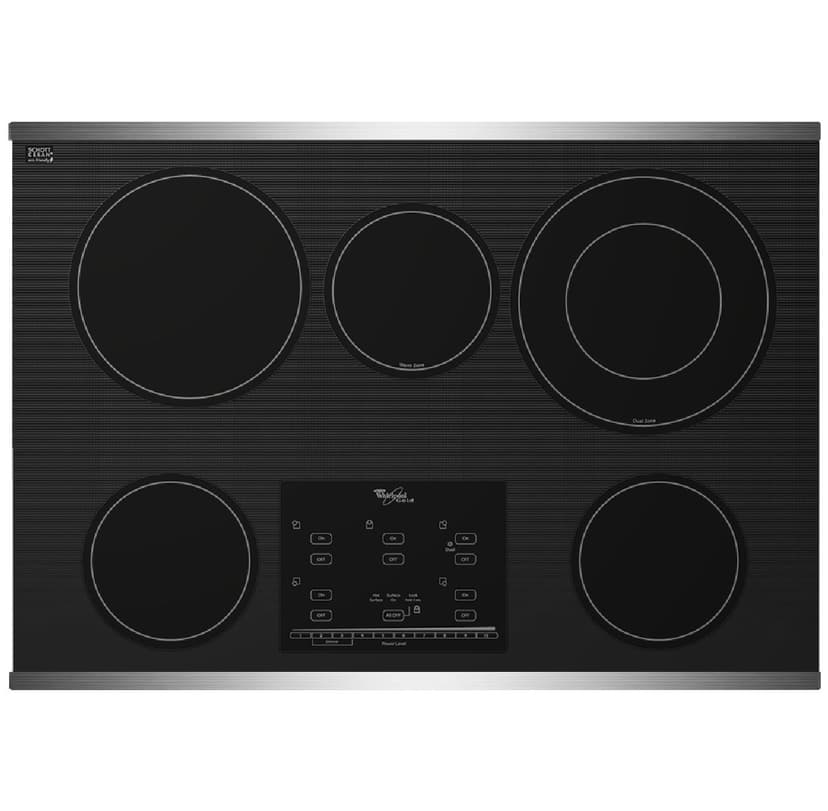
This video provides step-by-step instructions for replacing the main glass top on a Whirlpool electric cooktop (model #G9CE3065XS01). The most common reason for replacing the top is if it is cracked or damaged.
All of the information in this main top replacement video is applicable to the following brands: Whirlpool
Tools used: phillips-head screwdriver, quarter inch nut driver
All of the information in this main top replacement video is applicable to the following brands: Whirlpool
Tools used: phillips-head screwdriver, quarter inch nut driver
Step By Step Instructions
1
Whirlpool Electric Cooktop - G9CE3065XS01
2
Electric Cooktop Main Glass Top Replacement
3
Tools needed: Phillips-head screwdriver, quarter-inch socket or nut driver
4
Shock
5
Be sure to turn off the power supply to the junction box.
6
Unthread the screws securing the junction box cover and remove the cover.
7
Untwist the wire nuts to disconnect the power and grounding wires.
8
Loosen the conduit connector screw or screws, then remove the conduit cable from the junction box.
9
Next, use a Phillips-head screwdriver to fully unthread the two clamping screws from the clamping brackets.
10
Use a quarter-inch socket or nut driver to loosen the adjustment screws securing the clamping brackets.
11
Rotate the brackets inward, then tighten the screws.
12
Heavy
13
You can now lift the cooktop out of the cut-space in the counter-top and set the cooktop on a sturdy surface.
14
Using a quarter-inch nut driver or a Phillips-head screwdriver, unthread the twelve screws securing the glass top to the base.
15
Sharp
16
Carefully lift the old top off.
17
Before you install the new glass top, confirm that the surface elements are properly positioned.
18
Align the glass top on the base, then thread and tighten the screws to secure.
19
With the new glass top secured, set the cooktop upside down on a covered surface.
20
You will need to install new protective foam strips on the underside of the top.
21
Determine the appropriate length for the protective strips by aligning the strips with the front or rear edge of the cooktop?then trim the strips accordingly.
22
Peel one of the strips from the backing to expose the adhesive and position the strip on the bottom of the cooktop glass along the front.
23
Position a second strip along the rear.
24
Next, determine the appropriate length for the sides of the cooktop?and cut the strips accordingly.
25
Position the two strips.
26
Now realign the cooktop in the cut-out space of the countertop.
27
Loosen the two adjustment screws and rotate the clamping brackets outward, then tighten the screws.
28
Next, thread one of the clamping screws through the outermost hole in the bracket.
29
Tighten the screw against the underside of the countertop.
30
Avoid over-tightening.
31
Repeat for the opposite side to fully secure the cooktop.
32
Feed the conduit cable through the connecter into the junction box.
33
Tighten the screw or screws to secure the conduit.
34
Now join the black wires together and secure them with a wire nut.
35
Do the same to secure the two red wires together and the two white wires.
36
If your junction box has a four-wire power supply line, join the green or bare grounding wire or wires to the bare grounding wire from the cooktop and secure them with a wire nut.
37
If your power supply only has three wires, connect the grounding wire or wires along with the white wire from the cooktop to the white neutral wire in the box.
38
With all of the wires positioned inside the junction box, replace and secure the cover.
39
With the repair completed, restore power to the junction box and the cooktop should be ready for use.
Description
This video provides step-by-step instructions for replacing the main glass top on a Whirlpool electric cooktop (model #G9CE3065XS01). The most common reason for replacing the top is if it is cracked or damaged.
All of the information in this main top replacement video is applicable to the following brands: Whirlpool
Tools used: phillips-head screwdriver, quarter inch nut driver
All of the information in this main top replacement video is applicable to the following brands: Whirlpool
Tools used: phillips-head screwdriver, quarter inch nut driver
Step-By-Step Instructions
1
Whirlpool Electric Cooktop - G9CE3065XS01
2
Electric Cooktop Main Glass Top Replacement
3
Tools needed: Phillips-head screwdriver, quarter-inch socket or nut driver
4
Shock
5
Be sure to turn off the power supply to the junction box.
6
Unthread the screws securing the junction box cover and remove the cover.
7
Untwist the wire nuts to disconnect the power and grounding wires.
8
Loosen the conduit connector screw or screws, then remove the conduit cable from the junction box.
9
Next, use a Phillips-head screwdriver to fully unthread the two clamping screws from the clamping brackets.
10
Use a quarter-inch socket or nut driver to loosen the adjustment screws securing the clamping brackets.
11
Rotate the brackets inward, then tighten the screws.
12
Heavy
13
You can now lift the cooktop out of the cut-space in the counter-top and set the cooktop on a sturdy surface.
14
Using a quarter-inch nut driver or a Phillips-head screwdriver, unthread the twelve screws securing the glass top to the base.
15
Sharp
16
Carefully lift the old top off.
17
Before you install the new glass top, confirm that the surface elements are properly positioned.
18
Align the glass top on the base, then thread and tighten the screws to secure.
19
With the new glass top secured, set the cooktop upside down on a covered surface.
20
You will need to install new protective foam strips on the underside of the top.
21
Determine the appropriate length for the protective strips by aligning the strips with the front or rear edge of the cooktop?then trim the strips accordingly.
22
Peel one of the strips from the backing to expose the adhesive and position the strip on the bottom of the cooktop glass along the front.
23
Position a second strip along the rear.
24
Next, determine the appropriate length for the sides of the cooktop?and cut the strips accordingly.
25
Position the two strips.
26
Now realign the cooktop in the cut-out space of the countertop.
27
Loosen the two adjustment screws and rotate the clamping brackets outward, then tighten the screws.
28
Next, thread one of the clamping screws through the outermost hole in the bracket.
29
Tighten the screw against the underside of the countertop.
30
Avoid over-tightening.
31
Repeat for the opposite side to fully secure the cooktop.
32
Feed the conduit cable through the connecter into the junction box.
33
Tighten the screw or screws to secure the conduit.
34
Now join the black wires together and secure them with a wire nut.
35
Do the same to secure the two red wires together and the two white wires.
36
If your junction box has a four-wire power supply line, join the green or bare grounding wire or wires to the bare grounding wire from the cooktop and secure them with a wire nut.
37
If your power supply only has three wires, connect the grounding wire or wires along with the white wire from the cooktop to the white neutral wire in the box.
38
With all of the wires positioned inside the junction box, replace and secure the cover.
39
With the repair completed, restore power to the junction box and the cooktop should be ready for use.
Applicable Product Model
Related Articles & Videos
10:06
Part Replacement
Whirlpool Electric Cooktop High Limit Thermostat Replacement #W10464566
07:21
Part Replacement
Whirlpool Electric Cooktop Surface Element Replacement #WPW10275049
10:45
Part Replacement
Whirlpool Electric Cooktop Main Control Board Replacement #W10915422
07:14
Part Replacement
Whirlpool Electric Cooktop Surface Element Replacement #WPW10248258




Our Story
Family-owned and operated since 1912, Burke America Parts Group is the longest-running genuine appliance, HVAC, and outdoor power equipment parts solution in North America. At Repair Clinic, we're proud to be an international brand trusted by the pros as well as the DIY community.
About Repair Clinic
© 2026 RepairClinic.com