

Price Match Guarantee

In-stock parts ship the same day

365-Day Return Policy
Price Match GuaranteeGET PRO PRICING
Video & Articles: Appliance & Equipment RepairWhirlpool Retractable Downdraft Vent Upper Arm Replacement #WPW10421280

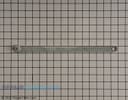
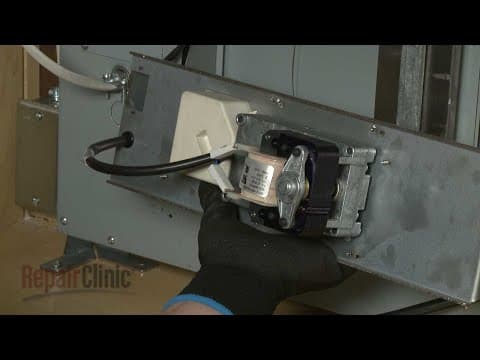
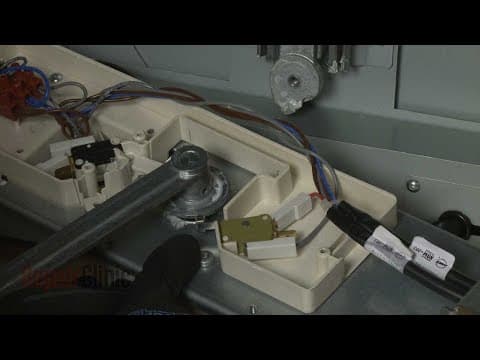
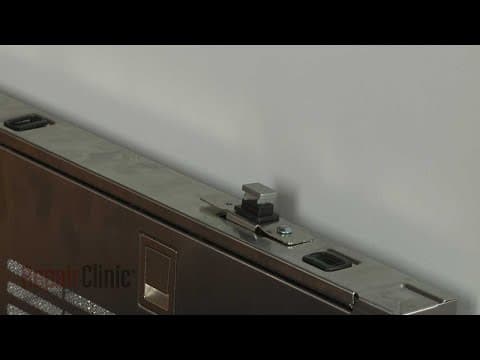
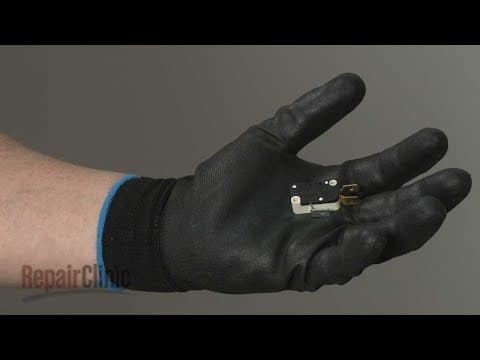
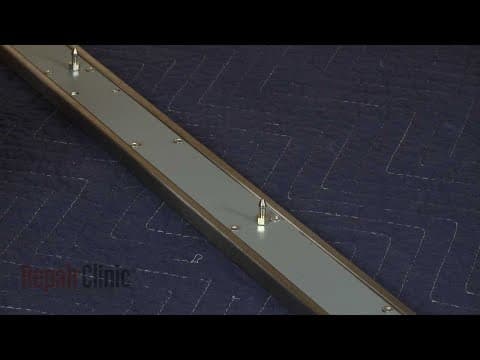
Whirlpool Retractable Downdraft Vent Upper Arm Replacement #WPW10421280
Skill Level
Total Parts Cost
$72.29Estimated Savings
$112.5007:01
- Description
This video provides step-by-step repair instructions for replacing the upper arm on a Whirlpool Retractable Downdraft Vent (model #UXD8630DYS4). The most common reason for replacing the arm is if the vent will not raise or lower properly.
All of the information for this arm replacement video is applicable to the following brands:
Whirlpool
Tools used: T-10 Torx bit
All of the information for this arm replacement video is applicable to the following brands:
Whirlpool
Tools used: T-10 Torx bit
Step By Step Instructions
1
Anncr: repairclinic makes fixing things easy…
2
…with millions of replacement parts available on our website…
3
…and the help you need to do the repair yourself.
4
Since we encourage you to perform this repair safely, a warning icon will appear when you should use caution.
5
Before you replace the upper arm in your retractable downdraft vent…
6
…be sure to shut off the power to the unit.
7
Detach the venting from the backdraft damper.
8
Unthread the four screws securing the vent box cover.
9
Slide the cover up to detach.
10
Cut the zip tie to release the blower assembly power cable…
11
…then disconnect the cable.
12
Now support the bottom of the vent box…
13
…and unthread the seven screws on the top and sides securing the vent box to the plenum.
14
With the screws unthreaded, carefully lift the vent box and blower assembly off of the two bottom shoulder screws and away from the cabinet.
15
You can now remove the nut securing the upper arm to the lower arm.
16
Use a 10mm socket to rotate the nut clockwise to loosen then fully unthread the nut.
17
Have an assistant help you to manually raise the vent…then use clamps to support it in the “up” position.
18
Place a blanket over the cooktop to protect it.
19
Remove the two grease filters.
20
Use a t-10 torx bit to unthread the four screws securing the lower front vent panel – be careful not to lose the screws in the vent holes.
21
With the screws removed, pull the panel forward then lift up to detach.
22
Use the 10mm socket to rotate the nut counter-clockwise to unthread…
23
…and you can remove the old upper arm.
24
Prepare the new upper arm for installation…
25
…by applying some white lithium grease to the ends.
26
Now align the top of the arm on the vent assembly…then thread and tighten the nut clockwise to secure.
27
Reinstall the lower front vent panel by aligning the shoulder screws with the keyhole slots in the frame then push the panel back and down.
28
Thread and tighten the four screws to secure the panel.
29
Replace the grease filters by aligning the bottom edge first…then lift the latch to fully position the top edge.
30
Remove the clamps and gently lower the vent.
31
Now align the lower arm with the new upper arm then thread the nut counter-clockwise…
32
…and tighten.
33
Reinstall the vent box and blower assembly by first feeding the power cable through the rear of the box.
34
Align the bottom edge of the box on the shoulder screws.
35
Support the box…
36
…then rethread and tighten the seven screws to hold the box in place.
37
Reconnect the blower assembly power cable…
38
…and use a zip tie to secure the cable.
39
Reinstall the vent box cover by positioning it over the shoulder screws and sliding it down.
40
Thread and tighten the screws to secure.
41
Reattach the venting to the damper.
42
With the repair completed…
43
…turn the power supply back on…
44
…and the retractable downdraft vent should be ready for use.
45
At repairclinic – we make fixing things easy.
46
Thank you for supporting the production of these videos by purchasing your parts from our website.
Description
This video provides step-by-step repair instructions for replacing the upper arm on a Whirlpool Retractable Downdraft Vent (model #UXD8630DYS4). The most common reason for replacing the arm is if the vent will not raise or lower properly.
All of the information for this arm replacement video is applicable to the following brands:
Whirlpool
Tools used: T-10 Torx bit
All of the information for this arm replacement video is applicable to the following brands:
Whirlpool
Tools used: T-10 Torx bit
Step-By-Step Instructions
1
Anncr: repairclinic makes fixing things easy…
2
…with millions of replacement parts available on our website…
3
…and the help you need to do the repair yourself.
4
Since we encourage you to perform this repair safely, a warning icon will appear when you should use caution.
5
Before you replace the upper arm in your retractable downdraft vent…
6
…be sure to shut off the power to the unit.
7
Detach the venting from the backdraft damper.
8
Unthread the four screws securing the vent box cover.
9
Slide the cover up to detach.
10
Cut the zip tie to release the blower assembly power cable…
11
…then disconnect the cable.
12
Now support the bottom of the vent box…
13
…and unthread the seven screws on the top and sides securing the vent box to the plenum.
14
With the screws unthreaded, carefully lift the vent box and blower assembly off of the two bottom shoulder screws and away from the cabinet.
15
You can now remove the nut securing the upper arm to the lower arm.
16
Use a 10mm socket to rotate the nut clockwise to loosen then fully unthread the nut.
17
Have an assistant help you to manually raise the vent…then use clamps to support it in the “up” position.
18
Place a blanket over the cooktop to protect it.
19
Remove the two grease filters.
20
Use a t-10 torx bit to unthread the four screws securing the lower front vent panel – be careful not to lose the screws in the vent holes.
21
With the screws removed, pull the panel forward then lift up to detach.
22
Use the 10mm socket to rotate the nut counter-clockwise to unthread…
23
…and you can remove the old upper arm.
24
Prepare the new upper arm for installation…
25
…by applying some white lithium grease to the ends.
26
Now align the top of the arm on the vent assembly…then thread and tighten the nut clockwise to secure.
27
Reinstall the lower front vent panel by aligning the shoulder screws with the keyhole slots in the frame then push the panel back and down.
28
Thread and tighten the four screws to secure the panel.
29
Replace the grease filters by aligning the bottom edge first…then lift the latch to fully position the top edge.
30
Remove the clamps and gently lower the vent.
31
Now align the lower arm with the new upper arm then thread the nut counter-clockwise…
32
…and tighten.
33
Reinstall the vent box and blower assembly by first feeding the power cable through the rear of the box.
34
Align the bottom edge of the box on the shoulder screws.
35
Support the box…
36
…then rethread and tighten the seven screws to hold the box in place.
37
Reconnect the blower assembly power cable…
38
…and use a zip tie to secure the cable.
39
Reinstall the vent box cover by positioning it over the shoulder screws and sliding it down.
40
Thread and tighten the screws to secure.
41
Reattach the venting to the damper.
42
With the repair completed…
43
…turn the power supply back on…
44
…and the retractable downdraft vent should be ready for use.
45
At repairclinic – we make fixing things easy.
46
Thank you for supporting the production of these videos by purchasing your parts from our website.
Applicable Product Model
Parts Needed
Bracket
$72.29
Total$0.00
Related Articles & Videos
08:31
Part Replacement
Whirlpool Retractable Downdraft Vent Drive Motor Replacement #WPW10398274
06:50
Part Replacement
Whirlpool Retractable Downdraft Vent Lower Limit Switch Replacement #2118461
02:32
Part Replacement
Whirlpool Retractable Downdraft Vent Push Button Switch Replacement #W11230930
07:43
Part Replacement
Whirlpool Retractable Downdraft Vent Upper Limit Blower Switch Replacement #W11098806
01:29
Part Replacement
Whirlpool Retractable Downdraft Vent Top Trim Mounting Post Replacement #W10421517




Our Story
Family-owned and operated since 1912, Burke America Parts Group is the longest-running genuine appliance, HVAC, and outdoor power equipment parts solution in North America. At Repair Clinic, we're proud to be an international brand trusted by the pros as well as the DIY community.
About Repair Clinic
© 2026 RepairClinic.com