

Price Match Guarantee

In-stock parts ship the same day

365-Day Return Policy
Price Match GuaranteeGET PRO PRICING
Video & Articles: Appliance & Equipment RepairKitchenaid Electric Downdraft Cooktop Blower Assembly Replacement #W11083804

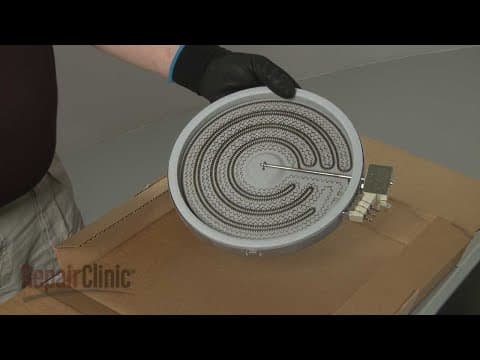
Kitchenaid Electric Downdraft Cooktop Blower Assembly Replacement #W11083804
Skill Level
Total Parts Cost
$276.39Estimated Savings
$112.5004:18
- Description
This video provides step-by-step repair instructions for replacing the blower assembly on a Kitchenaid Electric Downdraft Cooktop (model #KCED600GSS2). The most common reason for replacing the blower assembly is if the vent will not work properly.
All of the information for this blower replacement video is applicable to the following brands:
Kitchenaid, Whirlpool
Tools used: Phillips-head screwdriver, 1/4" socket or nut driver
All of the information for this blower replacement video is applicable to the following brands:
Kitchenaid, Whirlpool
Tools used: Phillips-head screwdriver, 1/4" socket or nut driver
Step By Step Instructions
1
KitchenAid Electric Downdraft Cooktop - KCED600GSS2
2
Electric Downdraft Cooktop Blower Assembly Replacement
3
Tools needed: Phillips-head screwdriver, quarter-inch socket or nut driver, needle-nose pliers or a flat-head screwdriver, 3/8th inch socket or nut driver
4
Shock
5
Be sure to shut off the power to the cooktop.
6
Detach the venting from the blower.
7
Use a quarter-inch socket or nut driver to unthread the two screws securing the blower assembly junction box.
8
Sharp
9
Reach into the box and disconnect the wire connecter.
10
Next, use needle-nose pliers or a flat-head screwdriver to help depress the retaining tabs to release the power cable strain relief.
11
Use a Phillips-head screwdriver to unthread the two screws to release the plenum access panel.
12
Support the blower assembly and use a 3/8th inch socket or nut driver to fully unthread three of the four locking nuts from the blower mounting studs.
13
Heavy
14
Remove the three nuts and washers, then loosen the fourth nut.
15
You can now fully detach the old blower assembly.
16
Prepare the new blower assembly for installation by removing any protective caps from the mounting studs.
17
It may be helpful to slide one of the washers over a stud then thread a locking nut loosely before aligning the blower assembly.
18
Align the assembly on the plenum so the blower outlet faces the appropriate direction to line up with the venting.
19
Slide the remaining three washers over the mounting studs, then thread on the locking nuts and hand-tighten.
20
Avoid fully-tightening the nuts at this time.
21
Feed the power cable connecter through the junction box and snap the strain relief into place.
22
Connect the wire connecter.
23
Reposition the junction box on the cooktop base and secure it with the screws.
24
Rotate the blower as necessary to align it with the vent?then attach the venting.
25
With the venting attached, you can now tighten the locking nuts.
26
Replace the plenum access cover and secure it with the screws.
27
With the repair completed, turn the power supply back on and the electric downdraft cooktop should be ready for use.
Description
This video provides step-by-step repair instructions for replacing the blower assembly on a Kitchenaid Electric Downdraft Cooktop (model #KCED600GSS2). The most common reason for replacing the blower assembly is if the vent will not work properly.
All of the information for this blower replacement video is applicable to the following brands:
Kitchenaid, Whirlpool
Tools used: Phillips-head screwdriver, 1/4" socket or nut driver
All of the information for this blower replacement video is applicable to the following brands:
Kitchenaid, Whirlpool
Tools used: Phillips-head screwdriver, 1/4" socket or nut driver
Step-By-Step Instructions
1
KitchenAid Electric Downdraft Cooktop - KCED600GSS2
2
Electric Downdraft Cooktop Blower Assembly Replacement
3
Tools needed: Phillips-head screwdriver, quarter-inch socket or nut driver, needle-nose pliers or a flat-head screwdriver, 3/8th inch socket or nut driver
4
Shock
5
Be sure to shut off the power to the cooktop.
6
Detach the venting from the blower.
7
Use a quarter-inch socket or nut driver to unthread the two screws securing the blower assembly junction box.
8
Sharp
9
Reach into the box and disconnect the wire connecter.
10
Next, use needle-nose pliers or a flat-head screwdriver to help depress the retaining tabs to release the power cable strain relief.
11
Use a Phillips-head screwdriver to unthread the two screws to release the plenum access panel.
12
Support the blower assembly and use a 3/8th inch socket or nut driver to fully unthread three of the four locking nuts from the blower mounting studs.
13
Heavy
14
Remove the three nuts and washers, then loosen the fourth nut.
15
You can now fully detach the old blower assembly.
16
Prepare the new blower assembly for installation by removing any protective caps from the mounting studs.
17
It may be helpful to slide one of the washers over a stud then thread a locking nut loosely before aligning the blower assembly.
18
Align the assembly on the plenum so the blower outlet faces the appropriate direction to line up with the venting.
19
Slide the remaining three washers over the mounting studs, then thread on the locking nuts and hand-tighten.
20
Avoid fully-tightening the nuts at this time.
21
Feed the power cable connecter through the junction box and snap the strain relief into place.
22
Connect the wire connecter.
23
Reposition the junction box on the cooktop base and secure it with the screws.
24
Rotate the blower as necessary to align it with the vent?then attach the venting.
25
With the venting attached, you can now tighten the locking nuts.
26
Replace the plenum access cover and secure it with the screws.
27
With the repair completed, turn the power supply back on and the electric downdraft cooktop should be ready for use.
Applicable Product Model
Related Articles & Videos
06:47
Part Replacement
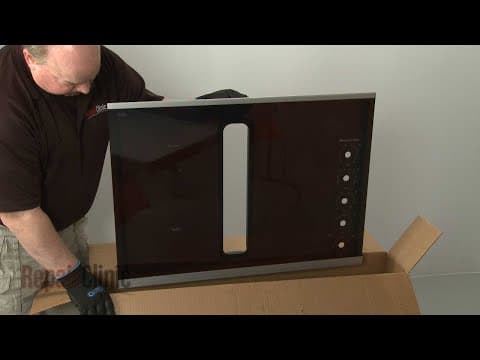
Kitchenaid Electric Downdraft Cooktop Main Top Replacement #W11051485
08:05
Part Replacement
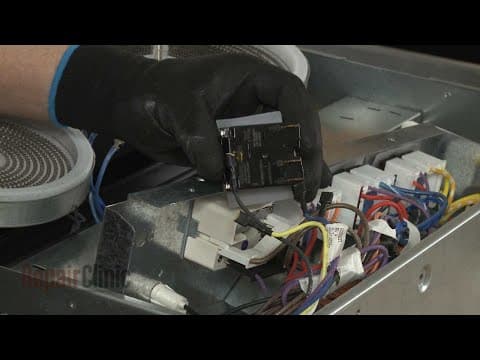
Kitchenaid Electric Downdraft Cooktop Fan Switch Replacement #W10866567
07:59
Part Replacement
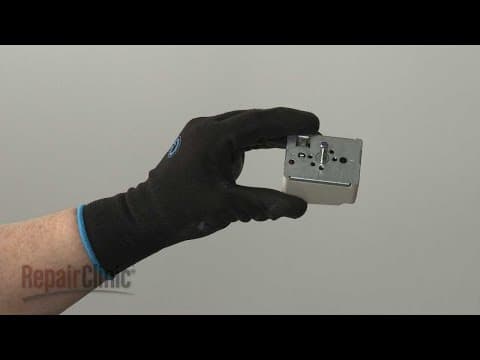
Kitchenaid Electric Downdraft Cooktop Right Front Element Switch Replacement #W10911303
00:55
Part Replacement
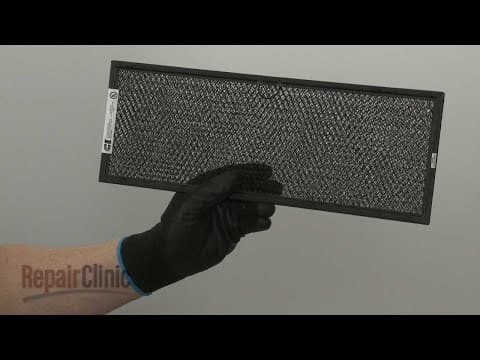
Kitchenaid Electric Downdraft Cooktop Grease Filter Replacement #W10905834
07:04
Part Replacement
Kitchenaid Electric Downdraft Cooktop Surface Element (3200W) Replacement #WPW10251108




Our Story
Family-owned and operated since 1912, Burke America Parts Group is the longest-running genuine appliance, HVAC, and outdoor power equipment parts solution in North America. At Repair Clinic, we're proud to be an international brand trusted by the pros as well as the DIY community.
About Repair Clinic
© 2026 RepairClinic.com