

Price Match Guarantee

In-stock parts ship the same day

365-Day Return Policy
Price Match GuaranteeGET PRO PRICING
Video & Articles: Appliance & Equipment RepairWhirlpool Gas Cooktop Right Front Orifice Holder Replacement #W10613381

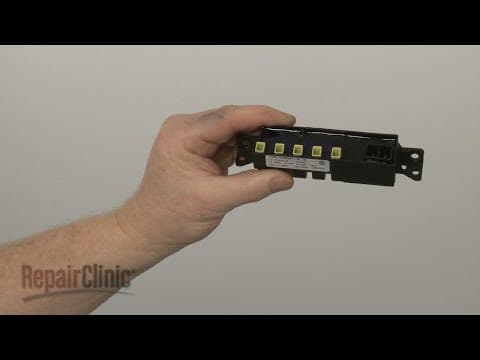
Whirlpool Gas Cooktop Right Front Orifice Holder Replacement #W10613381
Skill Level
Total Parts Cost
$50.73Estimated Savings
$112.5005:07
- Description
This video provides step-by-step instructions for replacing the right front orifice holder on Whirlpool gas cooktops (model #WCG97US0DS00). The most common reason for replacing the orifice holder is if it is damaged.
All of the information in this orifice holder replacement video is applicable to the following brands: Whirlpool
All of the information in this orifice holder replacement video is applicable to the following brands: Whirlpool
Step By Step Instructions
1
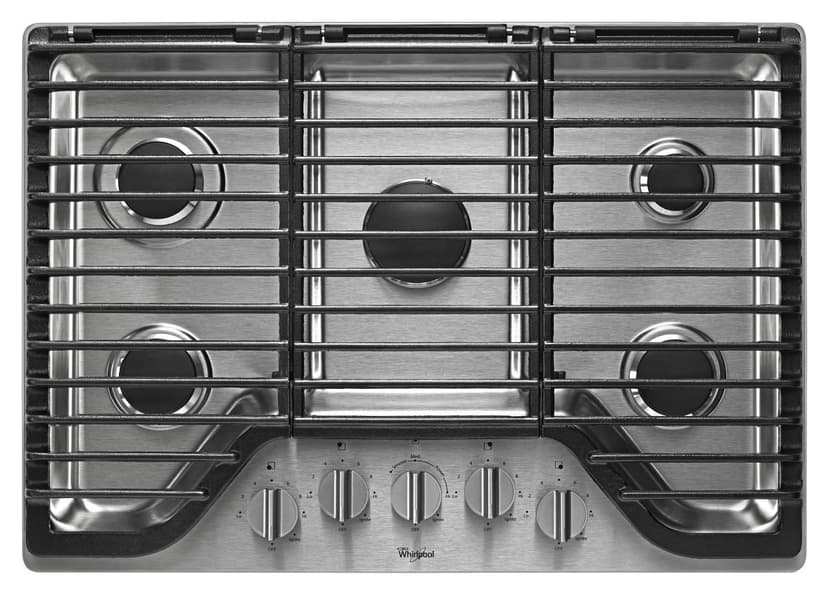
Whirlpool Gas Cooktop - WCG97US0DS00
2
Gas Cooktop Right Front Orifice Holder Replacement
3
Tools needed: T-20 Torx bit, half-inch wrench, quarter-inch socket or nut driver, Phillips-head screwdriver
4
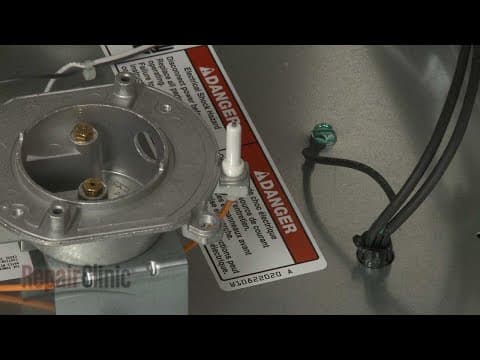
Shock
5
Be sure to unplug the power cord.
6
Fire
7
Shut off the gas supply.
8
Heavy
9
Carefully lift off all three grates.
10
Remove all five burner caps and burner bases.
11
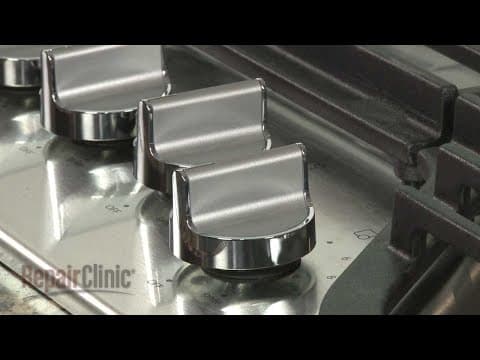
Remove all of the control knobs.
12
You can use string or wire to help pull them off of the valve stems.
13
Now use a T-20 Torx bit to unthread all of the screws securing the orifice holders to the main top.
14
Sharp
15
With the screws unthreaded, you can lift off the top.
16
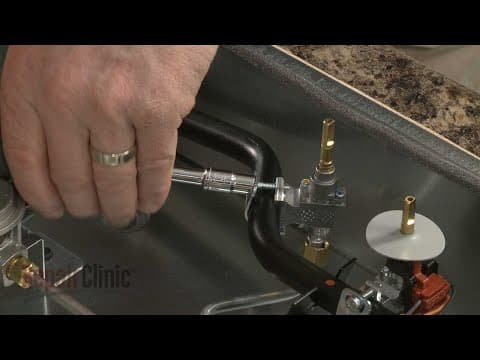
Use a half-inch wrench to help unthread the nut securing the gas supply tube to the right front orifice holder.
17
Next, slide out the retainer to release the spark electrode from the holder.
18
Now use a quarter-inch socket or nut driver to unthread the two screws to release the support bracket.
19
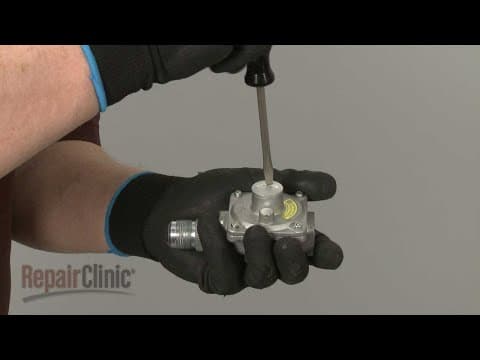
You can now use a Phillips-head screwdriver to unthread the screws securing the old orifice holder to the bracket.
20
If installing the new orifice holder on a cooktop using liquid propane, you will need to transfer the orifice from the old holder to the new one.
21
Otherwise, align the new orifice and holder on the bracket and secure it with the screws.
22
Position the assembly on the base, then thread and tighten the two screws to secure.
23
Position the spark electrode in the holder and secure it with the retainer.
24
Insert the gas supply tube into the holder and tighten the nut to secure.
25
Realign the main top on the base so the spark electrodes protrude through the holes in the top.
26
Confirm that the orifice holders are aligned, then thread and tighten the screws to secure the holders to the main top.
27
Replace the control knobs by aligning them on the valve stems and pushing them into place.
28
Align each burner base with the appropriate orifice holder so the igniter electrode protrudes through the hole in the base.
29
Next, position the burner caps on the bases.
30
Align the three burner grates on the support brackets and gently lower them.
31
With the repair completed, turn the gas supply back on, plug the power cord back in and your gas cooktop should be ready for use.
Description
This video provides step-by-step instructions for replacing the right front orifice holder on Whirlpool gas cooktops (model #WCG97US0DS00). The most common reason for replacing the orifice holder is if it is damaged.
All of the information in this orifice holder replacement video is applicable to the following brands: Whirlpool
All of the information in this orifice holder replacement video is applicable to the following brands: Whirlpool
Step-By-Step Instructions
1
Whirlpool Gas Cooktop - WCG97US0DS00
2
Gas Cooktop Right Front Orifice Holder Replacement
3
Tools needed: T-20 Torx bit, half-inch wrench, quarter-inch socket or nut driver, Phillips-head screwdriver
4
Shock
5
Be sure to unplug the power cord.
6
Fire
7
Shut off the gas supply.
8
Heavy
9
Carefully lift off all three grates.
10
Remove all five burner caps and burner bases.
11
Remove all of the control knobs.
12
You can use string or wire to help pull them off of the valve stems.
13
Now use a T-20 Torx bit to unthread all of the screws securing the orifice holders to the main top.
14
Sharp
15
With the screws unthreaded, you can lift off the top.
16
Use a half-inch wrench to help unthread the nut securing the gas supply tube to the right front orifice holder.
17
Next, slide out the retainer to release the spark electrode from the holder.
18
Now use a quarter-inch socket or nut driver to unthread the two screws to release the support bracket.
19
You can now use a Phillips-head screwdriver to unthread the screws securing the old orifice holder to the bracket.
20
If installing the new orifice holder on a cooktop using liquid propane, you will need to transfer the orifice from the old holder to the new one.
21
Otherwise, align the new orifice and holder on the bracket and secure it with the screws.
22
Position the assembly on the base, then thread and tighten the two screws to secure.
23
Position the spark electrode in the holder and secure it with the retainer.
24
Insert the gas supply tube into the holder and tighten the nut to secure.
25
Realign the main top on the base so the spark electrodes protrude through the holes in the top.
26
Confirm that the orifice holders are aligned, then thread and tighten the screws to secure the holders to the main top.
27
Replace the control knobs by aligning them on the valve stems and pushing them into place.
28
Align each burner base with the appropriate orifice holder so the igniter electrode protrudes through the hole in the base.
29
Next, position the burner caps on the bases.
30
Align the three burner grates on the support brackets and gently lower them.
31
With the repair completed, turn the gas supply back on, plug the power cord back in and your gas cooktop should be ready for use.
Applicable Product Model

Related Articles & Videos
04:18
Part Replacement
Whirlpool Gas Cooktop Center Spark Electrode Replacement #W10852959
05:16
Part Replacement
Whirlpool Gas Cooktop Right Front Gas Valve Replacement #W10859922




Our Story
Family-owned and operated since 1912, Burke America Parts Group is the longest-running genuine appliance, HVAC, and outdoor power equipment parts solution in North America. At Repair Clinic, we're proud to be an international brand trusted by the pros as well as the DIY community.
About Repair Clinic
© 2026 RepairClinic.com