

Price Match Guarantee

In-stock parts ship the same day

365-Day Return Policy
Price Match GuaranteeGET PRO PRICING
Video & Articles: Appliance & Equipment RepairKitchenaid Gas Downdraft Cooktop Main Wire Harness Replacement #W10834701 
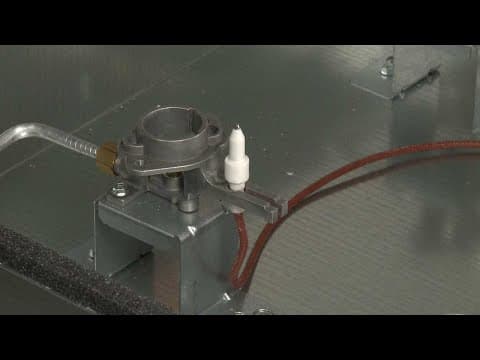
Kitchenaid Gas Downdraft Cooktop Main Wire Harness Replacement #W10834701
Skill Level
Total Parts Cost
$124.34Estimated Savings
$112.5007:52
- Description
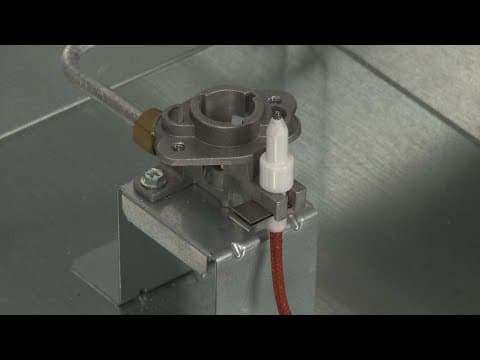
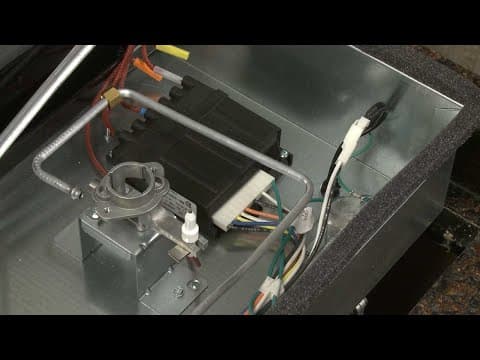
This video provides step-by-step instructions for replacing the main wire harness on a Kitchenaid Gas Downdraft Cooktop (model #KCGD506GSS00). The most common reason for replacing the harness is if the cooktop will not operate at all.
All of the information in this harness replacement video is applicable to the following brands: Kitchenaid, Whirlpool
All of the information in this harness replacement video is applicable to the following brands: Kitchenaid, Whirlpool
Step By Step Instructions
1
KitchenAid Gas Downdraft Cooktop - KCGD506GSS00
2
Gas Downdraft Cooktop Main Wire Harness Replacement
3
Tools needed: Phillips-head screwdriver, quarter-inch nut driver, half-inch wrench
4
Shock
5
Be sure to unplug the power cord.
6
Fire
7
Shut off the gas supply.
8
Use a Phillips-head screwdriver to partially unthread the long screws securing the cooktop to the underside of the countertop.
9
You will now need to remove the main top ? be aware, if the cut-out space in the countertop is too large to support the cooktop base with the top removed, you will need to partially uninstall the appliance.
10
To do this, fully unthread the long screws from the clamping brackets.
11
Use a quarter-inch socket or nut driver to loosen the adjustment screws securing the clamping brackets.
12
Rotate the brackets inward, then tighten the screws.
13
Sharp
14
Detach the venting from the blower.
15
Heavy
16
Now carefully lift off the three grates as well of the vent grille.
17
Remove all of the burner caps and the burner bases.
18
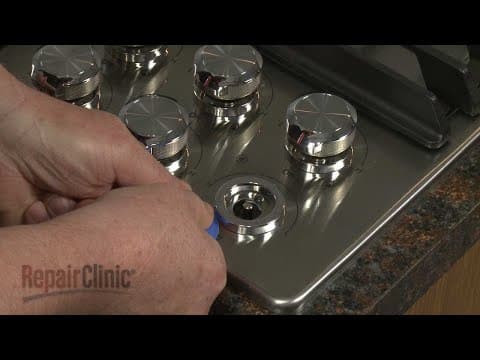
Remove all of the control knobs.
19
You can use string or wire to help pull them off of the valve shafts.
20
Heavy
21
Have an assistant help you to lift the appliance up and use two pieces of wood to support the cooktop base above the countertop.
22
Now use a Phillips-head screwdriver to unthread all of the screws securing the orifice holders to the main top.
23
Unthread the screw holding the main top to the blower switch mounting bracket.
24
Sharp
25
With the screws unthreaded, you can lift off the top.
26
Use a half-inch wrench to help unthread the nut to detach the gas supply tube from the right rear orifice holder.
27
Next, unthread the screws securing the spark module cover.
28
Sharp
29
Remove the cover.
30
Depress the tab to disconnect the wire harness connecter from the module.
31
Use a quarter-inch nut driver to unthread the screw securing the grounding wires.
32
Disconnect the power cord wire connecter.
33
Disconnect the blower wire connecter as well as the spark switch wire connecter and you can fully remove the old wire harness.
34
Install the new main wire harness by first connecting the spark switch and the blower wire connecters.
35
Connect the power cord wire connecter.
36
Thread the screw to secure the harness grounding wire and the power cord grounding wire to the base.
37
Connect the spark module wire harness to the module.
38
Realign the spark module cover and secure it with the screws.
39
Reinsert the gas supply tube into the orifice holder then thread and tighten the nut.
40
Realign the main top on the base so the surface igniters protrude through the holes in the top.
41
Confirm that the orifice holders are aligned?then thread and tighten the screws to secure the holders to the main top.
42
Replace the screw securing the main top to the blower switch mounting bracket.
43
Remove the wood supports and center the cooktop in the cut-out space of the countertop.
44
Replace the control knobs by aligning them on the valve shafts and pushing them into place.
45
Align each burner base with the appropriate orifice holder so the spark igniter is positioned in the notch on the side of the base.
46
Position the burner caps on the bases.
47
Realign the three burner grates along with the vent grille.
48
If applicable, loosen the two adjustment screws and rotate the clamping brackets outward, then tighten the screws.
49
Thread one of the clamping screws through the outermost hole in the bracket.
50
Tighten the screw against the underside of the countertop.
51
Avoid over-tightening.
52
Repeat for the opposite side to fully secure the cooktop.
53
Reattach the venting to the blower.
54
With the repair completed, turn the gas supply back on, plug the power cord back in and your gas downdraft cooktop should be ready for use.
Description
This video provides step-by-step instructions for replacing the main wire harness on a Kitchenaid Gas Downdraft Cooktop (model #KCGD506GSS00). The most common reason for replacing the harness is if the cooktop will not operate at all.
All of the information in this harness replacement video is applicable to the following brands: Kitchenaid, Whirlpool
All of the information in this harness replacement video is applicable to the following brands: Kitchenaid, Whirlpool
Step-By-Step Instructions
1
KitchenAid Gas Downdraft Cooktop - KCGD506GSS00
2
Gas Downdraft Cooktop Main Wire Harness Replacement
3
Tools needed: Phillips-head screwdriver, quarter-inch nut driver, half-inch wrench
4
Shock
5
Be sure to unplug the power cord.
6
Fire
7
Shut off the gas supply.
8
Use a Phillips-head screwdriver to partially unthread the long screws securing the cooktop to the underside of the countertop.
9
You will now need to remove the main top ? be aware, if the cut-out space in the countertop is too large to support the cooktop base with the top removed, you will need to partially uninstall the appliance.
10
To do this, fully unthread the long screws from the clamping brackets.
11
Use a quarter-inch socket or nut driver to loosen the adjustment screws securing the clamping brackets.
12
Rotate the brackets inward, then tighten the screws.
13
Sharp
14
Detach the venting from the blower.
15
Heavy
16
Now carefully lift off the three grates as well of the vent grille.
17
Remove all of the burner caps and the burner bases.
18
Remove all of the control knobs.
19
You can use string or wire to help pull them off of the valve shafts.
20
Heavy
21
Have an assistant help you to lift the appliance up and use two pieces of wood to support the cooktop base above the countertop.
22
Now use a Phillips-head screwdriver to unthread all of the screws securing the orifice holders to the main top.
23
Unthread the screw holding the main top to the blower switch mounting bracket.
24
Sharp
25
With the screws unthreaded, you can lift off the top.
26
Use a half-inch wrench to help unthread the nut to detach the gas supply tube from the right rear orifice holder.
27
Next, unthread the screws securing the spark module cover.
28
Sharp
29
Remove the cover.
30
Depress the tab to disconnect the wire harness connecter from the module.
31
Use a quarter-inch nut driver to unthread the screw securing the grounding wires.
32
Disconnect the power cord wire connecter.
33
Disconnect the blower wire connecter as well as the spark switch wire connecter and you can fully remove the old wire harness.
34
Install the new main wire harness by first connecting the spark switch and the blower wire connecters.
35
Connect the power cord wire connecter.
36
Thread the screw to secure the harness grounding wire and the power cord grounding wire to the base.
37
Connect the spark module wire harness to the module.
38
Realign the spark module cover and secure it with the screws.
39
Reinsert the gas supply tube into the orifice holder then thread and tighten the nut.
40
Realign the main top on the base so the surface igniters protrude through the holes in the top.
41
Confirm that the orifice holders are aligned?then thread and tighten the screws to secure the holders to the main top.
42
Replace the screw securing the main top to the blower switch mounting bracket.
43
Remove the wood supports and center the cooktop in the cut-out space of the countertop.
44
Replace the control knobs by aligning them on the valve shafts and pushing them into place.
45
Align each burner base with the appropriate orifice holder so the spark igniter is positioned in the notch on the side of the base.
46
Position the burner caps on the bases.
47
Realign the three burner grates along with the vent grille.
48
If applicable, loosen the two adjustment screws and rotate the clamping brackets outward, then tighten the screws.
49
Thread one of the clamping screws through the outermost hole in the bracket.
50
Tighten the screw against the underside of the countertop.
51
Avoid over-tightening.
52
Repeat for the opposite side to fully secure the cooktop.
53
Reattach the venting to the blower.
54
With the repair completed, turn the gas supply back on, plug the power cord back in and your gas downdraft cooktop should be ready for use.
Applicable Product Model
Related Articles & Videos
06:00
Part Replacement
Kitchenaid Gas Downdraft Cooktop Surface Igniter Clip Replacement #W10827923
07:50
Part Replacement
Kitchenaid Gas Downdraft Cooktop Spark Module Replacement #WPW10475150
09:33
Part Replacement
Kitchenaid Gas Downdraft Cooktop Left Rear Burner Valve Replacement #W10844473
01:10
Part Replacement
Kitchenaid Gas Downdraft Cooktop Control Knob Bezel Replacement #W11240529
06:34
Part Replacement
Kitchenaid Gas Downdraft Cooktop Left Front Surface Igniter #W10876259




Our Story
Family-owned and operated since 1912, Burke America Parts Group is the longest-running genuine appliance, HVAC, and outdoor power equipment parts solution in North America. At Repair Clinic, we're proud to be an international brand trusted by the pros as well as the DIY community.
About Repair Clinic
© 2026 RepairClinic.com