

Price Match Guarantee

In-stock parts ship the same day

365-Day Return Policy
Price Match GuaranteeGET PRO PRICING
Video & Articles: Appliance & Equipment RepairWhirlpool/Kenmore Top Load Washer Rotor Assembly #280146

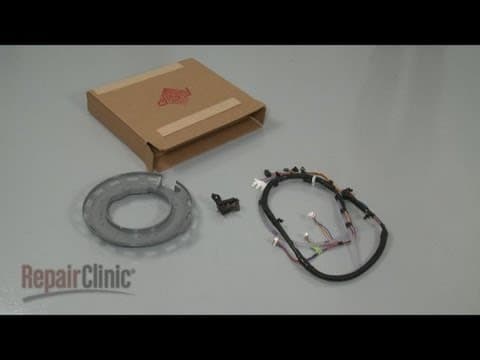
Whirlpool/Kenmore Top Load Washer Rotor Assembly #280146
Skill Level
Total Parts Cost
$210.53Estimated Savings
$112.5002:05
- Description
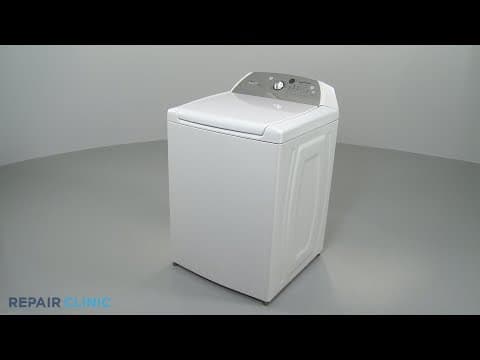
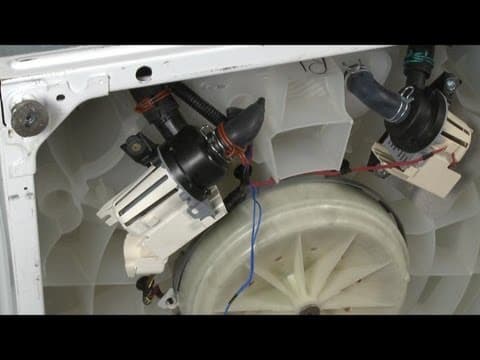
This video provides step-by-step instructions for replacing the motor rotor assembly on Whirlpool top-load washing machines. The most common reasons for replacing the rotor are when the washer is not spinning or agitating.
All of the information in this rotor assembly replacement video is applicable to the following brands: Whirlpool, Maytag, Kenmore
Tools used: wrench, nutdriver
All of the information in this rotor assembly replacement video is applicable to the following brands: Whirlpool, Maytag, Kenmore
Tools used: wrench, nutdriver
Step By Step Instructions
1
As with any repair, be sure you unplug the appliance before beginning and turn off the hot and cold water supply valves.
2
Your first step is to remove the hoses from the water inlet valve.
3
Be prepared for some water to spill out.
4
Make sure the drain hose is detached from the standpipe or laundry tub.
5
Next, use tape to secure the washer lid.
6
Now, carefully tip the washer forward so its front rests on a towel or carpet.
7
Use a quarter-inch Allen wrench to fully loosen the rotor mounting screw.
8
Then, pull the old rotor off.
9
Be aware, this may require some effort.
10
Install the new rotor by carefully sliding it onto the tub shaft.
11
Fully tighten the mounting screw.
12
Now, carefully lift the washer to its upright position.
13
Remove the tapes securing the lid and attach the drain hose to the standpipe or laundry tub.
14
Reattach the hoses to the inlet valve.
15
Turn the water supply back on and plug the appliance back in to make sure it's functioning properly.
Description
This video provides step-by-step instructions for replacing the motor rotor assembly on Whirlpool top-load washing machines. The most common reasons for replacing the rotor are when the washer is not spinning or agitating.
All of the information in this rotor assembly replacement video is applicable to the following brands: Whirlpool, Maytag, Kenmore
Tools used: wrench, nutdriver
All of the information in this rotor assembly replacement video is applicable to the following brands: Whirlpool, Maytag, Kenmore
Tools used: wrench, nutdriver
Step-By-Step Instructions
1
As with any repair, be sure you unplug the appliance before beginning and turn off the hot and cold water supply valves.
2
Your first step is to remove the hoses from the water inlet valve.
3
Be prepared for some water to spill out.
4
Make sure the drain hose is detached from the standpipe or laundry tub.
5
Next, use tape to secure the washer lid.
6
Now, carefully tip the washer forward so its front rests on a towel or carpet.
7
Use a quarter-inch Allen wrench to fully loosen the rotor mounting screw.
8
Then, pull the old rotor off.
9
Be aware, this may require some effort.
10
Install the new rotor by carefully sliding it onto the tub shaft.
11
Fully tighten the mounting screw.
12
Now, carefully lift the washer to its upright position.
13
Remove the tapes securing the lid and attach the drain hose to the standpipe or laundry tub.
14
Reattach the hoses to the inlet valve.
15
Turn the water supply back on and plug the appliance back in to make sure it's functioning properly.
Applicable Product Model

Related Articles & Videos




Our Story
Family-owned and operated since 1912, Burke America Parts Group is the longest-running genuine appliance, HVAC, and outdoor power equipment parts solution in North America. At Repair Clinic, we're proud to be an international brand trusted by the pros as well as the DIY community.
About Repair Clinic
© 2026 RepairClinic.com