

Price Match Guarantee

In-stock parts ship the same day

365-Day Return Policy
Price Match GuaranteeGET PRO PRICING
Video & Articles: Appliance & Equipment RepairWhirlpool Sidekick Freezer Condenser Fan Motor Replacement W10854034 


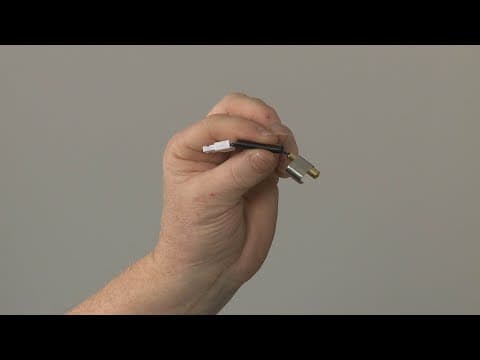
Whirlpool Sidekick Freezer Condenser Fan Motor Replacement W10854034
Skill Level
Total Parts Cost
$61.55Estimated Savings
$112.5004:54
- Description
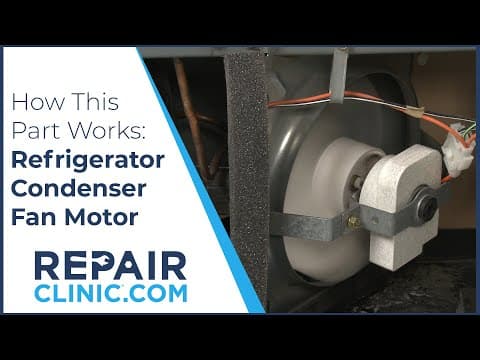
This video provides step-by-step repair instructions for replacing the condenser fan motor on a Whirlpool Sidekick freezer (Model WSZ57L18DM00). The most common reason for replacing this part is if the freezer isn't cooling properly or is noisy.
All of the information for this video is applicable to the following brands:
Whirlpool, Maytag, Amana, Kitchenaid, Kenmore
All of the information for this video is applicable to the following brands:
Whirlpool, Maytag, Amana, Kitchenaid, Kenmore
Step By Step Instructions
1
Whirlpool Sidekick Freezer - WSZ57L18DM00
2
Freezer Condenser Fan Motor Replacement
3
Tools needed: Phillips-head screwdriver, quarter-inch socket or wrench, quarter-inch socket or nut driver
4
Shock
5
Be sure to unplug the power cord.
6
You will need to pull the freezer away from the wall so you can access the rear of the appliance.
7
To do this, use a Phillips-head screwdriver to unthread the screws securing the base grille.
8
Pull the base grille forward to remove.
9
Use a quarter-inch socket or wrench to rotate the brake feet counter-clockwise to raise them.
10
You can now roll the freezer away from the wall.
11
Use the quarter-inch socket or a nut driver to unthread the screws to release the rear access panel.
12
For easier access to remove the condenser fan motor, you can uninstall the motor mounting bracket.
13
First, detach the front of the drain tube from the grommet.
14
Now pull the wire bundle out from under the lip of the bracket.
15
Next, move the top of the mounting bracket to the right then lift the front bracket pin out of the base.
16
You can now maneuver the rear bracket pin out of the base.
17
Depress the tab to disconnect the wire connecter.
18
Use the quarter-inch socket or nut driver to unthread the mounting screws to release the old motor.
19
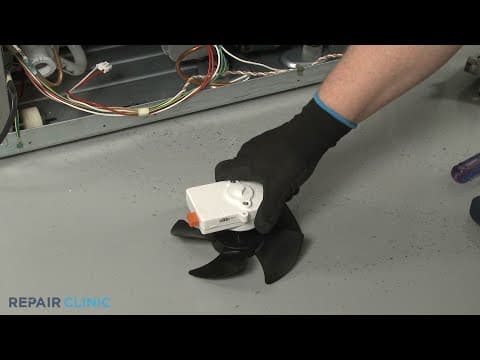
Prepare the new condenser fan motor for installation by transferring the fan blade from the old motor to the new one.
20
Align the new motor on the bracket and thread the mounting screws.
21
Connect the wire connecter.
22
If applicable, reinstall the mounting bracket by first inserting the rear pin in the base.
23
Align the front pin then lock the top of the bracket into place.
24
Reposition the drain tube over the grommet.
25
Tuck the wire bundle under the motor mounting bracket.
26
Reposition the access panel and rethread the screws.
27
If applicable, make sure to secure the strain relief clamp for the water supply tubing with the appropriate rear panel screw.
28
Once the freezer has been moved back into place?
29
Rotate the brake feet clockwise until both are in contact with the floor.
30
Snap the base grille into place.
31
Rethread the screws to secure the base grille.
32
Plug the power cord back in and your freezer should be ready for use.
Description
This video provides step-by-step repair instructions for replacing the condenser fan motor on a Whirlpool Sidekick freezer (Model WSZ57L18DM00). The most common reason for replacing this part is if the freezer isn't cooling properly or is noisy.
All of the information for this video is applicable to the following brands:
Whirlpool, Maytag, Amana, Kitchenaid, Kenmore
All of the information for this video is applicable to the following brands:
Whirlpool, Maytag, Amana, Kitchenaid, Kenmore
Step-By-Step Instructions
1
Whirlpool Sidekick Freezer - WSZ57L18DM00
2
Freezer Condenser Fan Motor Replacement
3
Tools needed: Phillips-head screwdriver, quarter-inch socket or wrench, quarter-inch socket or nut driver
4
Shock
5
Be sure to unplug the power cord.
6
You will need to pull the freezer away from the wall so you can access the rear of the appliance.
7
To do this, use a Phillips-head screwdriver to unthread the screws securing the base grille.
8
Pull the base grille forward to remove.
9
Use a quarter-inch socket or wrench to rotate the brake feet counter-clockwise to raise them.
10
You can now roll the freezer away from the wall.
11
Use the quarter-inch socket or a nut driver to unthread the screws to release the rear access panel.
12
For easier access to remove the condenser fan motor, you can uninstall the motor mounting bracket.
13
First, detach the front of the drain tube from the grommet.
14
Now pull the wire bundle out from under the lip of the bracket.
15
Next, move the top of the mounting bracket to the right then lift the front bracket pin out of the base.
16
You can now maneuver the rear bracket pin out of the base.
17
Depress the tab to disconnect the wire connecter.
18
Use the quarter-inch socket or nut driver to unthread the mounting screws to release the old motor.
19
Prepare the new condenser fan motor for installation by transferring the fan blade from the old motor to the new one.
20
Align the new motor on the bracket and thread the mounting screws.
21
Connect the wire connecter.
22
If applicable, reinstall the mounting bracket by first inserting the rear pin in the base.
23
Align the front pin then lock the top of the bracket into place.
24
Reposition the drain tube over the grommet.
25
Tuck the wire bundle under the motor mounting bracket.
26
Reposition the access panel and rethread the screws.
27
If applicable, make sure to secure the strain relief clamp for the water supply tubing with the appropriate rear panel screw.
28
Once the freezer has been moved back into place?
29
Rotate the brake feet clockwise until both are in contact with the floor.
30
Snap the base grille into place.
31
Rethread the screws to secure the base grille.
32
Plug the power cord back in and your freezer should be ready for use.
Applicable Product Model
Parts Needed
Condenser Fan Motor
$61.55
Total$0.00
Related Articles & Videos
04:57
How This Part Works
Refrigerator Condenser Fan Motor - How it Works & Installation Tips
04:39
Part Replacement
Whirlpool Sidekick Refrigerator Condenser Fan Motor Replacement W10854034
01:50
Part Replacement
Whirlpool Sidekick Freezer Control Assembly Replacement W10812029
03:03
Part Replacement
Whirlpool Sidekick Freezer Evaporator Thermistor Replacement WPW10383615




Our Story
Family-owned and operated since 1912, Burke America Parts Group is the longest-running genuine appliance, HVAC, and outdoor power equipment parts solution in North America. At Repair Clinic, we're proud to be an international brand trusted by the pros as well as the DIY community.
About Repair Clinic
© 2026 RepairClinic.com