

Price Match Guarantee

In-stock parts ship the same day

365-Day Return Policy
Price Match GuaranteeGET PRO PRICING
Video & Articles: Appliance & Equipment RepairWhirlpool Matrix Refrigerator Door Reversal Kit W10676239
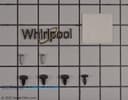
Whirlpool Matrix Refrigerator Door Reversal Kit W10676239
Skill Level
Total Parts Cost
$56.98Estimated Savings
$112.5009:50
- Description
This video provides step-by-step repair instructions for the door reversal kit on a Whirlpool Matrix refrigerator (Model WRT318FMDB02).
All of the information for this video is applicable to the following brands:
Whirlpool, Maytag, Amana, Kitchenaid, Kenmore
All of the information for this video is applicable to the following brands:
Whirlpool, Maytag, Amana, Kitchenaid, Kenmore
Step By Step Instructions
1
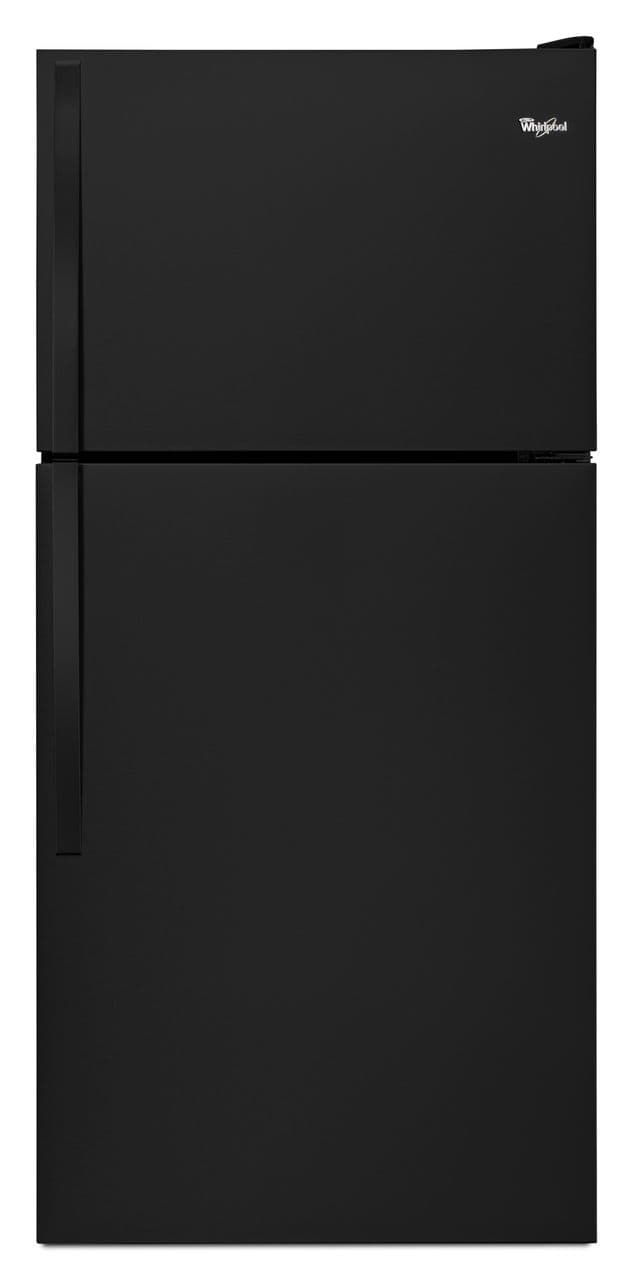
Whirlpool Matrix Refrigerator - WRT318FMDB02
2
Refrigerator Door Reversal Procedure
3
Tools needed: 5/16th inch socket or nut driver, 5/16th wrench and the socket or nut driver, Phillips-head screwdriver, reversal kit removal tool
4
Shock
5
First make sure the power cord is unplugged.
6
If applicable, remove the top hinge cover and use a 5/16th inch socket or nut driver to unthread the three screws securing the top hinge.
7
Heavy
8
Support the freezer door as you lift off the hinge.
9
Now lift the freezer door off of the center hinge and set it aside.
10
Remove the washer from the center hinge pin.
11
Use a 5/16th inch wrench and the socket or nut driver to unthread the three screws securing the center hinge.
12
Heavy
13
Support the refrigerator door as you detach the hinge and remove the washer.
14
You can now lift the refrigerator door off of the bottom hinge.
15
Be aware the bottom hinge pin may become detached.
16
Next, unthread the four screws securing the bottom hinge.
17
Detach the hinge.
18
Use the reversal kit?s removal tool to detach the two caps on the left side of the frame.
19
Next, remove the two screws and washers.
20
Now align the bottom hinge on the left side then thread and tighten the four screws to secure.
21
Use the screws, washers and caps to fill and cover the screw holes on the right side of the frame.
22
Next, use a phillips-head screwdriver to unthread the screw securing the door stop to the bottom of the refrigerator door.
23
Align the door stop on the left side of the door and secure it with the screw.
24
You should transfer some of the grease from the right hinge hole in the door stop to the left hole.
25
Next, unthread the handle screws from the freezer door.
26
Now move the freezer door stop from the right side of the door to the left side.
27
Transfer some of the grease to the appropriate hinge hole.
28
Next, remove the handle screws from the top of the refrigerator door on the left side.
29
Unthread the filler screws from the right side of the door and thread them into the holes on the left side.
30
You will now need to transfer the hinge hole plug on the top of the refrigerator door from the left side to the right side.
31
Do the same for the hinge hole plug on the freezer door.
32
Now transfer the door handle hole plug on the front of the refrigerator door from the right side to the left.
33
Next, remove the three caps from the left side of the frame along with the screws and washers.
34
Use the screws, washers and caps to fill and cover the screw holes on the right side of the frame
35
Confirm that the bottom hinge pin is inserted into the appropriate hole in the hinge and the washer is intact on the pin.
36
Now position the refrigerator door on the hinge pin.
37
Slide the washer over the lower portion of the center hinge pin and insert the pin into the hole on the top of the refrigerator door.
38
Hold the door in place as you realign the center hinge on the left side of the frame and secure it with the screws.
39
Remove the hinge screw hole plugs from the top left side of the appliance and move them to the right side.
40
Confirm the washer is on the upper portion of the center hinge pin and reposition the freezer door.
41
With the spacer intact, realign the top hinge and secure it with the screws.
42
If the freezer and refrigerator doors look uneven, you can loosen the top hinge screws to realign the doors.
43
There should be a three quarter inch gap between the two doors.
44
With the doors aligned, tighten the hinge screws.
45
If applicable, replace the top hinge cover.
46
Now align the refrigerator door handle on the door and secure the handle loosely with the three screws.
47
Confirm that the handle is straight then tighten all three screws.
48
Snap on the screw cover.
49
Repeat this procedure to install the freezer door handle.
50
You can use a template to help align the brand badge on the freezer door.
51
Ideally, the badge will cover the alternate door handle screw hole.
52
With the procedure completed, plug the power cord back in and your refrigerator should be ready for use.
Description
This video provides step-by-step repair instructions for the door reversal kit on a Whirlpool Matrix refrigerator (Model WRT318FMDB02).
All of the information for this video is applicable to the following brands:
Whirlpool, Maytag, Amana, Kitchenaid, Kenmore
All of the information for this video is applicable to the following brands:
Whirlpool, Maytag, Amana, Kitchenaid, Kenmore
Step-By-Step Instructions
1
Whirlpool Matrix Refrigerator - WRT318FMDB02
2
Refrigerator Door Reversal Procedure
3
Tools needed: 5/16th inch socket or nut driver, 5/16th wrench and the socket or nut driver, Phillips-head screwdriver, reversal kit removal tool
4
Shock
5
First make sure the power cord is unplugged.
6
If applicable, remove the top hinge cover and use a 5/16th inch socket or nut driver to unthread the three screws securing the top hinge.
7
Heavy
8
Support the freezer door as you lift off the hinge.
9
Now lift the freezer door off of the center hinge and set it aside.
10
Remove the washer from the center hinge pin.
11
Use a 5/16th inch wrench and the socket or nut driver to unthread the three screws securing the center hinge.
12
Heavy
13
Support the refrigerator door as you detach the hinge and remove the washer.
14
You can now lift the refrigerator door off of the bottom hinge.
15
Be aware the bottom hinge pin may become detached.
16
Next, unthread the four screws securing the bottom hinge.
17
Detach the hinge.
18
Use the reversal kit?s removal tool to detach the two caps on the left side of the frame.
19
Next, remove the two screws and washers.
20
Now align the bottom hinge on the left side then thread and tighten the four screws to secure.
21
Use the screws, washers and caps to fill and cover the screw holes on the right side of the frame.
22
Next, use a phillips-head screwdriver to unthread the screw securing the door stop to the bottom of the refrigerator door.
23
Align the door stop on the left side of the door and secure it with the screw.
24
You should transfer some of the grease from the right hinge hole in the door stop to the left hole.
25
Next, unthread the handle screws from the freezer door.
26
Now move the freezer door stop from the right side of the door to the left side.
27
Transfer some of the grease to the appropriate hinge hole.
28
Next, remove the handle screws from the top of the refrigerator door on the left side.
29
Unthread the filler screws from the right side of the door and thread them into the holes on the left side.
30
You will now need to transfer the hinge hole plug on the top of the refrigerator door from the left side to the right side.
31
Do the same for the hinge hole plug on the freezer door.
32
Now transfer the door handle hole plug on the front of the refrigerator door from the right side to the left.
33
Next, remove the three caps from the left side of the frame along with the screws and washers.
34
Use the screws, washers and caps to fill and cover the screw holes on the right side of the frame
35
Confirm that the bottom hinge pin is inserted into the appropriate hole in the hinge and the washer is intact on the pin.
36
Now position the refrigerator door on the hinge pin.
37
Slide the washer over the lower portion of the center hinge pin and insert the pin into the hole on the top of the refrigerator door.
38
Hold the door in place as you realign the center hinge on the left side of the frame and secure it with the screws.
39
Remove the hinge screw hole plugs from the top left side of the appliance and move them to the right side.
40
Confirm the washer is on the upper portion of the center hinge pin and reposition the freezer door.
41
With the spacer intact, realign the top hinge and secure it with the screws.
42
If the freezer and refrigerator doors look uneven, you can loosen the top hinge screws to realign the doors.
43
There should be a three quarter inch gap between the two doors.
44
With the doors aligned, tighten the hinge screws.
45
If applicable, replace the top hinge cover.
46
Now align the refrigerator door handle on the door and secure the handle loosely with the three screws.
47
Confirm that the handle is straight then tighten all three screws.
48
Snap on the screw cover.
49
Repeat this procedure to install the freezer door handle.
50
You can use a template to help align the brand badge on the freezer door.
51
Ideally, the badge will cover the alternate door handle screw hole.
52
With the procedure completed, plug the power cord back in and your refrigerator should be ready for use.
Applicable Product Model
Parts Needed
Door Reversal Kit
$56.98
Total$0.00
Related Articles & Videos
03:42
Part Replacement
Whirlpool Matrix Refrigerator Water Supply Line Kit Installation 8003RP
01:09
Part Replacement
Whirlpool Matrix Refrigerator Front Leveling Leg Replacement W10854419
07:18
Part Replacement
Whirlpool Matrix Refrigerator Defrost Heater Replacement WPW10316428
05:05
Part Replacement
Whirlpool Matrix Refrigerator Freezer Thermistor Replacement WPW10384183




Our Story
Family-owned and operated since 1912, Burke America Parts Group is the longest-running genuine appliance, HVAC, and outdoor power equipment parts solution in North America. At Repair Clinic, we're proud to be an international brand trusted by the pros as well as the DIY community.
About Repair Clinic
© 2026 RepairClinic.com