

Price Match Guarantee

In-stock parts ship the same day

365-Day Return Policy
Price Match GuaranteeGET PRO PRICING
Video & Articles: Appliance & Equipment RepairToro Snowblower Ratchet Pawl Replacement 108-4926
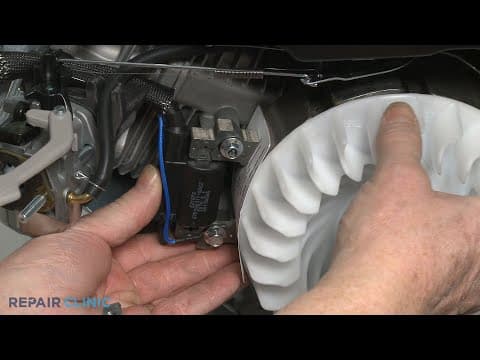
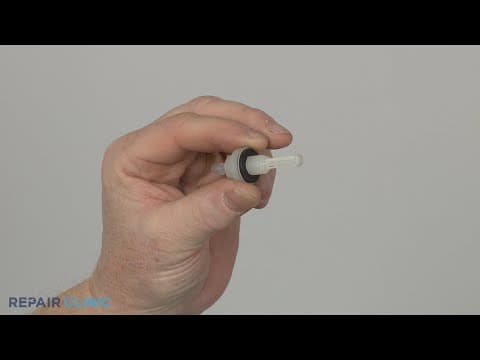
Toro Snowblower Ratchet Pawl Replacement 108-4926
Skill Level
Total Parts Cost
$2.11Estimated Savings
$112.5004:05
- Description
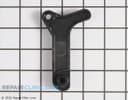
This video provides step-by-step repair instructions for replacing the ratchet pawl on a Toro snowblower.
All of the information for this drive belt replacement video is applicable to the following brands:
Toro
All of the information for this drive belt replacement video is applicable to the following brands:
Toro
Step By Step Instructions
1
Toro Snowblower - Model 38752
2
Snowblower Ratchet Pawl Replacement
3
Tools Needed
4
You will need a 3/8th inch socket, a phillips-head screwdriver and pliers for this procedure.
5
Hot
6
Make sure the engine has cooled.
7
Use a 3/8th inch socket to unthread the three mounting bolts securing the chute handle and the chute itself.
8
Remove the assembly and detach the handle.
9
Using a phillips-head screwdriver, unthread the screw to release the chute ring seal.
10
Unthread the two front housing mounting screws.
11
Unthread the three screws from the right side of the housing.
12
Use the 3/8th inch socket or nut driver to unthread the mounting bolt securing the housing to the rear bracket.
13
Unthread the screws to release the two retaining clamps holding the housing to the handle, then fully remove the housing.
14
Use pliers to detach the ratchet pawl spring.
15
Unthread the four bolts to release the upper ring retainer.
16
Remove the old ratchet pawl if still intact.
17
Install the new ratchet pawl by aligning it on the lower chute ring retainer.
18
Realign the upper retainer and thread the four bolts.
19
Attach the ratchet pawl spring to the ring assembly and the new ratchet pawl.
20
Reposition the housing.
21
Align the two retaining clamps and thread the screws to secure the housing to the handle.
22
Rethread the mounting bolt to secure the housing to the rear bracket.
23
Replace the three right-side screws.
24
Rethread the two screws securing the front of the housing.
25
Reposition the ring seal on the housing so the phillips-head screw hole aligns with the appropriate screw hole in the gear ring, then thread the screw.
26
Realign the handle on the chute, then reposition the assembly on the ring seal and thread the three mounting bolts to secure.
27
Congrats! Your snowblower is ready for use.
Description
This video provides step-by-step repair instructions for replacing the ratchet pawl on a Toro snowblower.
All of the information for this drive belt replacement video is applicable to the following brands:
Toro
All of the information for this drive belt replacement video is applicable to the following brands:
Toro
Step-By-Step Instructions
1
Toro Snowblower - Model 38752
2
Snowblower Ratchet Pawl Replacement
3
Tools Needed
4
You will need a 3/8th inch socket, a phillips-head screwdriver and pliers for this procedure.
5
Hot
6
Make sure the engine has cooled.
7
Use a 3/8th inch socket to unthread the three mounting bolts securing the chute handle and the chute itself.
8
Remove the assembly and detach the handle.
9
Using a phillips-head screwdriver, unthread the screw to release the chute ring seal.
10
Unthread the two front housing mounting screws.
11
Unthread the three screws from the right side of the housing.
12
Use the 3/8th inch socket or nut driver to unthread the mounting bolt securing the housing to the rear bracket.
13
Unthread the screws to release the two retaining clamps holding the housing to the handle, then fully remove the housing.
14
Use pliers to detach the ratchet pawl spring.
15
Unthread the four bolts to release the upper ring retainer.
16
Remove the old ratchet pawl if still intact.
17
Install the new ratchet pawl by aligning it on the lower chute ring retainer.
18
Realign the upper retainer and thread the four bolts.
19
Attach the ratchet pawl spring to the ring assembly and the new ratchet pawl.
20
Reposition the housing.
21
Align the two retaining clamps and thread the screws to secure the housing to the handle.
22
Rethread the mounting bolt to secure the housing to the rear bracket.
23
Replace the three right-side screws.
24
Rethread the two screws securing the front of the housing.
25
Reposition the ring seal on the housing so the phillips-head screw hole aligns with the appropriate screw hole in the gear ring, then thread the screw.
26
Realign the handle on the chute, then reposition the assembly on the ring seal and thread the three mounting bolts to secure.
27
Congrats! Your snowblower is ready for use.
Applicable Product Model
Parts Needed
Fastener
$2.11
Total$0.00
Related Articles & Videos




Our Story
Family-owned and operated since 1912, Burke America Parts Group is the longest-running genuine appliance, HVAC, and outdoor power equipment parts solution in North America. At Repair Clinic, we're proud to be an international brand trusted by the pros as well as the DIY community.
About Repair Clinic
© 2026 RepairClinic.com