

Price Match Guarantee

In-stock parts ship the same day

365-Day Return Policy
Price Match GuaranteeGET PRO PRICING
Video & Articles: Appliance & Equipment RepairToro Snowblower Idler Arm Replacement 136-7138

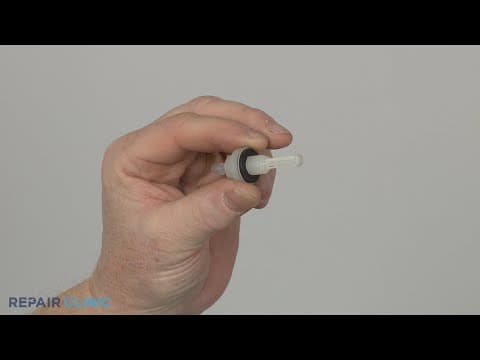
Toro Snowblower Idler Arm Replacement 136-7138
Skill Level
Total Parts Cost
$5.98Estimated Savings
$112.5003:11
- Description
This video provides step-by-step repair instructions for replacing the idler arm on a Toro snowblower.
All of the information for this video is applicable to the following brands:
Toro
All of the information for this video is applicable to the following brands:
Toro
Step By Step Instructions
1
To replace the idler arm in your snowblower, use a 3/8 inch socket or nut driver to unthread the three mounting screws.
2
To release the belt cover, use pliers to detach the idler arm spring and clip.
3
Remove the belt from the idler pulley.
4
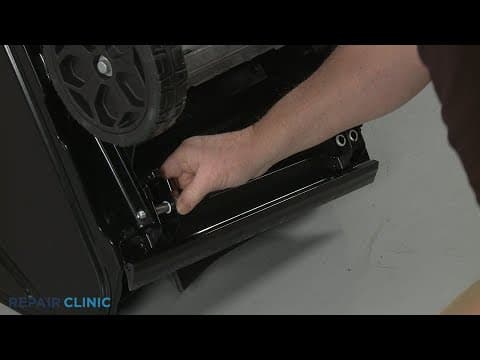
Use a 1/2 inch wrench to secure the idler arm mounting bolt inside the auger housing and a 1/2 inch socket to unthread the nut to release the idler arm.
5
Disconnect the clutch cable.
6
Use a 9/16 inch wrench and socket to unthread the bolt to release the pulley from the old arm.
7
Prepare the new idler arm for installation by transferring some grease from the old arm to the new one.
8
Now, align the pulley and secure it with the nut and bolt.
9
Insert the Z-end of the clutch cable into the hole in the new idler arm.
10
Make sure the washer is in place on the bolt, then position the assembly and slide on the bushing.
11
Thread the nut onto the bolt to secure.
12
Realign the belt on the idler pulley.
13
Reposition the idler spring clip in the frame.
14
Attach the spring to the clip and the idler arm.
15
Replace the belt cover and secure it with the screws.
16
Your snowblower should now be ready for use.
Description
This video provides step-by-step repair instructions for replacing the idler arm on a Toro snowblower.
All of the information for this video is applicable to the following brands:
Toro
All of the information for this video is applicable to the following brands:
Toro
Step-By-Step Instructions
1
To replace the idler arm in your snowblower, use a 3/8 inch socket or nut driver to unthread the three mounting screws.
2
To release the belt cover, use pliers to detach the idler arm spring and clip.
3
Remove the belt from the idler pulley.
4
Use a 1/2 inch wrench to secure the idler arm mounting bolt inside the auger housing and a 1/2 inch socket to unthread the nut to release the idler arm.
5
Disconnect the clutch cable.
6
Use a 9/16 inch wrench and socket to unthread the bolt to release the pulley from the old arm.
7
Prepare the new idler arm for installation by transferring some grease from the old arm to the new one.
8
Now, align the pulley and secure it with the nut and bolt.
9
Insert the Z-end of the clutch cable into the hole in the new idler arm.
10
Make sure the washer is in place on the bolt, then position the assembly and slide on the bushing.
11
Thread the nut onto the bolt to secure.
12
Realign the belt on the idler pulley.
13
Reposition the idler spring clip in the frame.
14
Attach the spring to the clip and the idler arm.
15
Replace the belt cover and secure it with the screws.
16
Your snowblower should now be ready for use.
Applicable Product Model
Parts Needed
Idler Pulley Lever
$5.98
Total$0.00
Related Articles & Videos




Our Story
Family-owned and operated since 1912, Burke America Parts Group is the longest-running genuine appliance, HVAC, and outdoor power equipment parts solution in North America. At Repair Clinic, we're proud to be an international brand trusted by the pros as well as the DIY community.
About Repair Clinic
© 2026 RepairClinic.com