

Price Match Guarantee

In-stock parts ship the same day

365-Day Return Policy
Price Match GuaranteeGET PRO PRICING
Video & Articles: Appliance & Equipment RepairWhirlpool/Kenmore Electric Dryer Replace Idler Pulley #691366

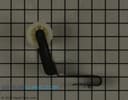
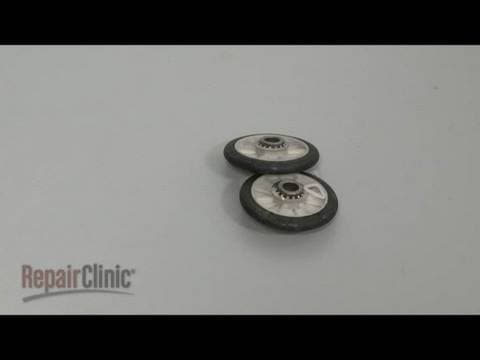
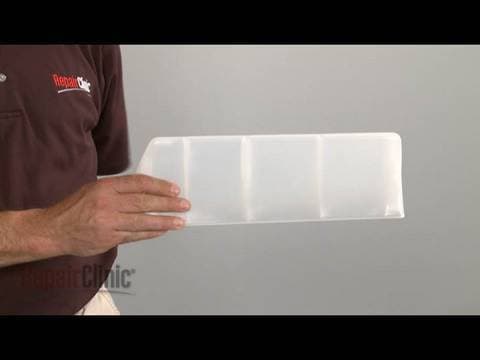
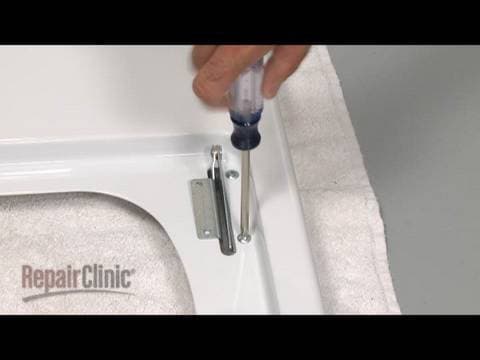
Whirlpool/Kenmore Electric Dryer Replace Idler Pulley #691366
Skill Level
Total Parts Cost
$18.34Estimated Savings
$112.5002:53
- Description
This video provides step-by-step instructions for replacing the idler pulley on Whirlpool electric dryers. The most common reasons for replacing the idler pulley are when the pulley makes noise or the drum will not turn.
All the information in this idler pulley replacement video is applicable to the following brands: Kenmore, Whirlpool, KitchenAid, Roper, Estate, Maytag, Crosley, Inglis, Amana, Admiral
Tools used: hex socket, flat-head screwdriver, Phillips head screwdriver, putty knife
All the information in this idler pulley replacement video is applicable to the following brands: Kenmore, Whirlpool, KitchenAid, Roper, Estate, Maytag, Crosley, Inglis, Amana, Admiral
Tools used: hex socket, flat-head screwdriver, Phillips head screwdriver, putty knife
Step By Step Instructions
1
As with any repair, be sure you've unplugged the appliance before beginning.
2
Your first step is to pull out the lint screen and remove the two screws near the opening.
3
Next, insert a putty knife under the front of the main top to release the two spring clips and rotate the top up.
4
Disconnect the door switch wires and remove the top front panel screws.
5
Now, lift the panel up and out.
6
If your model has two front panels, use a flathead screwdriver to release the lower panel from the retaining clips.
7
If applicable, remove the two springs.
8
Now, loosen the two screws at the bottom of the upper panel and lift the panel off.
9
If still intact, depress the old pulley to release the belt tension and unthread the belt from the pulley and motor shaft.
10
Install the new tension pulley by inserting it into the slots in the base and looping the belt around the pulley and motor shaft in a zig-zag formation.
11
Rotate the drum to help align the belt.
12
If your model has a solid front panel, line up the drum with the front panel seal.
13
Then, align the slots with the retaining clips and press down the panel until it locks into place.
14
If your model has two panels, align the slots in the upper panel with the screws while lining up the drum.
15
Tighten the screws if applicable.
16
Reinstall the two springs and replace the lower panel by snapping it into position.
17
Now, reinstall the two screws on top and reconnect the door switch wires.
18
Rotate the main top back into place and press down on the front to secure the spring clips.
19
Install the two screws at the lint screen opening.
20
Replace the lint screen and plug the appliance back in to make sure it's functioning properly.
Description
This video provides step-by-step instructions for replacing the idler pulley on Whirlpool electric dryers. The most common reasons for replacing the idler pulley are when the pulley makes noise or the drum will not turn.
All the information in this idler pulley replacement video is applicable to the following brands: Kenmore, Whirlpool, KitchenAid, Roper, Estate, Maytag, Crosley, Inglis, Amana, Admiral
Tools used: hex socket, flat-head screwdriver, Phillips head screwdriver, putty knife
All the information in this idler pulley replacement video is applicable to the following brands: Kenmore, Whirlpool, KitchenAid, Roper, Estate, Maytag, Crosley, Inglis, Amana, Admiral
Tools used: hex socket, flat-head screwdriver, Phillips head screwdriver, putty knife
Step-By-Step Instructions
1
As with any repair, be sure you've unplugged the appliance before beginning.
2
Your first step is to pull out the lint screen and remove the two screws near the opening.
3
Next, insert a putty knife under the front of the main top to release the two spring clips and rotate the top up.
4
Disconnect the door switch wires and remove the top front panel screws.
5
Now, lift the panel up and out.
6
If your model has two front panels, use a flathead screwdriver to release the lower panel from the retaining clips.
7
If applicable, remove the two springs.
8
Now, loosen the two screws at the bottom of the upper panel and lift the panel off.
9
If still intact, depress the old pulley to release the belt tension and unthread the belt from the pulley and motor shaft.
10
Install the new tension pulley by inserting it into the slots in the base and looping the belt around the pulley and motor shaft in a zig-zag formation.
11
Rotate the drum to help align the belt.
12
If your model has a solid front panel, line up the drum with the front panel seal.
13
Then, align the slots with the retaining clips and press down the panel until it locks into place.
14
If your model has two panels, align the slots in the upper panel with the screws while lining up the drum.
15
Tighten the screws if applicable.
16
Reinstall the two springs and replace the lower panel by snapping it into position.
17
Now, reinstall the two screws on top and reconnect the door switch wires.
18
Rotate the main top back into place and press down on the front to secure the spring clips.
19
Install the two screws at the lint screen opening.
20
Replace the lint screen and plug the appliance back in to make sure it's functioning properly.
Applicable Product Model
Parts Needed
Idler Pulley
$18.34
Total$0.00
Related Articles & Videos
01:12
Part Replacement
Dryer Not Heating? – Whirlpool/Kenmore Dryer Repair Part # 3392519




Our Story
Family-owned and operated since 1912, Burke America Parts Group is the longest-running genuine appliance, HVAC, and outdoor power equipment parts solution in North America. At Repair Clinic, we're proud to be an international brand trusted by the pros as well as the DIY community.
About Repair Clinic
© 2026 RepairClinic.com