

Price Match Guarantee

In-stock parts ship the same day

365-Day Return Policy
Price Match GuaranteeGET PRO PRICING
Video & Articles: Appliance & Equipment RepairNuTone/Broan Bath Fan (model 765H80L) - Fan Receptacle (part S99270982) Replacement

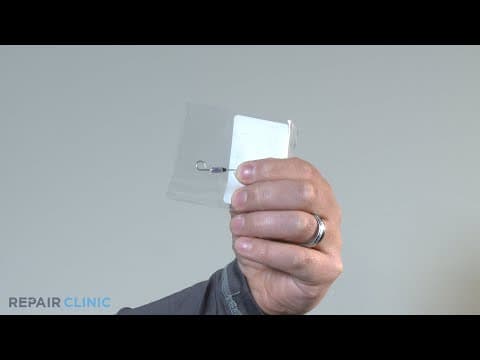
NuTone/Broan Bath Fan (model 765H80L) - Fan Receptacle (part S99270982) Replacement
Skill Level
Total Parts Cost
$23.65Estimated Savings
$112.5006:39
- Description
This video provides step-by-step instructions for replacing a fan receptacle on a NuTone/Broan Bath Fan (model 765H80L). The most common reason for replacing this part is if it is damaged.
Don't forget to like and comment on this video and subscribe to our channel!
Don't forget to like and comment on this video and subscribe to our channel!
Step By Step Instructions
1
To replace the fan receptacle in this nutone bath fan…
2
… you will need a flat head screwdriver, a ¼ inch wrench, needle nose pliers, and a 3/8 inch nut driver.
3
Before you begin the procedure, shut off the power supply to the fan.
4
Using a flat head screwdriver, compress the locking tab to release the lens cover from the grille assembly.
5
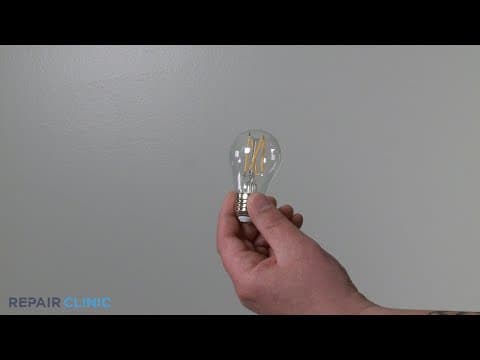
Unscrew the lightbulb.
6
While securing the grill with your hand, using a 3/8 inch nut driver, loosen and unscrew the acorn nut.
7
Unplug the reflector assembly from the light receptacle and remove the reflector assembly.
8
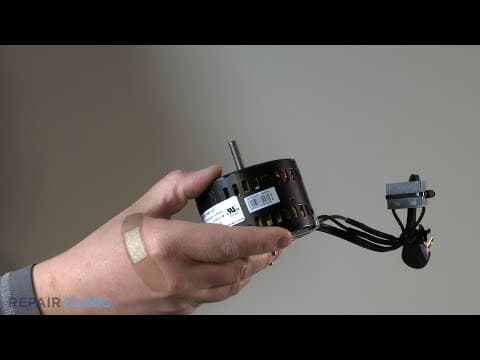
Unplug the exhaust fan from the fan receptacle.
9
Using a ¼ inch wrench, loosen and remove the hex head screw located on the side of the receptacle bracket.
10
Pull down the receptacle bracket
11
Depending on the model’s wire orientation, loosen and remove the wire nut from the white wires then separate both wires.
12
Loosen and remove the wire nut from the black wires, then separate them.
13
Now, loosen and remove the wire nut from the blue and red wires, then separate them.
14
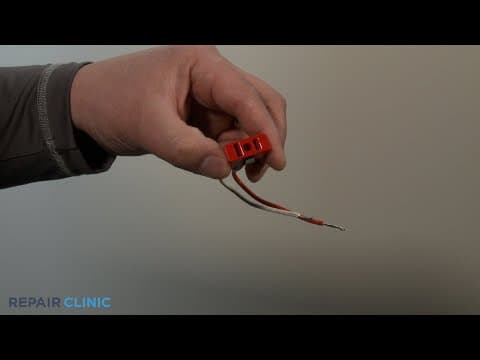
With needle nose pliers, squeeze the tabs that are securing the fan receptacle, and push forward to remove it from the socket.
15
Take out the new fan receptacle from the packaging.
16
Insert and snap the fan receptacle into its socket.
17
Take both white wire ends with the white neutral wire end coming from the bath fan housing and twist them together. place the wire nut over the ends and twist until tight.
18
Gently pull each individual wire to ensure that they are secured within the wire nut.
19
Next, take the black wire from the receptacle and twist the end with the black hot wire end coming from the bath fan housing, connecting them together. place the wire nut over the ends and twist until
20
Now take the blue and red wire ends and twist them together, connecting them.
21
Place the wire nut over the wire ends and twist until tight.
22
Put the collected wires carefully into the bath fan housing and slide the receptacle bracket back into place between the heater scroll housing and the exhaust fan shroud.
23
Insert the hex head screw through the receptacle bracket mounting hole and finger tighten. use a ¼ inch wrench to fully tighten the screw.
24
With the exhaust fan housing, insert the metal tabs into the mounting holes nearest to the fan shroud on the bath fan housing. you will need to insert the fan housing at an angle and press up to seat
25
While supporting the exhaust fan housing, insert the hex head screw and start it. this will hold the exhaust fan housing in place. tighten the hex head screw with a ¼ inch nut driver.
26
Plug the fan into the fan receptacle.
27
Plug the reflector assembly into the light receptacle.
28
With the grille assembly in hand, feed the reflector assembly through the grille assembly center opening.
29
Support the grille assembly and center it over the bath fan housing.
30
Insert the reflector assembly over the stud located on the exhaust fan housing and feed it through the small hole located in the center of the reflector assembly.
31
While supporting the grille assembly and reflector assembly, screw on the acorn nut and tighten with a 3/8 inch nut driver until the assembly is fully supported by the acorn nut.
32
Screw in the lightbulb.
33
Next, hook one of the tabs of the lens cover into the notch on the grille assembly, and firmly press the opposite side of the lens cover to snap the other tab into place.
34
Turn the power supply back on…
35
… and the bath fan should be ready for use.
Description
This video provides step-by-step instructions for replacing a fan receptacle on a NuTone/Broan Bath Fan (model 765H80L). The most common reason for replacing this part is if it is damaged.
Don't forget to like and comment on this video and subscribe to our channel!
Don't forget to like and comment on this video and subscribe to our channel!
Step-By-Step Instructions
1
To replace the fan receptacle in this nutone bath fan…
2
… you will need a flat head screwdriver, a ¼ inch wrench, needle nose pliers, and a 3/8 inch nut driver.
3
Before you begin the procedure, shut off the power supply to the fan.
4
Using a flat head screwdriver, compress the locking tab to release the lens cover from the grille assembly.
5
Unscrew the lightbulb.
6
While securing the grill with your hand, using a 3/8 inch nut driver, loosen and unscrew the acorn nut.
7
Unplug the reflector assembly from the light receptacle and remove the reflector assembly.
8
Unplug the exhaust fan from the fan receptacle.
9
Using a ¼ inch wrench, loosen and remove the hex head screw located on the side of the receptacle bracket.
10
Pull down the receptacle bracket
11
Depending on the model’s wire orientation, loosen and remove the wire nut from the white wires then separate both wires.
12
Loosen and remove the wire nut from the black wires, then separate them.
13
Now, loosen and remove the wire nut from the blue and red wires, then separate them.
14
With needle nose pliers, squeeze the tabs that are securing the fan receptacle, and push forward to remove it from the socket.
15
Take out the new fan receptacle from the packaging.
16
Insert and snap the fan receptacle into its socket.
17
Take both white wire ends with the white neutral wire end coming from the bath fan housing and twist them together. place the wire nut over the ends and twist until tight.
18
Gently pull each individual wire to ensure that they are secured within the wire nut.
19
Next, take the black wire from the receptacle and twist the end with the black hot wire end coming from the bath fan housing, connecting them together. place the wire nut over the ends and twist until
20
Now take the blue and red wire ends and twist them together, connecting them.
21
Place the wire nut over the wire ends and twist until tight.
22
Put the collected wires carefully into the bath fan housing and slide the receptacle bracket back into place between the heater scroll housing and the exhaust fan shroud.
23
Insert the hex head screw through the receptacle bracket mounting hole and finger tighten. use a ¼ inch wrench to fully tighten the screw.
24
With the exhaust fan housing, insert the metal tabs into the mounting holes nearest to the fan shroud on the bath fan housing. you will need to insert the fan housing at an angle and press up to seat
25
While supporting the exhaust fan housing, insert the hex head screw and start it. this will hold the exhaust fan housing in place. tighten the hex head screw with a ¼ inch nut driver.
26
Plug the fan into the fan receptacle.
27
Plug the reflector assembly into the light receptacle.
28
With the grille assembly in hand, feed the reflector assembly through the grille assembly center opening.
29
Support the grille assembly and center it over the bath fan housing.
30
Insert the reflector assembly over the stud located on the exhaust fan housing and feed it through the small hole located in the center of the reflector assembly.
31
While supporting the grille assembly and reflector assembly, screw on the acorn nut and tighten with a 3/8 inch nut driver until the assembly is fully supported by the acorn nut.
32
Screw in the lightbulb.
33
Next, hook one of the tabs of the lens cover into the notch on the grille assembly, and firmly press the opposite side of the lens cover to snap the other tab into place.
34
Turn the power supply back on…
35
… and the bath fan should be ready for use.
Applicable Product Model
Total$0.00
Related Articles & Videos
01:25
Part Replacement
NuTone/Broan Bath Fan (model 765H80L) Light Bulb (part 8009) Replacement
05:33
Part Replacement
NuTone/Broan Bath Fan (model 765H80L) Blower and Heater Receptacle (part S99270489) Replacement
05:56
Part Replacement
NuTone/Broan Bath Fan (model 765H80L) Exhaust Fan (part S1101269) Replacement
05:54
Part Replacement
NuTone/Broan Bath Fan (model 765H80L) Blower Wheel (part S99020276) Replacement
07:01
Part Replacement
NuTone/Broan Bath Fan (model 765H80L) Thermal Fuse (part S97011810) Replacement




Our Story
Family-owned and operated since 1912, Burke America Parts Group is the longest-running genuine appliance, HVAC, and outdoor power equipment parts solution in North America. At Repair Clinic, we're proud to be an international brand trusted by the pros as well as the DIY community.
About Repair Clinic
© 2026 RepairClinic.com