

Price Match Guarantee

In-stock parts ship the same day

365-Day Return Policy
Price Match GuaranteeGET PRO PRICING
Video & Articles: Appliance & Equipment RepairLG Air Conditioner Evaporator/Indoor Air Thermistor Replacement EAD63989008 

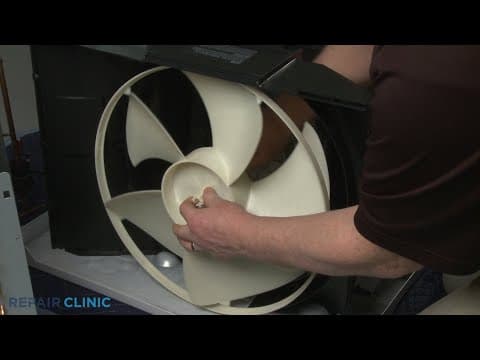
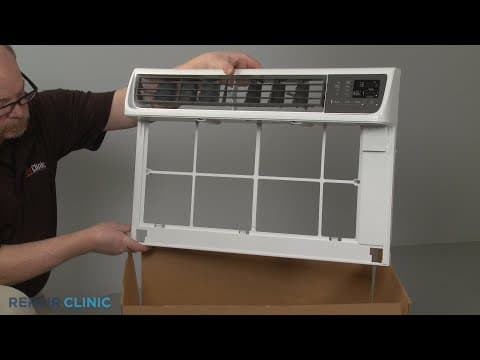
LG Air Conditioner Evaporator/Indoor Air Thermistor Replacement EAD63989008
Skill Level
Total Parts Cost
$36.94Estimated Savings
$112.5006:00
- Description
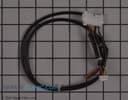
This video provides step-by-step instructions for replacing the evaporator/indoor air thermistor on an LG Air Conditioner. The most common reason for replacing this part is if the AC unit is not cooling properly.
All of the information in this video is applicable to the following brands: LG
All of the information in this video is applicable to the following brands: LG
Step By Step Instructions
1
To replace the evaporator & indoor air thermistor assembly in this lg built-in air conditioner…
2
… you will need a phillips-head screwdriver.
3
Before you begin the procedure, unplug the unit’s power cord.
4
Remove the inlet cover by detaching it from the top first.
5
Pull the air filter up and out.
6
Use the phillips-head screwdriver to unthread the two mounting screws securing the front grille assembly.
7
Pull the assembly out from the bottom then lift up to detach.
8
Disconnect the wire connecter to fully remove the assembly.
9
If required, use the phillips-head screwdriver to unthread the two rear mounting screws securing the unit to its cabinet.
10
Unthread the two front screws located on the left and right sides of the cabinet near the bottom.
11
Now slide the unit out far enough to access the service box.
12
Next, unthread the two screws securing the service box cover.
13
Slide the cover forward and up to remove.
14
Disconnect the wire connecter from the small display board harness and release the wires from the twist retainer.
15
Depress the tabs to detach the large display board harness connecter from the service box.
16
Release the indoor air thermistor and evaporator thermistor…
17
… then detach the wires from the retaining clips.
18
You can now fully remove the old assembly.
19
To install the new evaporator and indoor air thermistor assembly …
20
… feed the two thermistors through the small hole in the front of the service box from the inside.
21
Insert the evaporator thermistor into the tube on the side…
22
… and secure the indoor air thermistor in the retaining clip.
23
Secure the two thermistor wires in the retaining clips.
24
Insert the large display board harness connecter into the slot in the service box and snap it into place.
25
Connect the small display board harness connecter and secure the wires in the twist retainer.
26
Align the service box cover tabs with the slots and push the cover back.
27
Rethread the two mounting screws.
28
You’re now ready to push the unit back into the cabinet.
29
Rethread the front screws on the left and right sides to secure.
30
Securing the unit with the rear cabinet screws is optional.
31
Reinstall the front grille assembly by first connecting the wire connecter.
32
Make sure the vent lever is accessible just below the horizontal louver as you insert the upper tabs into the slots in the frame, then position and snap the sides of the grille into place.
33
Rethread the two mounting screws to secure.
34
Realign the air filter by positioning the bottom edge first then snap the top of the filter into place.
35
Align the inlet cover hinge tabs with the slots in the grille assembly then snap the top portion of the cover into position.
36
Plug the power cord back in…
37
… and the air conditioner should be ready for use.
Description
This video provides step-by-step instructions for replacing the evaporator/indoor air thermistor on an LG Air Conditioner. The most common reason for replacing this part is if the AC unit is not cooling properly.
All of the information in this video is applicable to the following brands: LG
All of the information in this video is applicable to the following brands: LG
Step-By-Step Instructions
1
To replace the evaporator & indoor air thermistor assembly in this lg built-in air conditioner…
2
… you will need a phillips-head screwdriver.
3
Before you begin the procedure, unplug the unit’s power cord.
4
Remove the inlet cover by detaching it from the top first.
5
Pull the air filter up and out.
6
Use the phillips-head screwdriver to unthread the two mounting screws securing the front grille assembly.
7
Pull the assembly out from the bottom then lift up to detach.
8
Disconnect the wire connecter to fully remove the assembly.
9
If required, use the phillips-head screwdriver to unthread the two rear mounting screws securing the unit to its cabinet.
10
Unthread the two front screws located on the left and right sides of the cabinet near the bottom.
11
Now slide the unit out far enough to access the service box.
12
Next, unthread the two screws securing the service box cover.
13
Slide the cover forward and up to remove.
14
Disconnect the wire connecter from the small display board harness and release the wires from the twist retainer.
15
Depress the tabs to detach the large display board harness connecter from the service box.
16
Release the indoor air thermistor and evaporator thermistor…
17
… then detach the wires from the retaining clips.
18
You can now fully remove the old assembly.
19
To install the new evaporator and indoor air thermistor assembly …
20
… feed the two thermistors through the small hole in the front of the service box from the inside.
21
Insert the evaporator thermistor into the tube on the side…
22
… and secure the indoor air thermistor in the retaining clip.
23
Secure the two thermistor wires in the retaining clips.
24
Insert the large display board harness connecter into the slot in the service box and snap it into place.
25
Connect the small display board harness connecter and secure the wires in the twist retainer.
26
Align the service box cover tabs with the slots and push the cover back.
27
Rethread the two mounting screws.
28
You’re now ready to push the unit back into the cabinet.
29
Rethread the front screws on the left and right sides to secure.
30
Securing the unit with the rear cabinet screws is optional.
31
Reinstall the front grille assembly by first connecting the wire connecter.
32
Make sure the vent lever is accessible just below the horizontal louver as you insert the upper tabs into the slots in the frame, then position and snap the sides of the grille into place.
33
Rethread the two mounting screws to secure.
34
Realign the air filter by positioning the bottom edge first then snap the top of the filter into place.
35
Align the inlet cover hinge tabs with the slots in the grille assembly then snap the top portion of the cover into position.
36
Plug the power cord back in…
37
… and the air conditioner should be ready for use.
Applicable Product Model
Parts Needed
Wire Harness
$36.94
Total$0.00
Related Articles & Videos
03:47
Part Replacement
LG Air Conditioner Vertical Louver Fin with Lever Replacement MFH63483702




Our Story
Family-owned and operated since 1912, Burke America Parts Group is the longest-running genuine appliance, HVAC, and outdoor power equipment parts solution in North America. At Repair Clinic, we're proud to be an international brand trusted by the pros as well as the DIY community.
About Repair Clinic
© 2026 RepairClinic.com