

Price Match Guarantee

In-stock parts ship the same day

365-Day Return Policy
Price Match GuaranteeGET PRO PRICING
Video & Articles: Appliance & Equipment RepairKitchenAid Garbage Disposer Mounting Flange Kit Replacement WP4172173A 


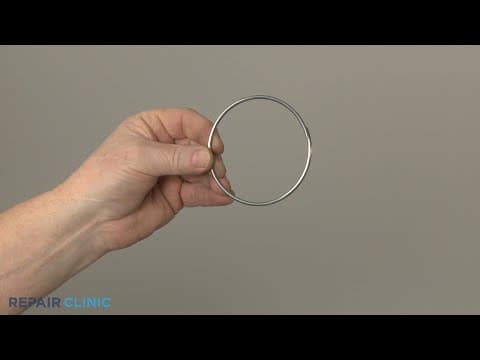
KitchenAid Garbage Disposer Mounting Flange Kit Replacement WP4172173A
Skill Level
Total Parts Cost
$38.45Estimated Savings
$112.5005:08
- Description
This video provides step-by-step repair instructions for replacing the mounting flange kit on a KitchenAid garbage disposer. The most common reason for replacing this part is if it is damaged or missing.
All of the information for this replacement video is applicable to the following brands:
KitchenAid
All of the information for this replacement video is applicable to the following brands:
KitchenAid
Step By Step Instructions
1
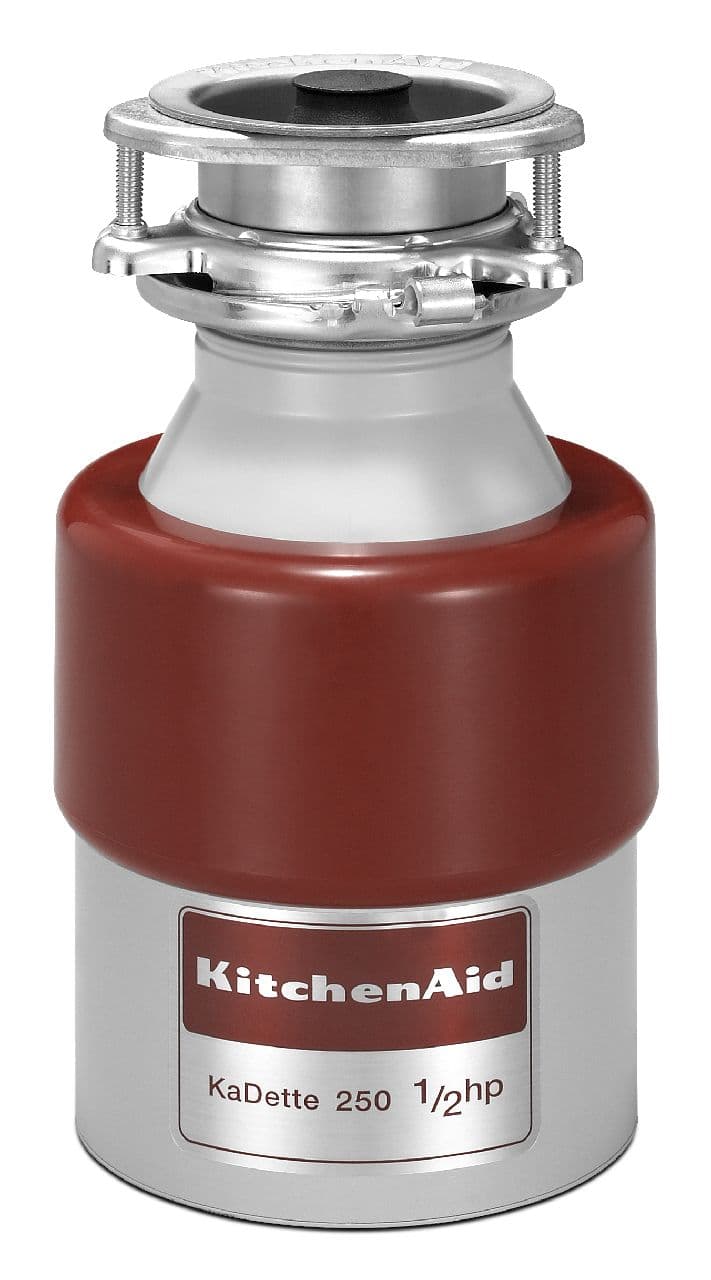
KitchenAid Garbage Disposer - KCDB250G4
2
KitchenAid Garbage Disposer Mounting Flange Kit Installation
3
Tools needed: 3/8th inch nut driver, flat-head screwdriver
4
Shock
5
Before you begin the procedure, unplug the unit?s power cord.
6
Water
7
If there is not enough slack, detach the dishwasher?s drain hose from the disposer inlet port, if applicable.
8
Using the 3/8th inch nut driver or the flat-head screwdriver, unthread the two mounting screws securing the tailpipe flange to the disposer.
9
Heavy
10
Now rotate the lock ring counter-clockwise to release the disposer from the sink.
11
With the disposer uninstalled, pull off the splash guard and remove the old lock ring.
12
Next, use the flat-head screwdriver to loosen the three screws securing the mounting bracket to the strainer flange.
13
With the screws loosened, lift the bracket up and use the screwdriver to pry the mounting ring free of the strainer flange to release the mounting bracket components.
14
You can remove the old strainer flange as well.
15
To prepare the new mounting flange kit components for installation, first rotate the lock ring to remove, then loosen the three screws.
16
Remove the mounting ring to fully detach the components.
17
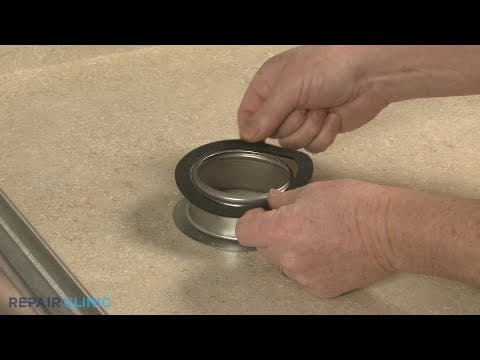
When installing the new strainer flange, you can use plumber?s putty to help seal it or you can align an upper sink flange seal.
18
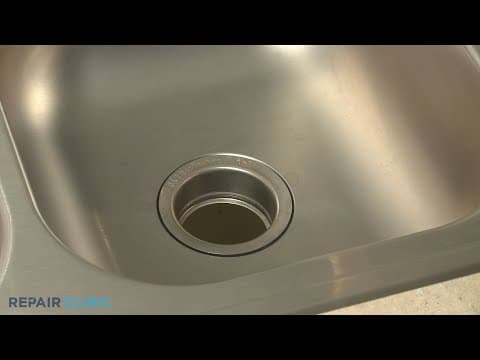
Insert the strainer flange into the sink opening.
19
Align the flange mounting plate on the bracket followed by the lower sink flange seal.
20
Align the mounting ring on the bottom, then, holding the components together, position them on the bottom of the strainer flange.
21
Push the bracket up while pushing down on the strainer flange, then snap the mounting ring into place in the strainer flange groove.
22
With the ring secured, tighten all three screws.
23
If you used plumber?s putty to seal the strainer flange, you?ll need to clean off any excess putty.
24
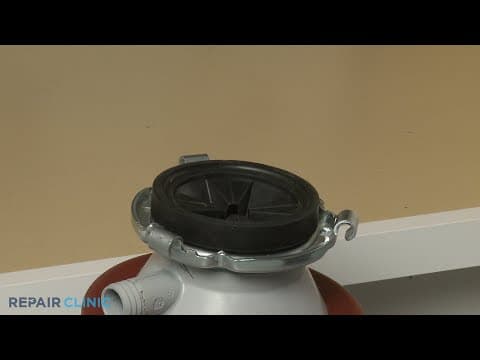
Position the new lock ring on the disposer the reinstall the splash guard.
25
Reinstall the disposer by positioning it in the mounting bracket, making sure the disposer?s outlet port is aligned with the tailpipe.
26
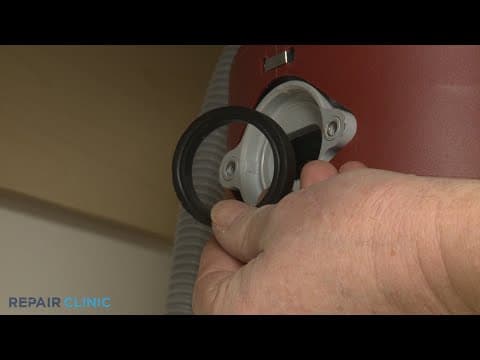
Confirm the tailpipe gasket is in place on the outlet port, then position the tailpipe flange with the port and thread the two screws to secure.
27
Now fully rotate the disposer lock ring clockwise until it locks into place.
28
If applicable, reattach the dishwasher?s drain hose to the inlet port.
29
Plug the power cord back in and the garbage disposer should be ready for use.
Description
This video provides step-by-step repair instructions for replacing the mounting flange kit on a KitchenAid garbage disposer. The most common reason for replacing this part is if it is damaged or missing.
All of the information for this replacement video is applicable to the following brands:
KitchenAid
All of the information for this replacement video is applicable to the following brands:
KitchenAid
Step-By-Step Instructions
1
KitchenAid Garbage Disposer - KCDB250G4
2
KitchenAid Garbage Disposer Mounting Flange Kit Installation
3
Tools needed: 3/8th inch nut driver, flat-head screwdriver
4
Shock
5
Before you begin the procedure, unplug the unit?s power cord.
6
Water
7
If there is not enough slack, detach the dishwasher?s drain hose from the disposer inlet port, if applicable.
8
Using the 3/8th inch nut driver or the flat-head screwdriver, unthread the two mounting screws securing the tailpipe flange to the disposer.
9
Heavy
10
Now rotate the lock ring counter-clockwise to release the disposer from the sink.
11
With the disposer uninstalled, pull off the splash guard and remove the old lock ring.
12
Next, use the flat-head screwdriver to loosen the three screws securing the mounting bracket to the strainer flange.
13
With the screws loosened, lift the bracket up and use the screwdriver to pry the mounting ring free of the strainer flange to release the mounting bracket components.
14
You can remove the old strainer flange as well.
15
To prepare the new mounting flange kit components for installation, first rotate the lock ring to remove, then loosen the three screws.
16
Remove the mounting ring to fully detach the components.
17
When installing the new strainer flange, you can use plumber?s putty to help seal it or you can align an upper sink flange seal.
18
Insert the strainer flange into the sink opening.
19
Align the flange mounting plate on the bracket followed by the lower sink flange seal.
20
Align the mounting ring on the bottom, then, holding the components together, position them on the bottom of the strainer flange.
21
Push the bracket up while pushing down on the strainer flange, then snap the mounting ring into place in the strainer flange groove.
22
With the ring secured, tighten all three screws.
23
If you used plumber?s putty to seal the strainer flange, you?ll need to clean off any excess putty.
24
Position the new lock ring on the disposer the reinstall the splash guard.
25
Reinstall the disposer by positioning it in the mounting bracket, making sure the disposer?s outlet port is aligned with the tailpipe.
26
Confirm the tailpipe gasket is in place on the outlet port, then position the tailpipe flange with the port and thread the two screws to secure.
27
Now fully rotate the disposer lock ring clockwise until it locks into place.
28
If applicable, reattach the dishwasher?s drain hose to the inlet port.
29
Plug the power cord back in and the garbage disposer should be ready for use.
Applicable Product Model
Recommended Tools and Accessories
Disposer Cleaner
$10.83
Total$0.00
Related Articles & Videos
04:09
Part Replacement
KitchenAid Garbage Disposer Upper Sink Flange Seal Replacement WP4211302




Our Story
Family-owned and operated since 1912, Burke America Parts Group is the longest-running genuine appliance, HVAC, and outdoor power equipment parts solution in North America. At Repair Clinic, we're proud to be an international brand trusted by the pros as well as the DIY community.
About Repair Clinic
© 2026 RepairClinic.com