

Price Match Guarantee

In-stock parts ship the same day

365-Day Return Policy
Price Match GuaranteeGET PRO PRICING
Video & Articles: Appliance & Equipment RepairGE Refrigerator Ice Maker Fill Tube Assembly Replacement WR17X11168 

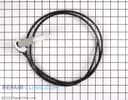
GE Refrigerator Ice Maker Fill Tube Assembly Replacement WR17X11168
Skill Level
Total Parts Cost
$32.75Estimated Savings
$112.5005:22
- Description
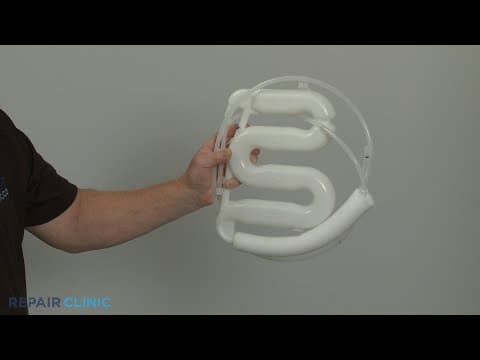
This video provides step-by-step repair instructions for replacing the ice maker fill tube assembly on a GE Refrigerator (Model GSE25GSHPCSS). The most common reason for replacing this part is if the refrigerator is not making ice.
All of the information for this video is applicable to the following brands: GE
All of the information for this video is applicable to the following brands: GE
Step By Step Instructions
1
To replace the ice maker fill tube assembly in this GE refrigerator…
2
… you will need a phillips-head screwdriver, a quarter-inch nut driver, a 5/16th inch nut driver, and a putty knife.
3
Before you begin the procedure, unplug the appliance’s power cord…
4
… and shut off the home’s water supply line valve.
5
Have an assistant help you to move the refrigerator away from the wall.
6
Use the quarter-inch nut driver to unthread the upper center screw securing the water line retainer and lower rear access panel.
7
Next, unthread the five remaining screws securing the access panel using the 5/16th inch nut driver.
8
With the screws unthreaded, lift the panel up to remove.
9
Use the quarter-inch nut driver to unthread the screw securing the water inlet valve mounting bracket.
10
Detach the bracket from the frame.
11
Pull out the retaining clip…
12
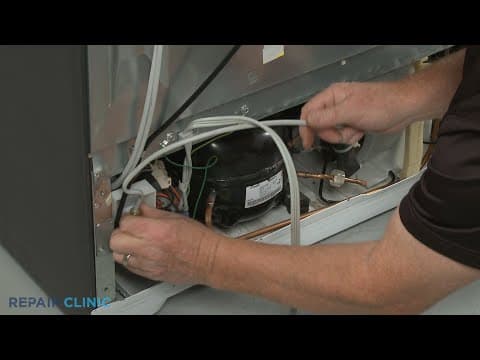
… then depress the lock ring to release the fill tube water line from the valve – be prepared for some water to spill.
13
Using the quarter-inch nut driver, unthread the screw securing the water line retainer to the rear panel.
14
Next, unthread the two screws to release the fill tube retaining bracket.
15
You can use a putty knife to help pry the old fill tube asssembly off the rear panel.
16
To prepare the new ice maker fill tube assembly for installation…
17
… transfer the retainer from the old water line to the new one.
18
Now peel off the plastic to expose the adhesive.
19
Insert the fill tube into the hole in the rear panel and press firmly.
20
Realign the retaining bracket and thread the two screws to secure.
21
Thread the screw to secure the water line retainer to the rear panel as well.
22
Fully insert the water line into the inlet valve port and slide in the retaining clip.
23
Reposition the inlet valve mounting bracket on the frame…
24
… and rethread the screw to secure.
25
Replace the lower rear access panel by aligning the bottom tabs first.
26
Rethread the screws.
27
Secure the water line behind the retainer and rethread the upper center screw.
28
Move the appliance back against the wall.
29
Confirm the new fill tube is properly positioned over the ice maker fill cup…
30
… then open the home’s water supply line valve…
31
… plug the appliance’s power cord back in…
32
… and the refrigerator should be ready for use.
Description
This video provides step-by-step repair instructions for replacing the ice maker fill tube assembly on a GE Refrigerator (Model GSE25GSHPCSS). The most common reason for replacing this part is if the refrigerator is not making ice.
All of the information for this video is applicable to the following brands: GE
All of the information for this video is applicable to the following brands: GE
Step-By-Step Instructions
1
To replace the ice maker fill tube assembly in this GE refrigerator…
2
… you will need a phillips-head screwdriver, a quarter-inch nut driver, a 5/16th inch nut driver, and a putty knife.
3
Before you begin the procedure, unplug the appliance’s power cord…
4
… and shut off the home’s water supply line valve.
5
Have an assistant help you to move the refrigerator away from the wall.
6
Use the quarter-inch nut driver to unthread the upper center screw securing the water line retainer and lower rear access panel.
7
Next, unthread the five remaining screws securing the access panel using the 5/16th inch nut driver.
8
With the screws unthreaded, lift the panel up to remove.
9
Use the quarter-inch nut driver to unthread the screw securing the water inlet valve mounting bracket.
10
Detach the bracket from the frame.
11
Pull out the retaining clip…
12
… then depress the lock ring to release the fill tube water line from the valve – be prepared for some water to spill.
13
Using the quarter-inch nut driver, unthread the screw securing the water line retainer to the rear panel.
14
Next, unthread the two screws to release the fill tube retaining bracket.
15
You can use a putty knife to help pry the old fill tube asssembly off the rear panel.
16
To prepare the new ice maker fill tube assembly for installation…
17
… transfer the retainer from the old water line to the new one.
18
Now peel off the plastic to expose the adhesive.
19
Insert the fill tube into the hole in the rear panel and press firmly.
20
Realign the retaining bracket and thread the two screws to secure.
21
Thread the screw to secure the water line retainer to the rear panel as well.
22
Fully insert the water line into the inlet valve port and slide in the retaining clip.
23
Reposition the inlet valve mounting bracket on the frame…
24
… and rethread the screw to secure.
25
Replace the lower rear access panel by aligning the bottom tabs first.
26
Rethread the screws.
27
Secure the water line behind the retainer and rethread the upper center screw.
28
Move the appliance back against the wall.
29
Confirm the new fill tube is properly positioned over the ice maker fill cup…
30
… then open the home’s water supply line valve…
31
… plug the appliance’s power cord back in…
32
… and the refrigerator should be ready for use.
Applicable Product Model
Parts Needed
Fill Tube
$32.75
Total$0.00
Related Articles & Videos
01:40
Part Replacement
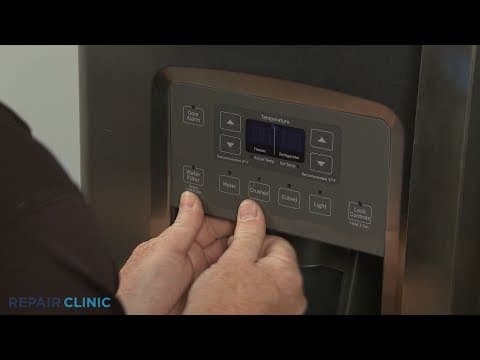
GE Refrigerator Dispenser Display Control Assembly Replacement WR55X34887




Our Story
Family-owned and operated since 1912, Burke America Parts Group is the longest-running genuine appliance, HVAC, and outdoor power equipment parts solution in North America. At Repair Clinic, we're proud to be an international brand trusted by the pros as well as the DIY community.
About Repair Clinic
© 2026 RepairClinic.com