

Price Match Guarantee

In-stock parts ship the same day

365-Day Return Policy
Price Match GuaranteeGET PRO PRICING
Video & Articles: Appliance & Equipment RepairWhirlpool Top-Load Washer Clutch Slider Gear Replacement W10734521 

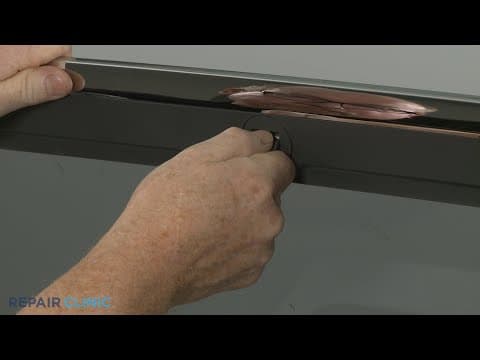
Whirlpool Top-Load Washer Clutch Slider Gear Replacement W10734521
Skill Level
Total Parts Cost
$47.20Estimated Savings
$112.5004:36
- Description
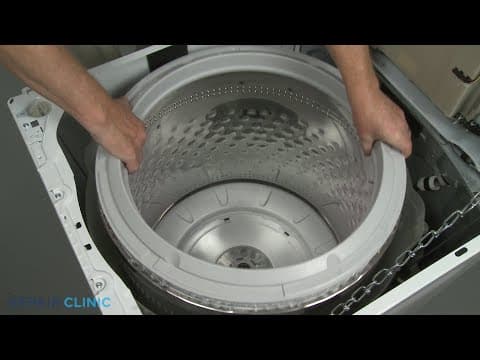
This video provides step-by-step instructions for replacing the clutch slider gear on a Whirlpool top-loading washing machine, model WTW7120HW0. The most common reason for replacing this part is if the washer will not spin or agitate properly.
All of the information in this part replacement video is applicable to the following brands: Whirlpool
All of the information in this part replacement video is applicable to the following brands: Whirlpool
Step By Step Instructions
1
To replace the clutch slider gear components in this whirlpool top-load washer…
2
… you will need a t-30 torx bit, a flat-head screwdriver, channel-lock pliers, and a small awl.
3
Before you begin the procedure, unplug the appliance’s power cord…
4
… and shut off the incoming water supply.
5
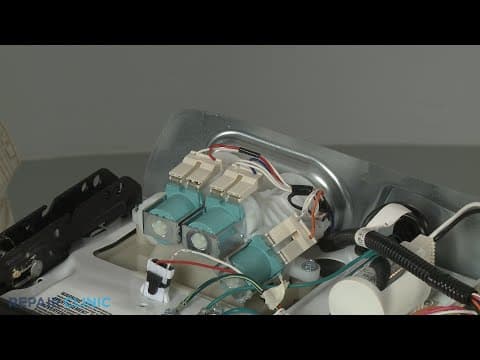
Unthread the hot and cold water supply hoses from the inlet valve ports – be prepared for some water to spill.
6
Use the channel-lock pliers to release the spring clamp so you can detach the drain hose from the outlet port.
7
Now have an assistant help you to move the washer away from the wall…
8
… and tip the appliance back so its rear panel rests on a towel or blanket.
9
Insert the flat-head screwdriver into an inner hole of the rotor to hold it in place…
10
… as you use the t-30 torx bit to unthread the rotor mounting screw counter-clockwise.
11
Pull the rotor free – because of the permanent magnets in the rotor, this may require some effort.
12
Insert the small awl between the slider gear teeth to release the spring retainer.
13
With the retainer released, you can pull off the old spring and slider gear.
14
You’re now ready to install the new clutch slider gear components.
15
With the teeth facing outward, slide the slider gear over the drive assembly shaft.
16
Align the spring…
17
… then secure the spring with the retainer – you can use the awl to seat the retainer.
18
Reinstall the rotor by aligning it over the stator, keeping your fingers away from the underside of the rotor.
19
Thread the mounting screw clockwise and secure the rotor with the flat-head screwdriver as you tighten the screw.
20
Return the washer to its upright position…
21
… and move the appliance back against the wall.
22
Reattach the drain hose to the outlet port, securing it with the clamp.
23
Attach the hot and cold water supply hoses to the appropriate inlet valve ports.
24
Turn the water supply back on…
25
… plug the appliance’s power cord back in…
26
… and the washer should be ready for use.
Description
This video provides step-by-step instructions for replacing the clutch slider gear on a Whirlpool top-loading washing machine, model WTW7120HW0. The most common reason for replacing this part is if the washer will not spin or agitate properly.
All of the information in this part replacement video is applicable to the following brands: Whirlpool
All of the information in this part replacement video is applicable to the following brands: Whirlpool
Step-By-Step Instructions
1
To replace the clutch slider gear components in this whirlpool top-load washer…
2
… you will need a t-30 torx bit, a flat-head screwdriver, channel-lock pliers, and a small awl.
3
Before you begin the procedure, unplug the appliance’s power cord…
4
… and shut off the incoming water supply.
5
Unthread the hot and cold water supply hoses from the inlet valve ports – be prepared for some water to spill.
6
Use the channel-lock pliers to release the spring clamp so you can detach the drain hose from the outlet port.
7
Now have an assistant help you to move the washer away from the wall…
8
… and tip the appliance back so its rear panel rests on a towel or blanket.
9
Insert the flat-head screwdriver into an inner hole of the rotor to hold it in place…
10
… as you use the t-30 torx bit to unthread the rotor mounting screw counter-clockwise.
11
Pull the rotor free – because of the permanent magnets in the rotor, this may require some effort.
12
Insert the small awl between the slider gear teeth to release the spring retainer.
13
With the retainer released, you can pull off the old spring and slider gear.
14
You’re now ready to install the new clutch slider gear components.
15
With the teeth facing outward, slide the slider gear over the drive assembly shaft.
16
Align the spring…
17
… then secure the spring with the retainer – you can use the awl to seat the retainer.
18
Reinstall the rotor by aligning it over the stator, keeping your fingers away from the underside of the rotor.
19
Thread the mounting screw clockwise and secure the rotor with the flat-head screwdriver as you tighten the screw.
20
Return the washer to its upright position…
21
… and move the appliance back against the wall.
22
Reattach the drain hose to the outlet port, securing it with the clamp.
23
Attach the hot and cold water supply hoses to the appropriate inlet valve ports.
24
Turn the water supply back on…
25
… plug the appliance’s power cord back in…
26
… and the washer should be ready for use.
Applicable Product Model

Related Articles & Videos
05:14
Part Replacement
Whirlpool Top-Load Washer Water Inlet Valve Replacement 218605101
05:41
Part Replacement
Whirlpool Top-Load Washer Lid Lock Assembly Replacement W11394572




Our Story
Family-owned and operated since 1912, Burke America Parts Group is the longest-running genuine appliance, HVAC, and outdoor power equipment parts solution in North America. At Repair Clinic, we're proud to be an international brand trusted by the pros as well as the DIY community.
About Repair Clinic
© 2026 RepairClinic.com