

Price Match Guarantee

In-stock parts ship the same day

365-Day Return Policy
Price Match GuaranteeGET PRO PRICING
Video & Articles: Appliance & Equipment RepairGE Dryer Side Panel Replacement WE10X29822
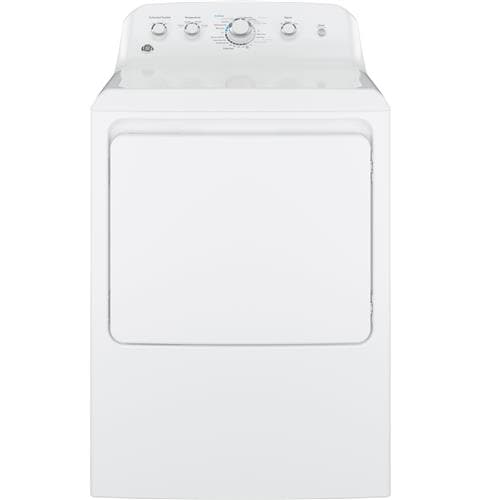
This video provides step-by-step repair instructions for replacing the side panel in a GE dryer (Model GTD42EASJ2WW). The most common reason for replacing this part is if it's missing or broken.
This replacement video is applicable to the following brands:
GE
Screws affiliated with dryer-
Don't forget to like and comment on this video and subscribe to our channel!
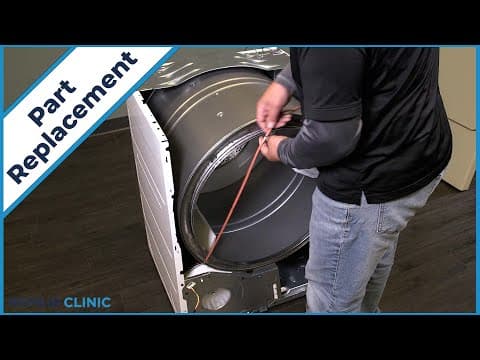
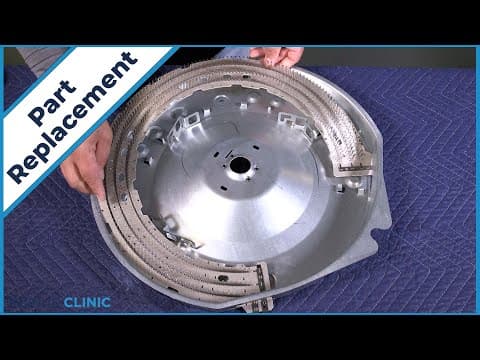
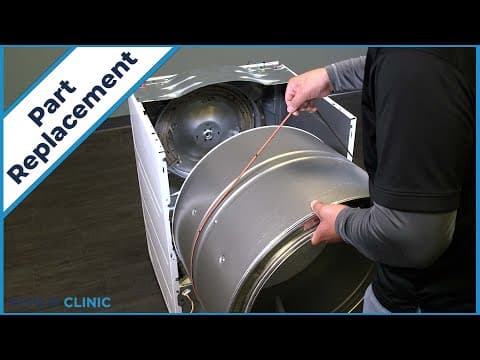
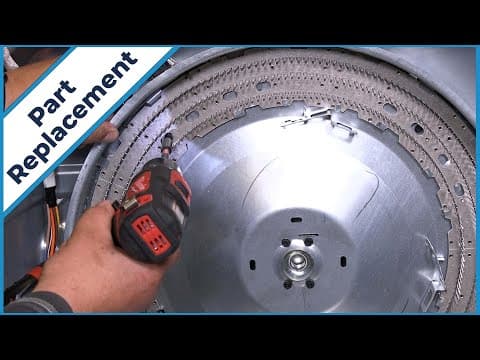
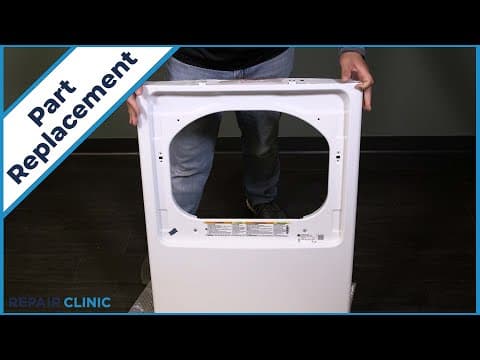
GE Dryer Side Panel Replacement WE10X29822
Skill Level
Total Parts Cost
$82.98Estimated Savings
$112.5011:49
- Description
This video provides step-by-step repair instructions for replacing the side panel in a GE dryer (Model GTD42EASJ2WW). The most common reason for replacing this part is if it's missing or broken.
This replacement video is applicable to the following brands:
GE
Screws affiliated with dryer-
Don't forget to like and comment on this video and subscribe to our channel!
Step By Step Instructions
1
To replace the side panel in your ge dryer, you will need a drill driver with a 1/4” bit, needlenose pliers, and a #1 square head bit.
2
Before you begin the procedure, unplug the power to the appliance.
3
Unthread the five screws on the panel. any missing screws can be ordered through the links in the description below.
4
Pull out and lift the panel from the backsplash.
5
Detatch the ground wire.
6
Unthread the two screws that secure the backsplash.
7
Pull the backsplash back, and lift up to free it from the dryer.
8
Note the orientation of the wires.
9
Detatch the purple, brown, and red wires from the start switch.
10
Now detatch the red wire from the signal switch.
11
Detatch the purple, brown, yellow, and red wires from the timer.
12
Detatch the blue, yellow, brown, and bottom orange wires from the temperature switch.
13
Detatch the brown wire from the extended tumble switch.
14
Detatch the brown and white wires from the resistor.
15
Unthread the two screws securing both the top panel plates.
16
Detatch the solid brown wire from the purple wire.
17
Feed the wires through the panel.
18
Unthread the two screws on the top of the panel, then unthread the two screws under the lip of the door threshold.
19
Lift the top panel from the appliance.
20
Unthread the two screws that secure the front panel.
21
While supporting the front, unplug the two wire harnesses.
22
Lift out the front panel.
23
Unthread the two screws that secure the side panel to the blower housing and base.
24
If changing the panel on the right side, unthread the screw and remove the clip in the center of the panel along with the screw securing the panel to the base.
25
Now unthread the remaining six screws along the perimeter of the side panel.
26
Lift the cover to slide the panel out.
27
To install the new side panel, slide the four tabs into the base then lift the cover and push the panel forward to set in place.
28
Rethread the six screws along the perimeter of the panel, now rethread the two screws to the blower housing and base to secure it.
29
If you changed the right-side panel, snap in the clip and rethread the screw as well as the screw in the base to secure the panel.
30
Set the front panel on the three tabs, then plug in the two wire harnesses.
31
Push the panel forward, then secure it with the two screws.
32
Set the panel on the appliance and feed the wires through.
33
Hook the back of the top panel and adjust it till it is aligned.
34
Rethread the two screws under the door threshold, as well as the two screws on the top of the panel.
35
Reattach the solid brown wire to the purple wire.
36
Slide the top plates into position and secure with the two screws.
37
Reattach the white and brown wires to the resistor.
38
Reattach the brown wire into the extended tumble switch.
39
Reattach the blue, yellow, brown, and bottom orange wires into the temperature switch.
40
Reattach the purple, brown, yellow, and red wires into the timer.
41
Reattach the red wire into the signal switch.
42
Reattach the purple, brown, and red wires to the start switch.
43
Set the backsplash back into the dryer slots and push forward to lock in place.
44
Rethread the two screws.
45
Reattach the ground wire to the panel.
46
Insert the panel tabs into the slots on the dryer.
47
Rethread the five screws.
48
Plug in the dryer, and your dryer should be ready for use.
Description
This video provides step-by-step repair instructions for replacing the side panel in a GE dryer (Model GTD42EASJ2WW). The most common reason for replacing this part is if it's missing or broken.
This replacement video is applicable to the following brands:
GE
Screws affiliated with dryer-
Don't forget to like and comment on this video and subscribe to our channel!
This video provides step-by-step repair instructions for replacing the side panel in a GE dryer (Model GTD42EASJ2WW). The most common reason for replacing this part is if it's missing or broken.
This replacement video is applicable to the following brands:
GE
Screws affiliated with dryer-
Don't forget to like and comment on this video and subscribe to our channel!
Step-By-Step Instructions
1
To replace the side panel in your ge dryer, you will need a drill driver with a 1/4” bit, needlenose pliers, and a #1 square head bit.
2
Before you begin the procedure, unplug the power to the appliance.
3
Unthread the five screws on the panel. any missing screws can be ordered through the links in the description below.
4
Pull out and lift the panel from the backsplash.
5
Detatch the ground wire.
6
Unthread the two screws that secure the backsplash.
7
Pull the backsplash back, and lift up to free it from the dryer.
8
Note the orientation of the wires.
9
Detatch the purple, brown, and red wires from the start switch.
10
Now detatch the red wire from the signal switch.
11
Detatch the purple, brown, yellow, and red wires from the timer.
12
Detatch the blue, yellow, brown, and bottom orange wires from the temperature switch.
13
Detatch the brown wire from the extended tumble switch.
14
Detatch the brown and white wires from the resistor.
15
Unthread the two screws securing both the top panel plates.
16
Detatch the solid brown wire from the purple wire.
17
Feed the wires through the panel.
18
Unthread the two screws on the top of the panel, then unthread the two screws under the lip of the door threshold.
19
Lift the top panel from the appliance.
20
Unthread the two screws that secure the front panel.
21
While supporting the front, unplug the two wire harnesses.
22
Lift out the front panel.
23
Unthread the two screws that secure the side panel to the blower housing and base.
24
If changing the panel on the right side, unthread the screw and remove the clip in the center of the panel along with the screw securing the panel to the base.
25
Now unthread the remaining six screws along the perimeter of the side panel.
26
Lift the cover to slide the panel out.
27
To install the new side panel, slide the four tabs into the base then lift the cover and push the panel forward to set in place.
28
Rethread the six screws along the perimeter of the panel, now rethread the two screws to the blower housing and base to secure it.
29
If you changed the right-side panel, snap in the clip and rethread the screw as well as the screw in the base to secure the panel.
30
Set the front panel on the three tabs, then plug in the two wire harnesses.
31
Push the panel forward, then secure it with the two screws.
32
Set the panel on the appliance and feed the wires through.
33
Hook the back of the top panel and adjust it till it is aligned.
34
Rethread the two screws under the door threshold, as well as the two screws on the top of the panel.
35
Reattach the solid brown wire to the purple wire.
36
Slide the top plates into position and secure with the two screws.
37
Reattach the white and brown wires to the resistor.
38
Reattach the brown wire into the extended tumble switch.
39
Reattach the blue, yellow, brown, and bottom orange wires into the temperature switch.
40
Reattach the purple, brown, yellow, and red wires into the timer.
41
Reattach the red wire into the signal switch.
42
Reattach the purple, brown, and red wires to the start switch.
43
Set the backsplash back into the dryer slots and push forward to lock in place.
44
Rethread the two screws.
45
Reattach the ground wire to the panel.
46
Insert the panel tabs into the slots on the dryer.
47
Rethread the five screws.
48
Plug in the dryer, and your dryer should be ready for use.
Applicable Product Model
Parts Needed
Side Panel
$82.98
Total$0.00
Related Articles & Videos




Our Story
Family-owned and operated since 1912, Burke America Parts Group is the longest-running genuine appliance, HVAC, and outdoor power equipment parts solution in North America. At Repair Clinic, we're proud to be an international brand trusted by the pros as well as the DIY community.
About Repair Clinic
© 2026 RepairClinic.com