

Price Match Guarantee

In-stock parts ship the same day

365-Day Return Policy
Price Match GuaranteeGET PRO PRICING
Video & Articles: Appliance & Equipment RepairLG Dishwasher Check Valve Replacement #5220ED4004A

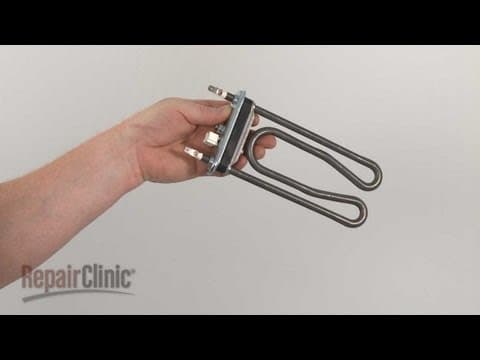
LG Dishwasher Check Valve Replacement #5220ED4004A
Skill Level
Total Parts Cost
$16.73Estimated Savings
$112.5002:06
- Description
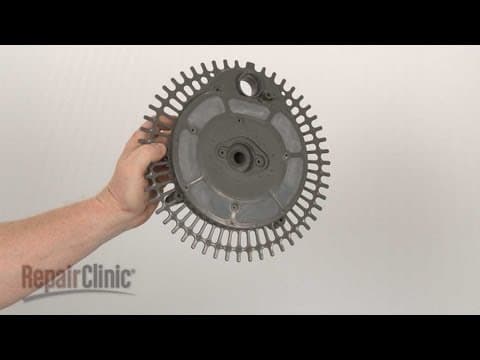
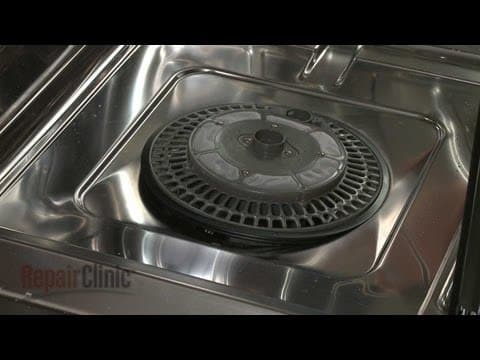
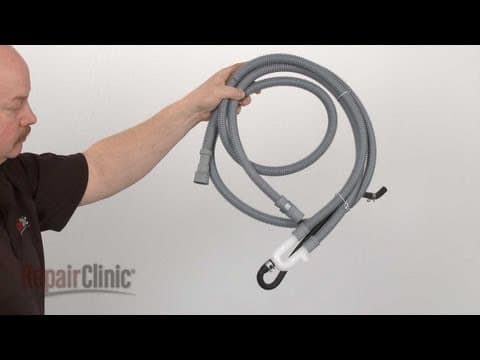
This video provides step-by-step instructions for replacing the check valve on LG dishwashers. The most common reason for replacing the check valve is if it gets stuck closed, preventing the dishwasher from draining.
All of the information in this check valve replacement video is applicable to the following brands: LG
All of the information in this check valve replacement video is applicable to the following brands: LG
Step By Step Instructions
1
To replace the check valve on your dishwasher first remove the lower and upper dish racks.
2
Next, hold both ends of the lower wash arm and pull the assembly out.
3
This may require some effort.
4
Remove the screw to release the water guide retaining clip.
5
Now detach the water guide from the upper and rear mounting brackets then rotate the guide to remove it from the filter assembly.
6
Uninstall the screws securing the filter assembly and lift the assembly out.
7
Pull out the old check valve if still intact.
8
Install the new check valve by inserting it into the slot in the drain pump inlet port.
9
Make sure the gasket is in place on the lower pump housing then reposition the filter assembly and secure it with the screws.
10
Insert the water guide into the filter assembly and rotate to secure.
11
Snap the water guide into the two mounting brackets and replace the retaining clip.
12
Replace the lower wash arm by aligning it on the filter assembly and pushing firmly into place.
13
Make sure the arm spins freely and replace both the upper and lower dish racks.
Description
This video provides step-by-step instructions for replacing the check valve on LG dishwashers. The most common reason for replacing the check valve is if it gets stuck closed, preventing the dishwasher from draining.
All of the information in this check valve replacement video is applicable to the following brands: LG
All of the information in this check valve replacement video is applicable to the following brands: LG
Step-By-Step Instructions
1
To replace the check valve on your dishwasher first remove the lower and upper dish racks.
2
Next, hold both ends of the lower wash arm and pull the assembly out.
3
This may require some effort.
4
Remove the screw to release the water guide retaining clip.
5
Now detach the water guide from the upper and rear mounting brackets then rotate the guide to remove it from the filter assembly.
6
Uninstall the screws securing the filter assembly and lift the assembly out.
7
Pull out the old check valve if still intact.
8
Install the new check valve by inserting it into the slot in the drain pump inlet port.
9
Make sure the gasket is in place on the lower pump housing then reposition the filter assembly and secure it with the screws.
10
Insert the water guide into the filter assembly and rotate to secure.
11
Snap the water guide into the two mounting brackets and replace the retaining clip.
12
Replace the lower wash arm by aligning it on the filter assembly and pushing firmly into place.
13
Make sure the arm spins freely and replace both the upper and lower dish racks.
Applicable Product Model
Related Articles & Videos




Our Story
Family-owned and operated since 1912, Burke America Parts Group is the longest-running genuine appliance, HVAC, and outdoor power equipment parts solution in North America. At Repair Clinic, we're proud to be an international brand trusted by the pros as well as the DIY community.
About Repair Clinic
© 2026 RepairClinic.com