


 Price Match Guarantee
Craftsman Tiller Shear Pin Parts
Find the right part faster
Multiple models matched. Select your model to confirm fit.


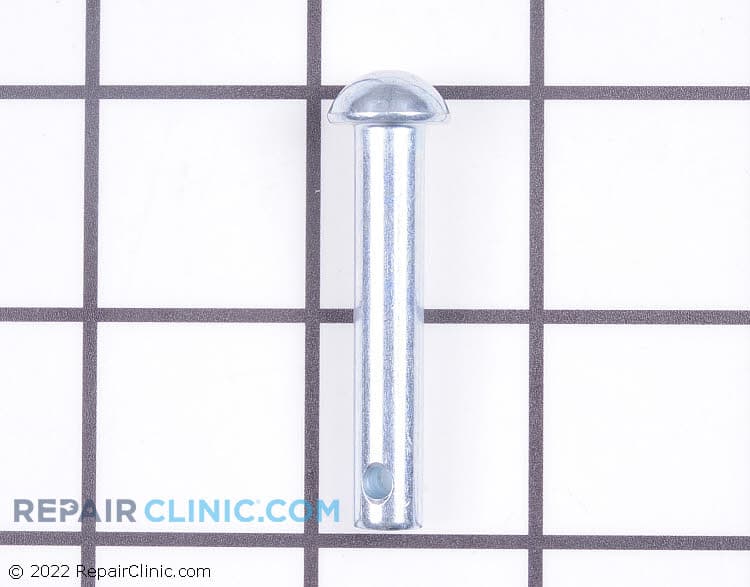
Pin clevis shear


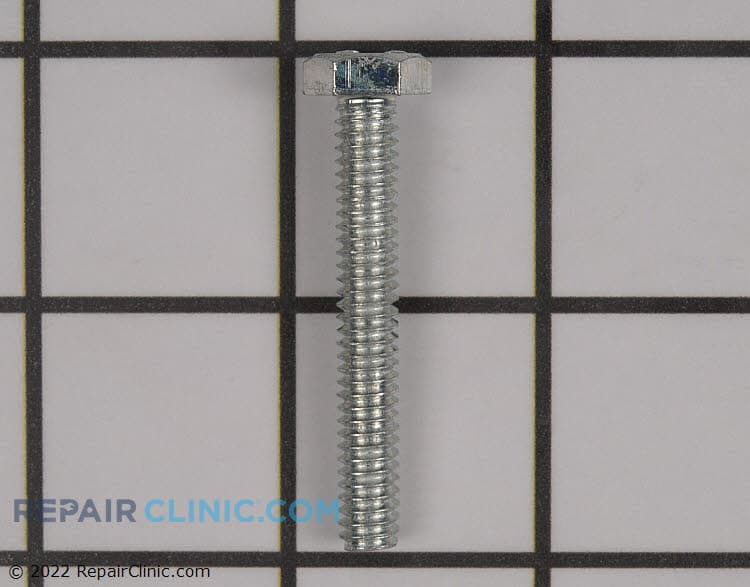
Shear bolt 1/4-20 x 1 3/4"


Craftsman Tiller Shear Pin Parts
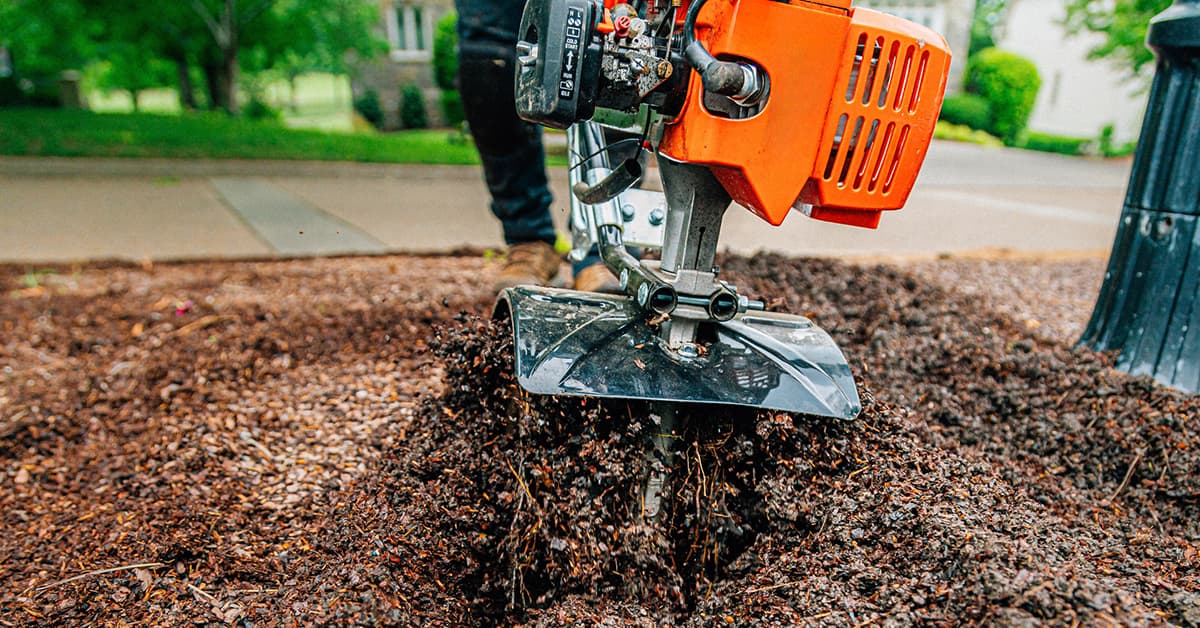
Shear pins are the first line of defense when your Craftsman tiller hits a rock, root, or hard soil — they're designed to break so the tines don't snap. When you hear a sudden clunk and the tines stop turning, the shear pin has done its job. You'll need a replacement to get back to tilling.
We stock OEM Craftsman shear pins and bolts for front-tine and rear-tine tillers across decades of models. Shear pins come in different diameters and lengths — always match your model number for the exact fit. Pro tip: buy a 5-pack and keep extras in your tiller's storage bag. A broken shear pin in the middle of a job means you're done until you replace it.
- Shear pin won't insert or falls out: Wrong diameter or length — verify model number for correct size
- Shear pin breaks immediately: Indicates something's jamming the tines — clear debris, rocks, or roots before operating
- Tines won't turn despite good shear pin: Check for bent tines, bent shaft, or belt slippage — not a shear pin issue
- Shear pin spins in hole: Hole may be enlarged — consider a slightly thicker replacement pin
- Can't remove broken shear pin: Use a 6-inch bolt extractor or drill out carefully — don't damage the shaft
Find your Craftsman tiller model number on the frame or engine housing — it's usually stamped or decaled near the tine shaft. Enter it into our parts finder to get the exact OEM shear pin your tiller needs.
Find Replacement Craftsman Tiller Shear Pin Parts Online by Model or Part Number
Popular Craftsman Tiller Models
Craftsman Tiller Shear Pin FAQs
What's the difference between a shear pin and a shear bolt?
Shear pins and shear bolts do the same job — they're safety devices designed to break when the tines jam. Pins are solid cylindrical rods; bolts have a head on one end. Your Craftsman tiller uses one or the other depending on the model year and tiller type. Use your model number to identify which type your machine needs — they're not interchangeable.
Why does my shear pin keep breaking after just a few hours?
A shear pin that breaks repeatedly is telling you something's wrong — usually debris, rocks, or roots stuck in the tilling area. Clear the soil thoroughly before starting. If the pin still breaks on clean ground, the tines may be bent, the shaft may be bent, or the tine belt is slipping and putting excessive load on the pin. Inspect the tines and shaft visually. A bent tine won't break the pin — it'll make it work much harder.
How do I find my Craftsman tiller model number?
The model number is stamped or decaled on the tiller frame, usually near the engine or tine shaft. It's a series of digits like 88143 or 88956. Write it down before you order — your Craftsman model determines the exact shear pin diameter, length, and sometimes material (steel vs. Stainless). If you can't find it on the frame, check the original invoice or owner's manual. Repair Clinic's model lookup will confirm the right shear pin for your specific model.
Should I buy a 5-pack of shear pins?
Absolutely. Shear pins are meant to break — that's their job. A single replacement leaves you stranded if you hit another obstacle mid-job. A 5-pack is inexpensive ($15 to $25) and keeps you tilling without waiting for a new order. Store the extras in a small container in your tiller's storage bag so they're always there when you need them.

Order Craftsman Tiller Shear Pin Replacement Online
Keep your Craftsman tiller running efficiently by replacing a faulty shear pin promptly. With same-day shipping on most in-stock items, you'll have your replacement part fast, minimizing downtime. Our model/part number lookup finds the exact OEM part for your unit, and every order is backed by our 365-day return policy and price-match guarantee. If your Craftsman tiller shear pin is failing — showing symptoms like reduced performance, unusual noise, or complete non-operation — replacement is typically the fastest fix. Browse our full library of Craftsman repair resources for troubleshooting guides and installation videos.
Craftsman Tiller Model Number: Where to Look
On Craftsman tillers, look for the model number on a decal or metal plate attached to the frame, near the engine housing, or close to the tine shaft. Clean away dirt and soil so the full series of numbers is readable, then write it down exactly as shown, including any letters or decimals. Enter that number in the model number search to pull up the parts matched to your unit. The model number identifies the complete tiller, so it narrows the full catalog to compatible parts for your specific machine, not just one part. That means fewer wrong orders and a faster repair.

Craftsman Tiller Repair Guides and Videos
Fixing your Craftsman Tiller starts with the right diagnostic information. Repair Clinic's online library includes common-symptom articles, part testing walkthroughs, and repair videos that help you pinpoint what needs replacing. Once identified, the model number lookup confirms the correct OEM part, and the matching installation video guides you through the swap.
Related Articles: Small Engine Parts





Family-owned and operated since 1912, Burke America Parts Group is the longest-running genuine appliance, HVAC, and outdoor power equipment parts solution in North America. At Repair Clinic, we're proud to be an international brand trusted by the pros as well as the DIY community.
About Repair Clinic