Price Match Guarantee
Murray Tiller Parts
- Auger
- Axle, Roller, Shaft, Wheel
- Bearing
- Belt
- Blade
- Bracket & Flange
- Cap, Lid & Cover
- Carburetor
- Chain & Bar
- Control Cable
- Engine
- Fastener
- Filter
- Gasket & Seal
- Handle
- Hose, Tube & Fitting
- Ignition Controls
- Knob, Dial & Button
- Lubricant
- Manuals, Care Guides & Literature
- Miscellaneous
- Muffler
- Oil Plug
- Panel
- Pulley
- Shear Pin
- Spark Plug
- Spring
- Starter
- Switch
- Tire & Rim
- Tool
- Transmission, Brake & Clutch
- Valve & Float
- Wire, Receptacle & Wire Connector
Find the right part faster
Multiple models matched. Select your model to confirm fit.




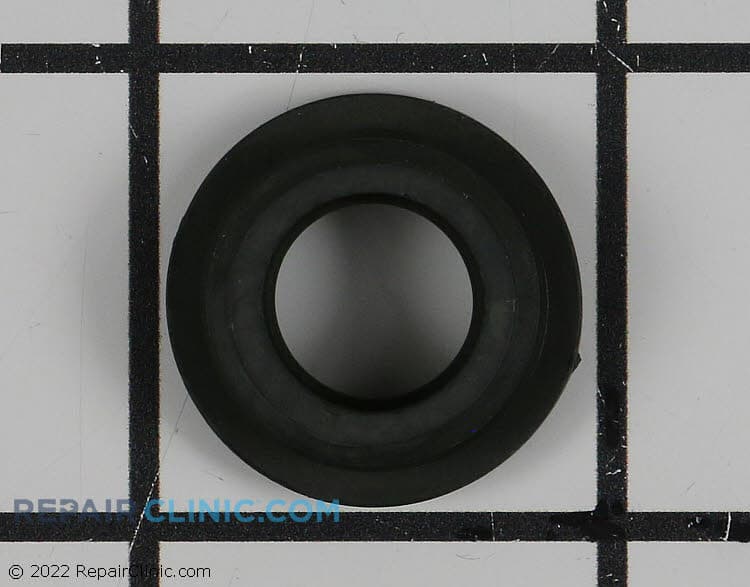
Dipstick seal
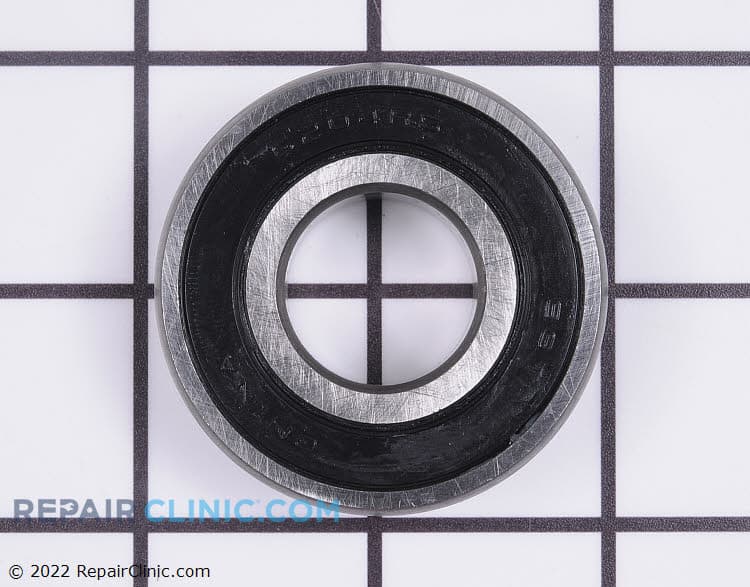
Brg ball.787id x 1.85 od x.551

Husqvarna nut, 3/8-16.
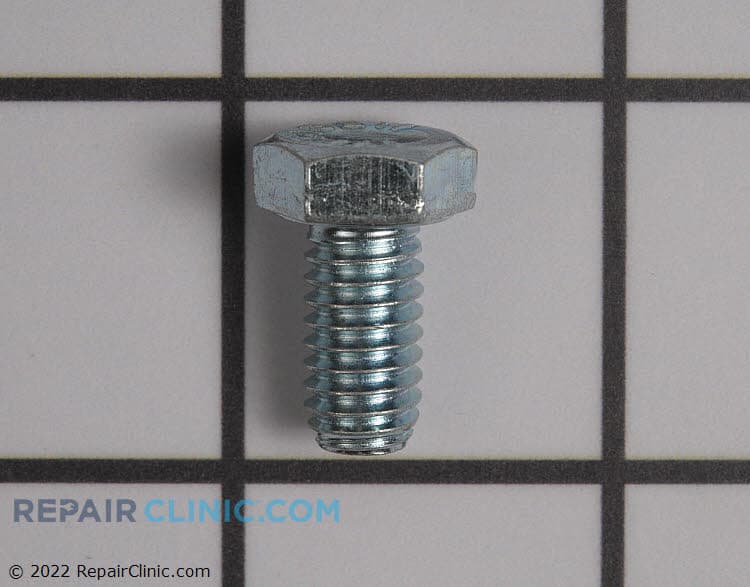
Capscrew 5/16-18x.625
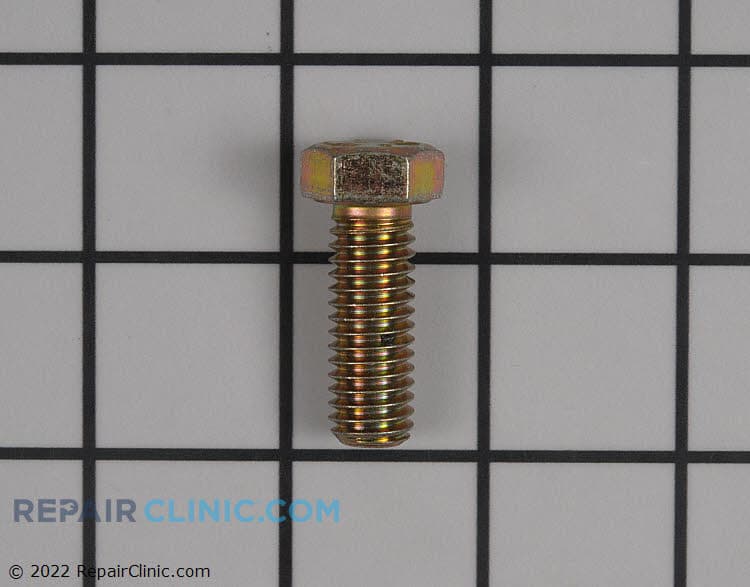
Hhcs 7/16-14x1.25
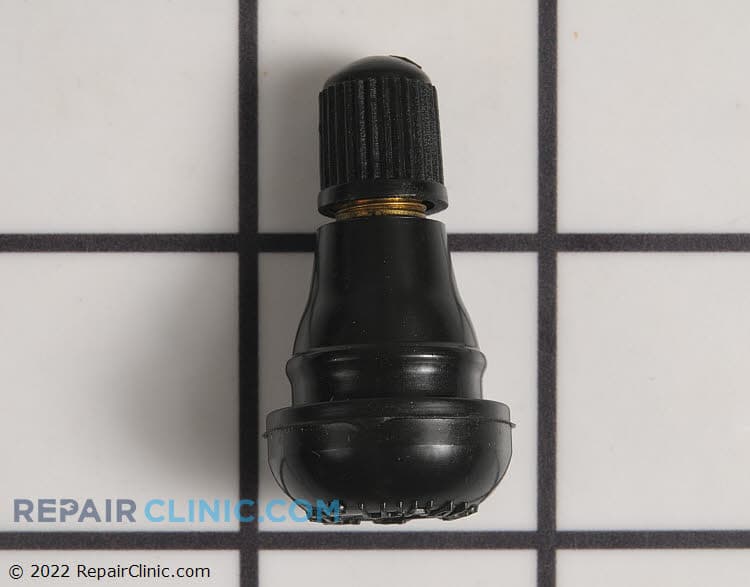
Valve stem
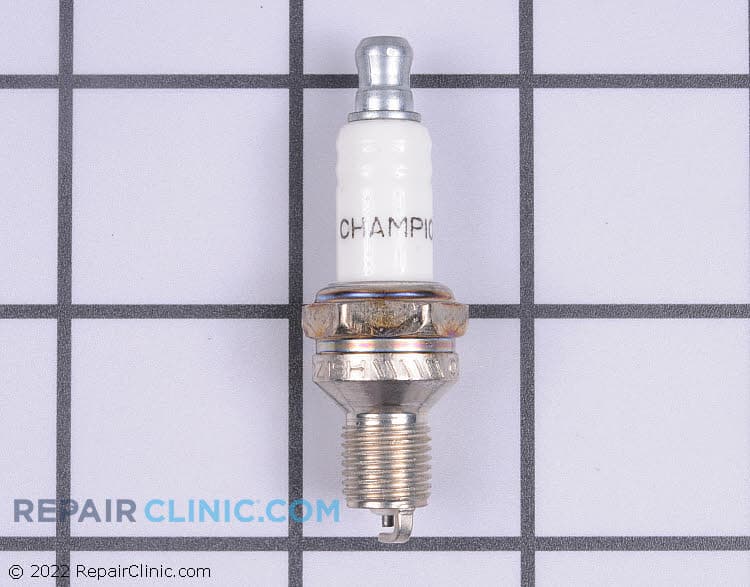
Champion Spark Plug (RDZ19H)
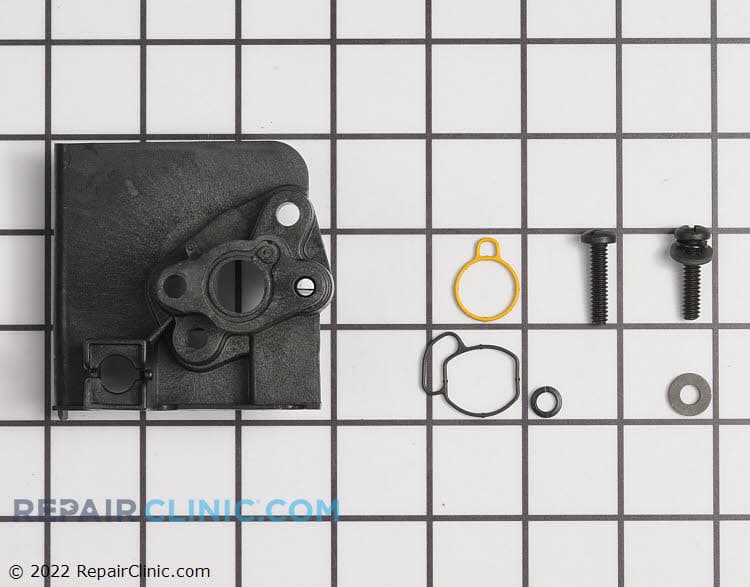
Intake housing kit
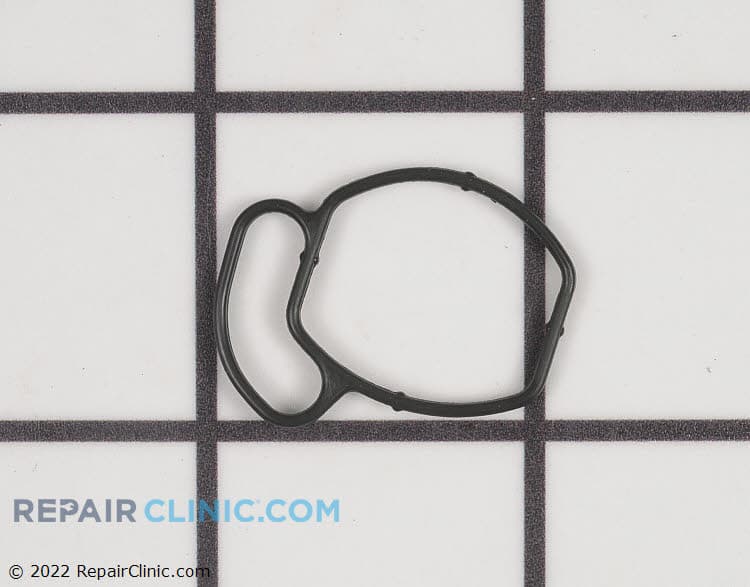
O-ring
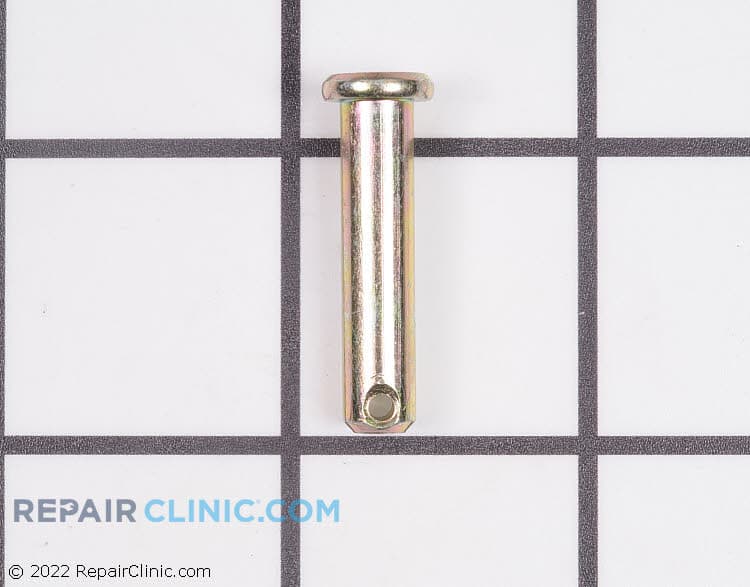
Lf pin clevis .25dx
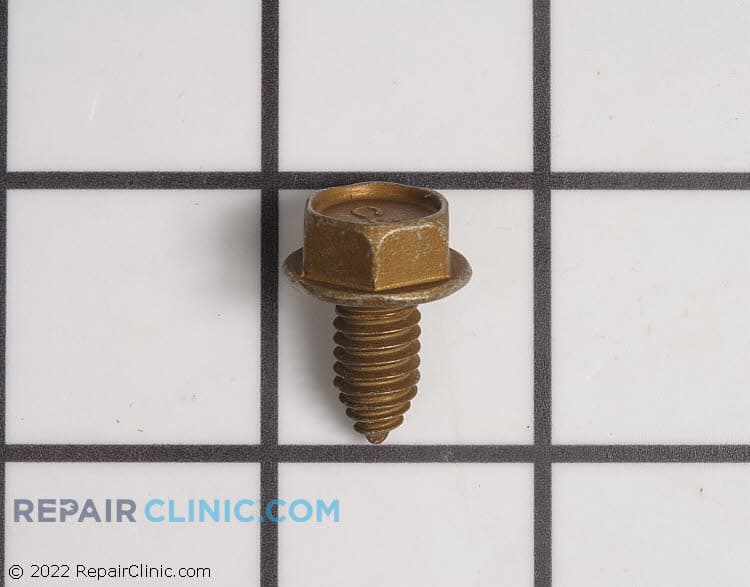
Hex screw, 5/16-18 x .625
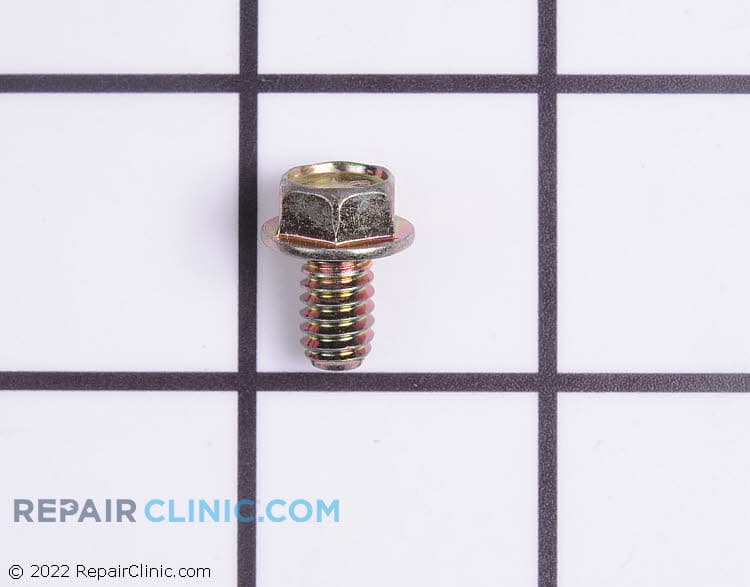
Screw-control bracket
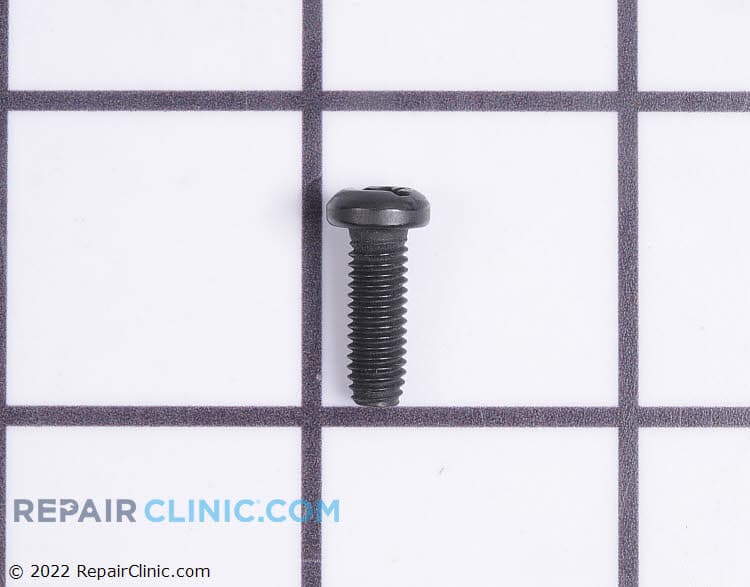
Scr:10-32x.562:#8ph:
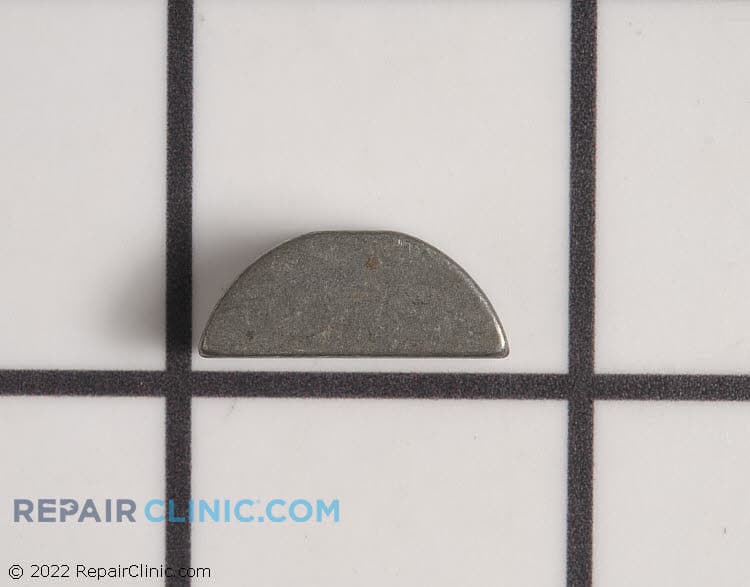
Key woodruff .25x.75
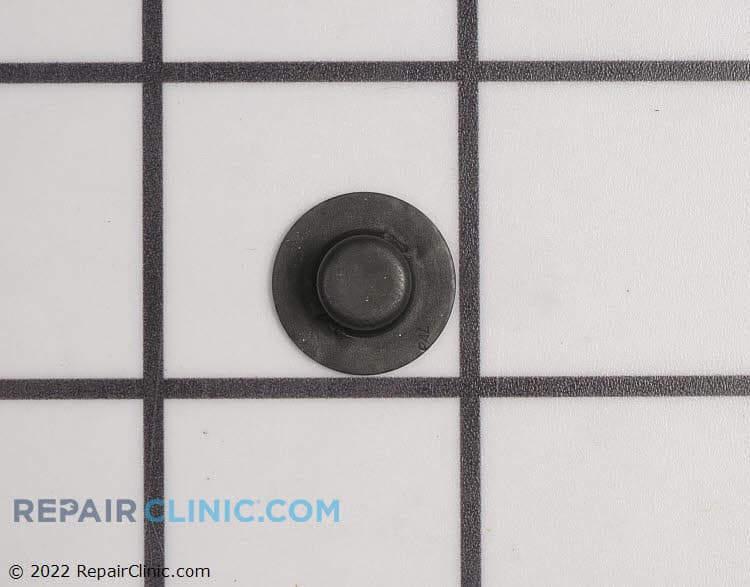
Pushnut cap 1/4


Murray Tiller Parts
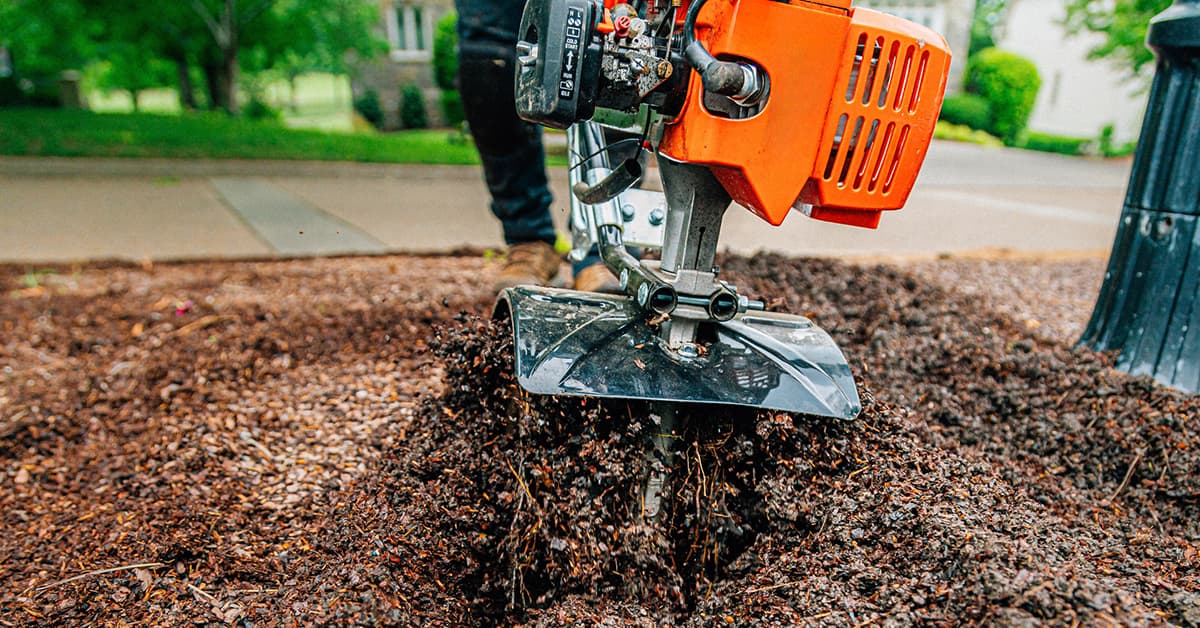
Murray tillers are built tough for garden preparation and soil cultivation. When your tiller won't start, won't engage the tines, or runs rough, Repair Clinic carries genuine OEM Murray replacement parts. Whether you're running a front-tine or rear-tine model, we have the exact parts you need to get back to tilling.
Most Murray tiller repairs come down to a handful of common failures. Carburetors clogged with stale ethanol fuel are the #1 issue — a carburetor kit or cleaning often brings a no-start tiller back to life. Drive belts and tine belts wear out from regular use, and shear pins are designed to break when the tines hit an obstruction. Fuel system parts like lines and primers also fail from seasonal storage. Find your Murray model number on the tiller frame and enter it above to locate the exact OEM parts for your machine.
- Carburetor won't start, runs rough, or stalls: Ethanol damage inside the carb bowl is the leading cause. Try a carb kit first; if that doesn't work, order the full carburetor assembly.
- Tines won't engage or turn: Drive belt or tine belt has snapped or slipped. Both are easy replacements once you access the belt covers.
- Tiller runs then dies: Fuel line is cracked or clogged, or the primer bulb is not drawing fuel. Replace fuel lines and primer bulb as a pair.
- Shear pins keep breaking: Normal wear, but also a sign that tines are hitting rocks or hard soil. Buy a 5-pack of replacements and keep spares handy.
- Pull cord stuck or won't recoil: Recoil starter assembly has failed. This is a complete replacement — much cheaper than a new engine.
Popular Murray Tiller Models
Related Murray Tiller Parts
- Murray Tiller Fastener Parts
- Murray Tiller Miscellaneous Parts
- Murray Tiller Gasket & Seal Parts
- Murray Tiller Bearing Parts
- Murray Tiller Engine Parts
- Murray Tiller Cap, Lid & Cover Parts
- Murray Tiller Spring Parts
- Murray Tiller Starter Parts
- Murray Tiller Handle Parts
- Murray Tiller Transmission, Brake & Clutch Parts
- Murray Tiller Hose, Tube & Fitting Parts
- Murray Tiller Bracket & Flange Parts
- Murray Tiller Carburetor Parts
- Murray Tiller Filter Parts
- Murray Tiller Pulley Parts
- Murray Tiller Wire, Receptacle & Wire Connector Parts
- Murray Tiller Axle, Roller, Shaft, Wheel Parts
- Murray Tiller Belt Parts
- Murray Tiller Blade Parts
- Murray Tiller Knob, Dial & Button Parts
- Murray Tiller Spark Plug Parts
- Murray Tiller Tool
- Murray Tiller Ignition Controls Parts
- Murray Tiller Muffler Parts
- Murray Tiller Oil Plug Parts
- Murray Tiller Panel Parts
- Murray Tiller Control Cable Parts
- Murray Tiller Manuals, Care Guides & Literature
- Murray Tiller Switch Parts
- Murray Tiller Tire & Rim Parts
- Murray Tiller Lubricant
- Murray Tiller Valve & Float Parts
- Murray Tiller Auger Parts
- Murray Tiller Chain & Bar Parts
- Murray Tiller Shear Pin Parts
Frequently Asked Questions About Murray Tiller Parts
How do I find my Murray tiller model number?
Look on the frame of the tiller near the engine — there's usually a metal identification plate or sticker with the model number. It may look like "MTD 12345" or "Murray 67890." Write it down and enter it in the search box above. That model number tells us exactly which carburetor, belt, and fuel system parts fit your machine.
What's the difference between front-tine and rear-tine Murray tillers?
Front-tine models (lighter duty) use a single set of tines powered by a simpler belt drive. Rear-tine models (heavier duty) have two sets of tines and a more robust transmission. Parts are completely different between the two — always use your model number to order the right one. Ordering the wrong belt or gearbox part won't fit.
Why won't my Murray tiller start, and what's the cheapest fix?
Nine times out of ten, it's the carburetor. Ethanol in gasoline eats away at the carb's internal needle and float over a season or two of storage. Start with a carburetor rebuild kit (around $15 to $25) — it includes new gaskets, O-rings, and a cleaning tool. If that doesn't work, order the full carburetor assembly. Spark plug and air filter are also worth checking while you're at it.
Do Murray tiller parts work on other brands?
Murray is owned by MTD Products, which also makes Yard Machines, Yard-Man, and Bolens tillers. Some internal engine parts cross-reference, but belt sizes, carburetor types, and transmission gears are model-specific. Always verify with your exact model number before ordering. We'll show you the right part for your machine — no guessing needed.
Order Murray Tiller Parts Online
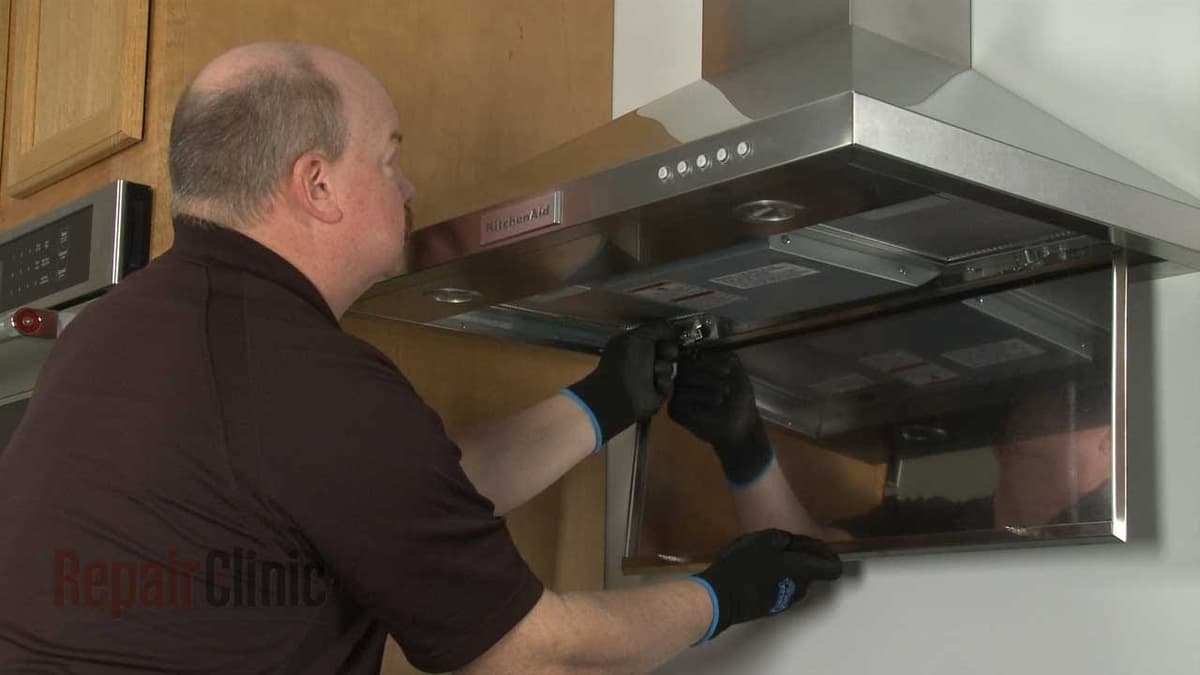
Ordering Murray tiller parts online is simple and helps you find genuine OEM parts for your unit. With same-day shipping on most in-stock items, you'll have your replacement part fast, minimizing downtime. Our model/part number lookup finds the exact OEM part for your unit, and every order is backed by our 365-day return policy and price-match guarantee. Browse our repair help section for troubleshooting tips, part testing guides, and step-by-step installation videos for your specific product.
Murray Tiller Model Number: Where to Look
On many Murray tillers, the model number appears on a label or metal plate attached to the frame near the engine. Check both sides of the frame, then look over the engine housing and near the recoil starter if you do not see it right away. This number identifies the entire tiller, so use it to narrow Repair Clinic's full selection of Murray tiller parts, including engine, belt, tine, control, and fuel-system parts. Enter the number in the model number search to pull up the parts matched to your unit. Compare the complete number carefully, including every letter and suffix, before searching. That means fewer wrong orders and a faster repair.

Murray Tiller Troubleshooting and Repair Guides
Murray Tiller problems usually trace back to a handful of common causes, and Repair Clinic's online resources help you find them fast. Symptom articles, diagnostic videos, and part testing walkthroughs guide you through the checks that isolate the failed part. Once identified, look it up by model number and follow the installation guide to complete the fix.
Related Articles: Small Engine Parts





Family-owned and operated since 1912, Burke America Parts Group is the longest-running genuine appliance, HVAC, and outdoor power equipment parts solution in North America. At Repair Clinic, we're proud to be an international brand trusted by the pros as well as the DIY community.
About Repair Clinic