


 Price Match Guarantee
Murray Panel Parts
Find the right part faster
Multiple models matched. Select your model to confirm fit.



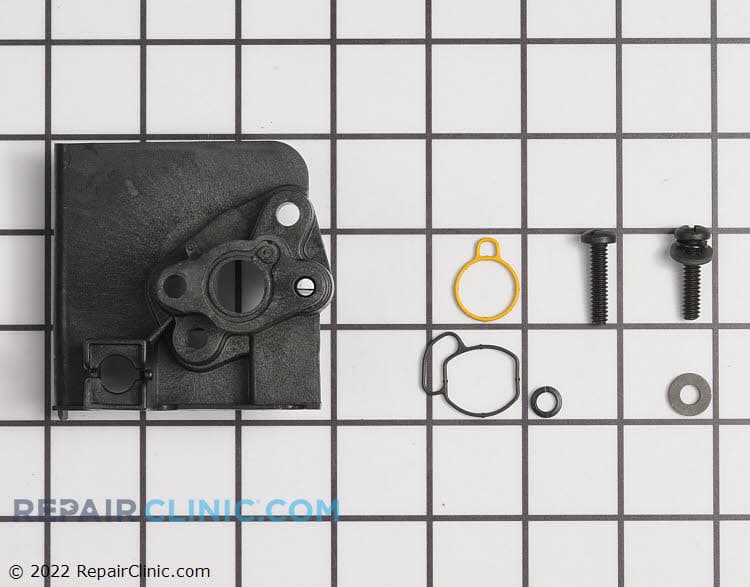
Intake housing kit
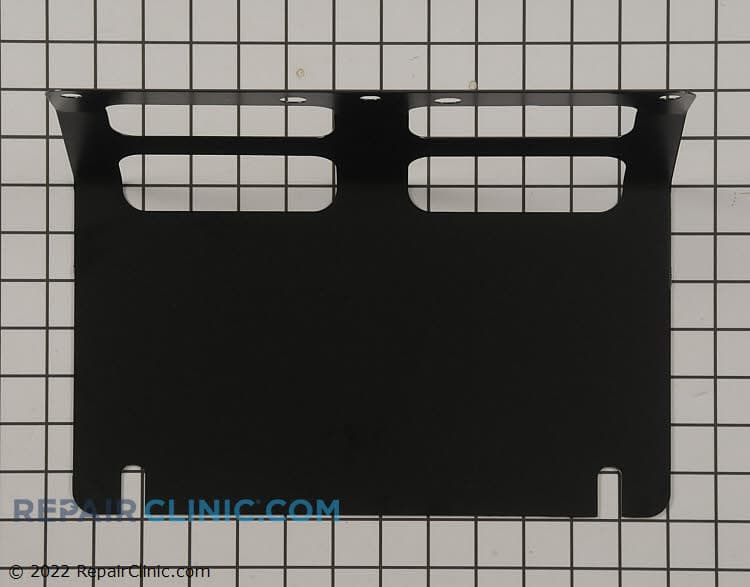
Heat shield, muffler
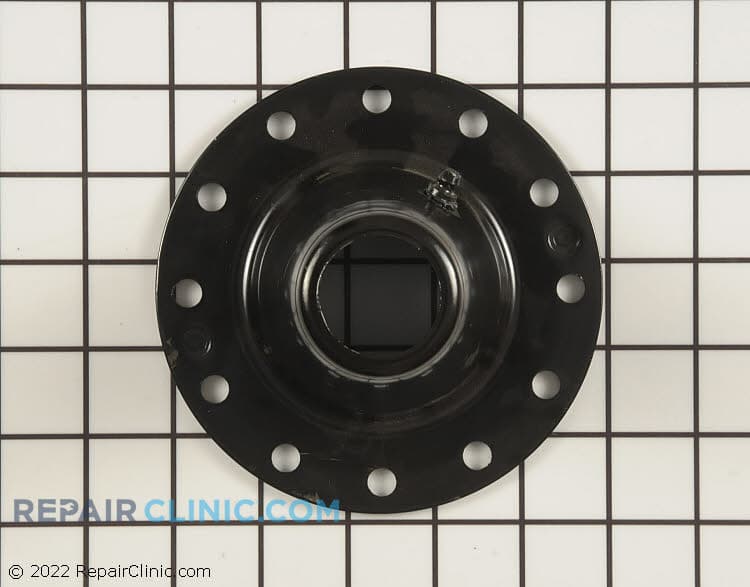
Housing-arbor bottom
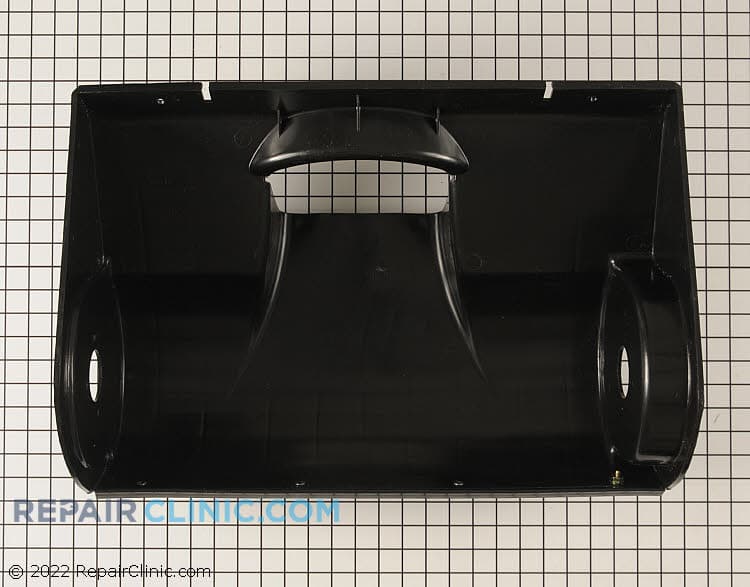
Hsng assy, auger


Top
Wrapper
Baffle
Base
Glass, control panel
Escutcheon
Escutcheon
Panel, control
Control panel
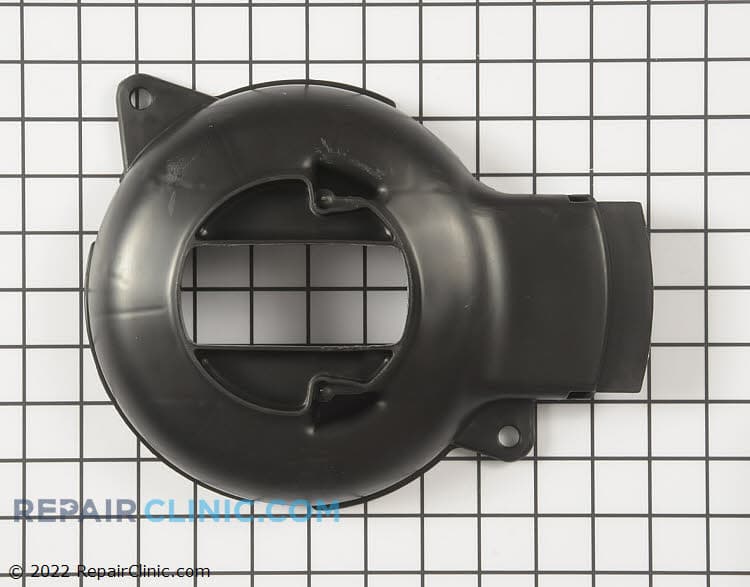
Engine baffle
Insert


Murray Panel Parts
Murray snowblowers and tillers rely on control panels to manage engine functions, shift engagement, and safety interlocks. Panel assemblies include switches, knobs, and circuit boards that wear over time or fail from corrosion and weather exposure. When your Murray won't respond to controls, the panel or its internal switches are often the culprit.
Repair Clinic carries genuine OEM Murray panel parts including switch assemblies, control knobs, indicator lights, and complete panel housings. Use your Murray model number to find the exact panel configuration for your equipment — panel designs vary between snowblower and tiller models, and across production years.
- Control switches: auger engage, traction control, chute deflector; won't stay engaged or unresponsive
- Panel knobs and levers: cracked, stripped, or missing controls; cosmetic and functional replacement
- Indicator lights: won't illuminate; bulb or socket failure
- Panel housings: cracked plastic, loose mounting; frame integrity for control access
- Safety interlocks: dead-man switches; prevent operation if not engaged correctly
Popular Murray Models
Related Murray Panel Parts
- Murray Housing Parts
- Murray Control Panel Parts
- Murray Heat Shield Parts
- Murray Rear Panel Parts
- Murray Access Panel Parts
- Murray Insert Parts
- Murray Base Assembly Parts
- Murray Base Panel Parts
- Murray Front Panel Parts
- Murray Top Panel Parts
- Murray Bottom Panel Parts
- Murray Decal Parts
- Murray Base Plate Parts
- Murray Cabinet Wrapper Parts
- Murray Control Cover Parts
- Murray Liner Parts
- Murray Panel Kit Parts
Murray Panel Assembly Questions
How do I identify which Murray panel I need?
Locate your Murray model number on the equipment frame or in your owner's manual — usually stamped on the main housing or fuel tank. Panel assemblies are model-specific because switch positions, light configurations, and mounting brackets vary between snowblower and tiller designs. Enter your model number in the Repair Clinic lookup tool and filter for "panel" or "control panel" to see the correct assembly.
What causes Murray control switches to stop working?
Outdoor equipment switches are exposed to moisture, dirt, and corrosion. Snow and ice melt can corrode internal contacts, preventing the switch from making a solid electrical connection. If a switch won't engage or keeps popping out, the internal contacts may be corroded or the spring mechanism worn. Test continuity with a multimeter first — no continuity = replace the switch. A single failed switch in a series circuit will disable the entire function.
Can I replace just the knob or do I need the whole panel?
Many Murray panels allow individual knob replacement — the knob slides or screws onto a shaft. If the shaft is intact and the knob is simply cracked or stripped, ordering just the knob saves cost. However, if the entire panel housing is cracked or the internal circuit board is damaged, you'll need the complete panel assembly. Check your model-specific parts diagram to confirm whether knobs are sold separately.
Why won't my Murray panel lights turn on?
Panel lights are either incandescent bulbs or LED assemblies. For incandescent: the bulb has burned out or the socket connection is loose. For LED: the entire LED board may have failed. Test power at the socket with a multimeter — if you have 12V but the light won't illuminate, replace the bulb. If there's no power at the socket, check the panel's internal circuit connections and the main equipment ground.
Order Murray Brand-Level Panel Replacement Online
Keep your Murray brand-level running efficiently by replacing a faulty panel promptly. With same-day shipping on most in-stock items, you'll have your replacement part fast, minimizing downtime. Our model/part number lookup finds the exact OEM part for your unit, and every order is backed by our 365-day return policy and price-match guarantee. If your Murray panel is failing — showing symptoms like reduced performance, unusual noise, or complete non-operation — replacement is typically the fastest fix. Browse our full library of Murray repair resources for troubleshooting guides and installation videos.
Find the Model Number on Your Murray Snowblower or Tiller
Murray prints the model number on a label attached to the main housing or frame of many snowblowers and tillers. Check around the fuel tank, where some models place the identification label, and look behind the handle panel or on the auger housing if it is not visible at first. The number may include letters, numbers, or punctuation, so copy it exactly rather than relying on a similar model name. Enter it in our model number lookup and the catalog narrows to parts made for your unit. This filters the full Murray selection across panel assemblies and every other associated part to your specific snowblower or tiller, so you can confirm fit faster.

Diagnose and Repair Your Murray Online
Repair Clinic's online resources are built to help you get your Murray back in service without unnecessary trial and error. Start with the diagnostic article for your symptom, watch a repair video that shows the parts and tools involved, then follow the step-by-step written guide as you work. Part testing walkthroughs confirm the failed component, and the model number lookup confirms the exact OEM part before you order.
Related Articles: Washing Machine Parts
What Causes A Washing Machine To Stop Working?
What causes a washing machine to stop working? Learn common issues like power failures, faulty lid switches, broken drive belts, and more with troubleshooting tips from Repair Clinic.

Why Won't My Washing Machine Start?
Wondering why your washing machine won't start? Learn common causes like power issues, faulty lid switches, broken timers, and more with expert troubleshooting from Repair Clinic.
What Causes a Washing Machine To Not Spin or Drain?
Is your washing machine not spinning or draining? Learn about common issues like clogged drain pumps, faulty lid switches, and worn drive belts, plus expert repair tips from Repair Clinic.




Family-owned and operated since 1912, Burke America Parts Group is the longest-running genuine appliance, HVAC, and outdoor power equipment parts solution in North America. At Repair Clinic, we're proud to be an international brand trusted by the pros as well as the DIY community.
About Repair Clinic