


 Price Match Guarantee
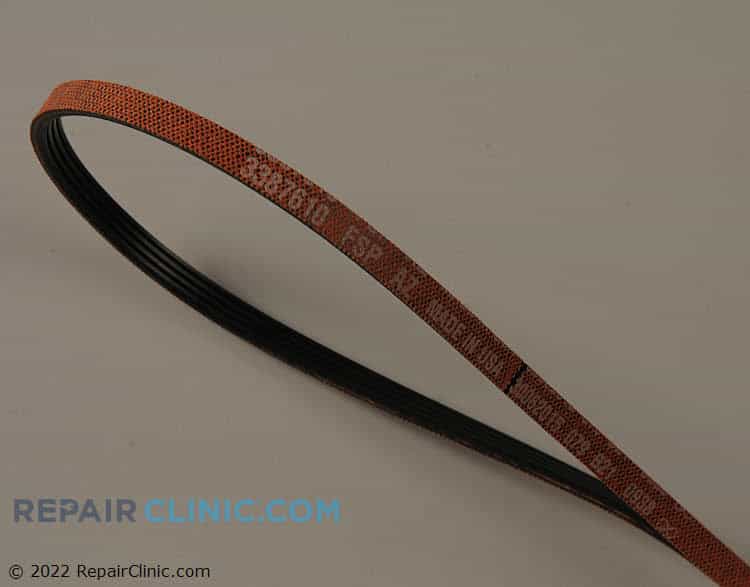

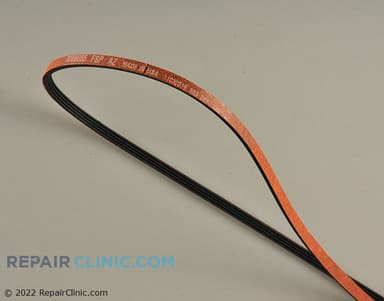
Drive Belt 661570V





This part 661570V is compatible with:
- Product Type:
- Dryer, Washer/Dryer Combo
- Brands:
- Amana, Maytag, Whirlpool, Kenmore, Admiral, KitchenAid, Crosley, Inglis
How to Replace Drive Belt 661570V
Step 1 of 26Unplug the Dryer
For your safety, always unplug the dryer's power cord from the electrical outlet before beginning any disassembly or repair.
Detach the Control Panel
To access the dryer's top panel, first detach the control panel. Depending on your model, you can either use a putty knife to release the two clips under the front corners, or pull off the plastic end caps to expose and remove the screws underneath.
Raise and Secure the Control Panel
Once the control panel is unfastened, carefully rotate it up and back, allowing it to rest on its hinges. This will provide access to the screws securing the main top.
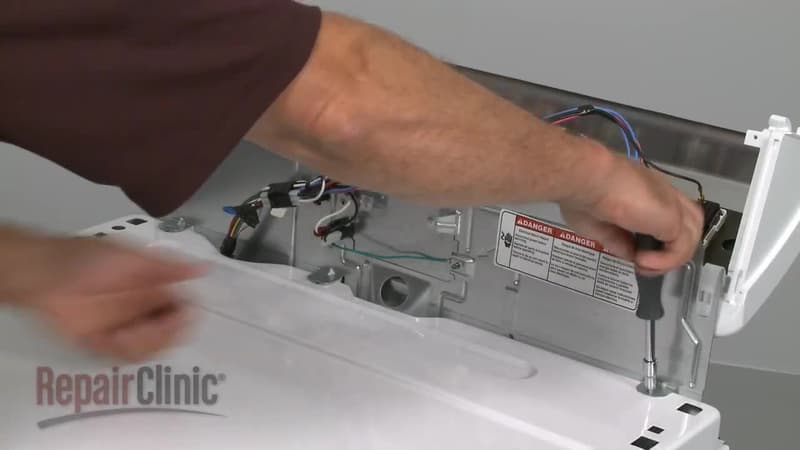
Remove Screws from Main Top
Locate and remove the screws that secure the main top panel to the dryer's cabinet.
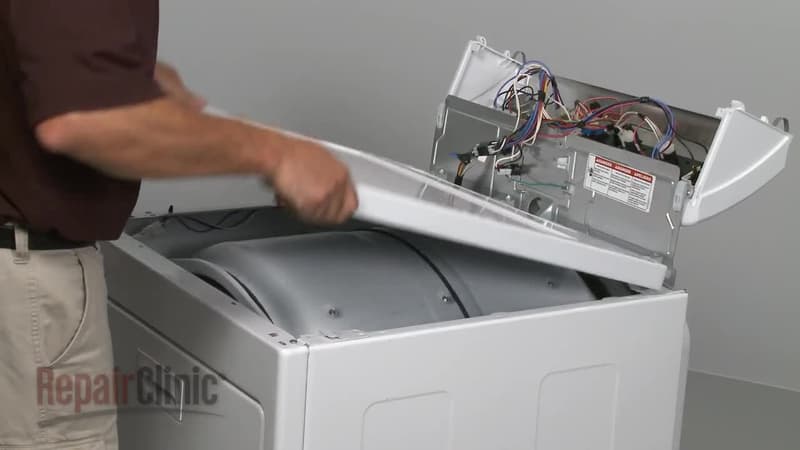
Remove the Main Top Panel
Slide the top panel forward slightly, then lift it up and away from the dryer. Set it aside in a safe place.
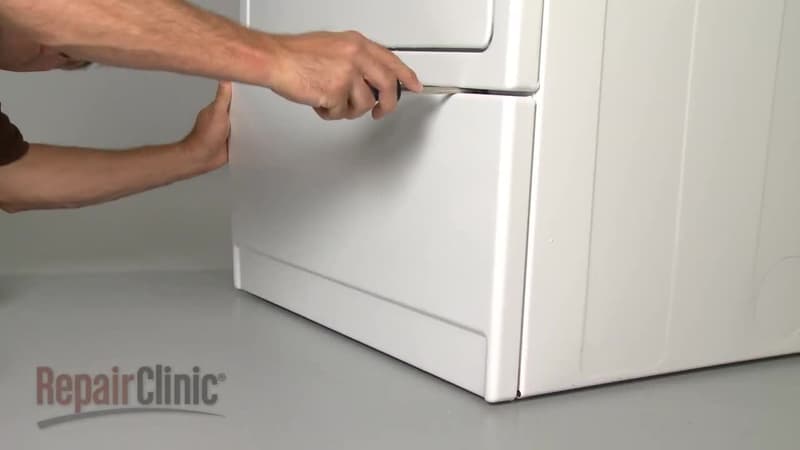
Detach the Lower Front Panel
Insert a flathead screwdriver or putty knife into the space between the upper and lower front panels to release the two spring clips holding the lower panel. Pull the panel off and set it aside.
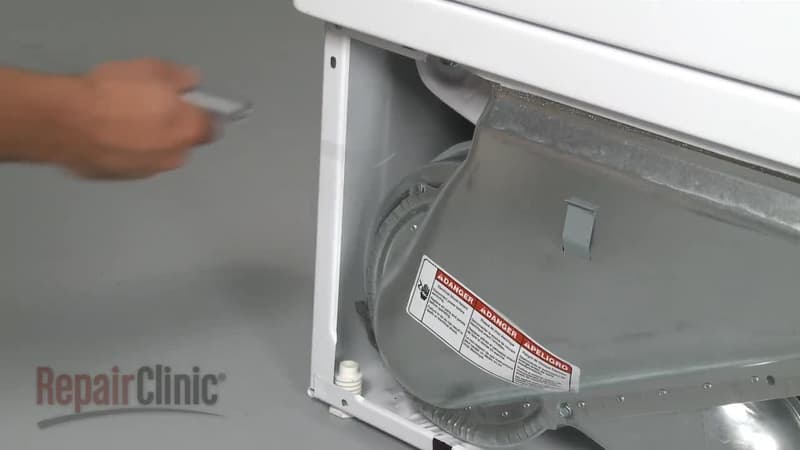
Remove the Door Springs
Unhook the two door springs, one on each side, which provide tension to the front panel assembly.
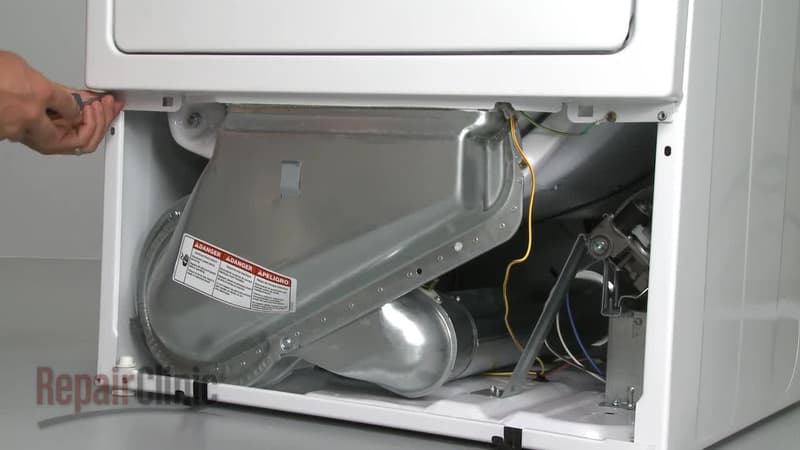
Unscrew Bottom of Upper Front Panel
Remove the two screws located at the bottom of the upper front panel that secure it to the dryer cabinet frame.
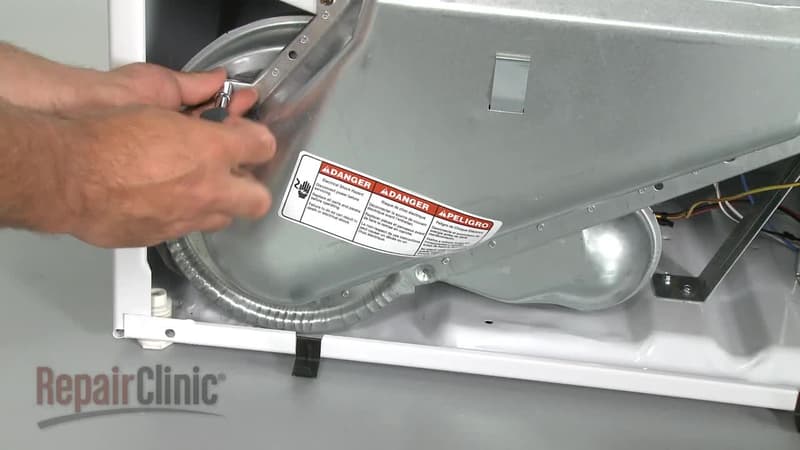
Unscrew the Lint Screen Duct
Remove the screws that fasten the lint screen duct housing to the front panel assembly.
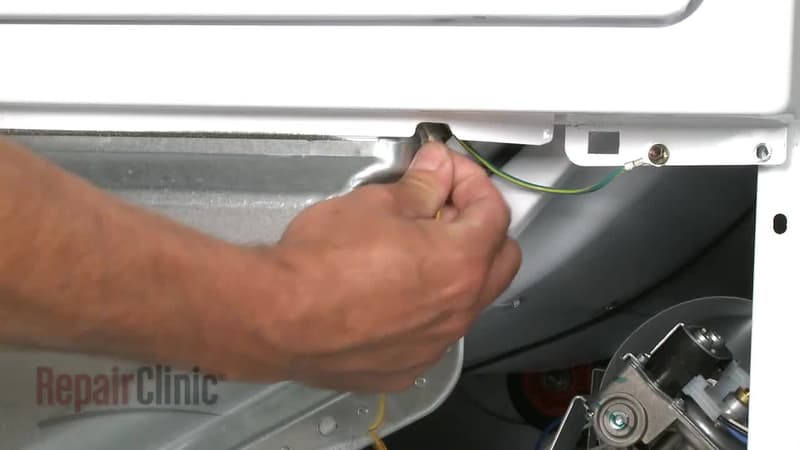
Disconnect the Moisture Sensor Wire
Carefully detach the moisture sensor wire from its connection point on the lint screen housing.
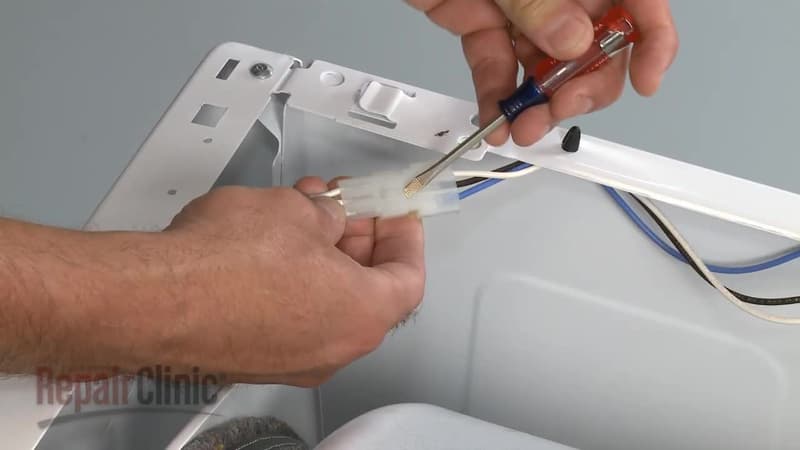
Disconnect the Door Switch Connector
Unplug the wire harness for the door switch, which is located at the top of the dryer's opening. You may need a small flathead screwdriver to help depress the locking tab.
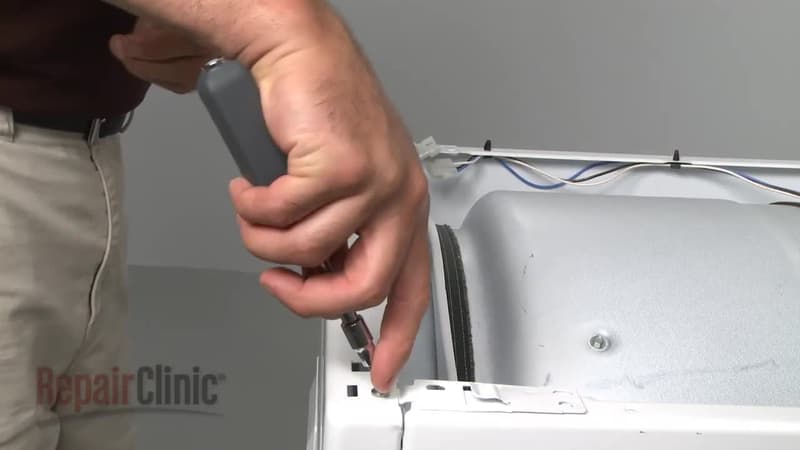
Unscrew Top of Upper Front Panel
Remove the remaining screws at the top of the upper front panel that secure it to the side panels of the cabinet.
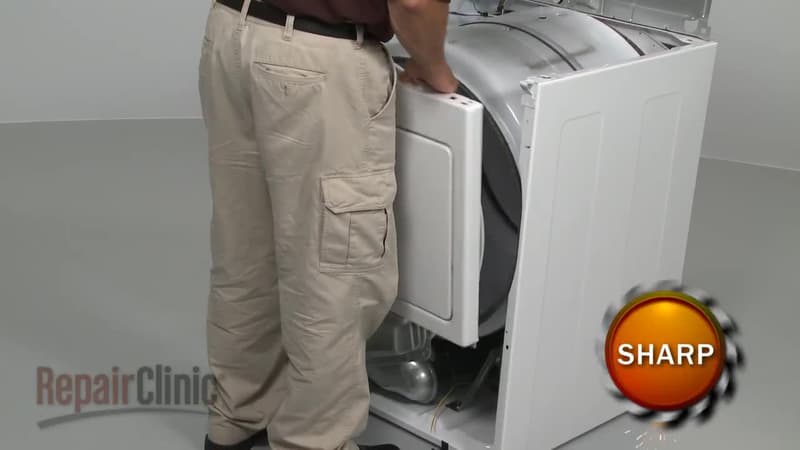
Remove the Upper Front Panel
Support the drum as you carefully lift the entire upper front panel assembly, including the door, away from the dryer cabinet. Be aware that the cabinet edges may be sharp.
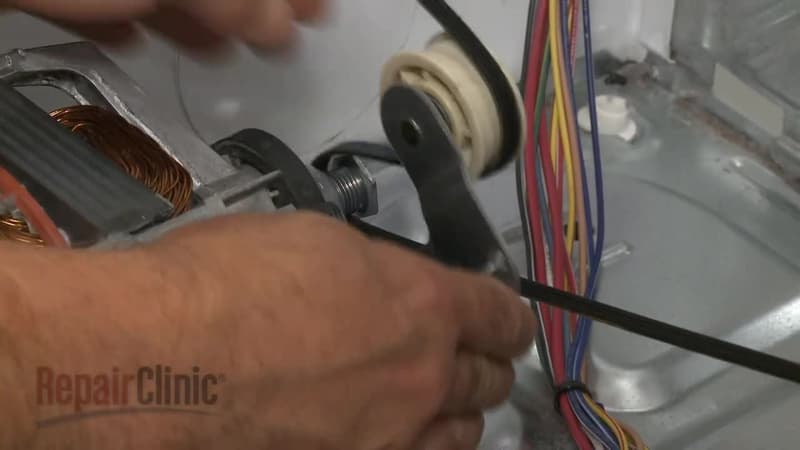
Remove the Old Belt
If the old belt is still on the drum, reach inside and push the idler pulley to release the tension. Unthread the belt from the motor shaft and pulley, then slide it off the drum. If the belt is broken, simply remove the pieces.
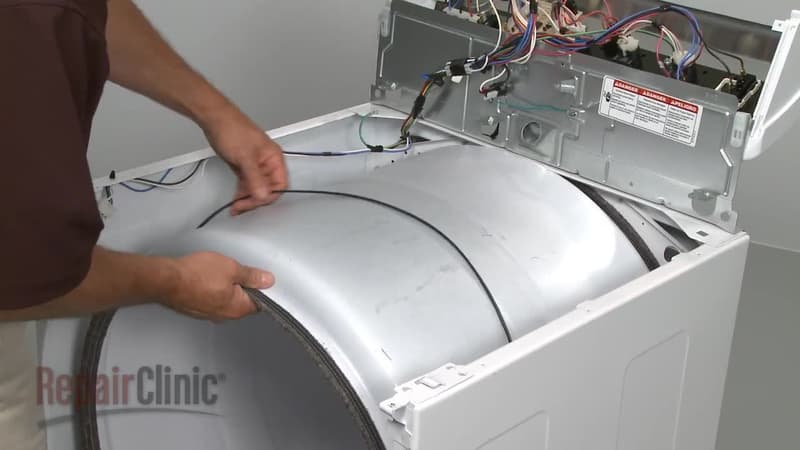
Position the New Belt on the Drum
Drape the new dryer belt around the drum, ensuring the ribbed side faces down against the drum's surface. Position it in the same track as the old belt.
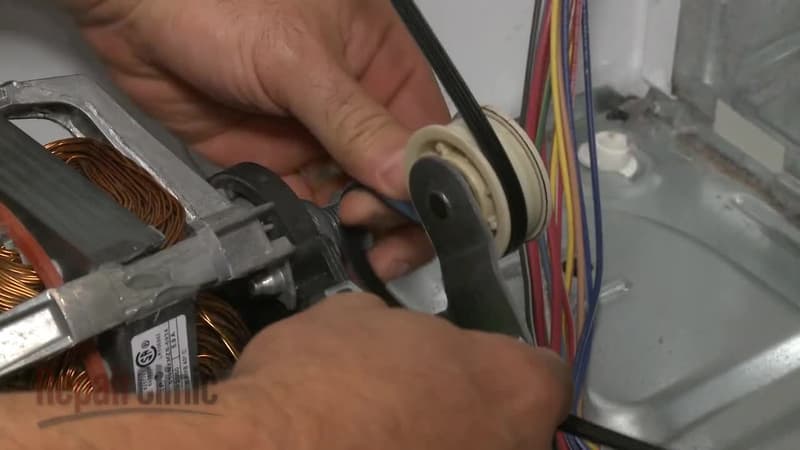
Route the Belt Around the Motor and Pulley
Feed the belt down towards the motor. Loop the belt under the idler pulley and then around the motor shaft. The grooved side of the belt should contact the motor shaft, while the flat side contacts the idler pulley. Push the idler pulley to create tension on the belt.
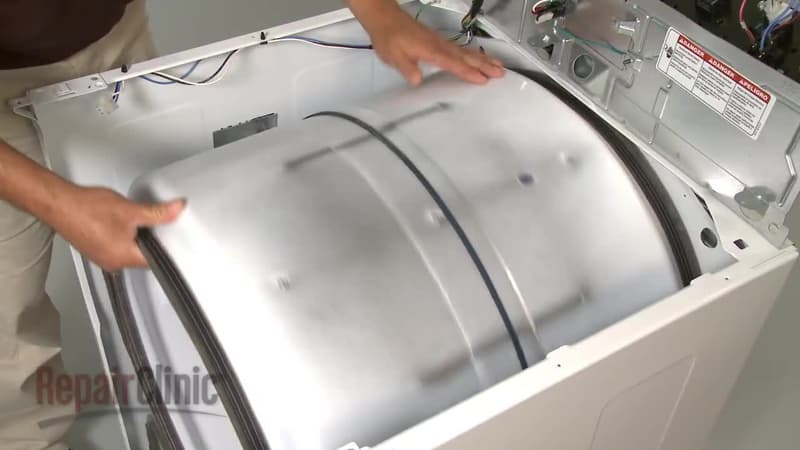
Align the New Belt
Rotate the drum by hand several times to help center the new belt and ensure it is tracking correctly on the drum and pulleys.
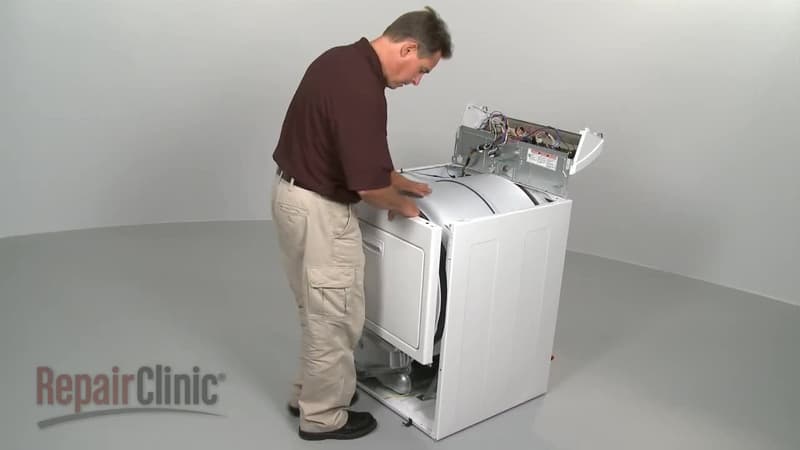
Reinstall the Upper Front Panel
Carefully place the upper front panel back onto the dryer, aligning the drum with the rollers on the panel and resting the panel's top lip on the cabinet brackets.
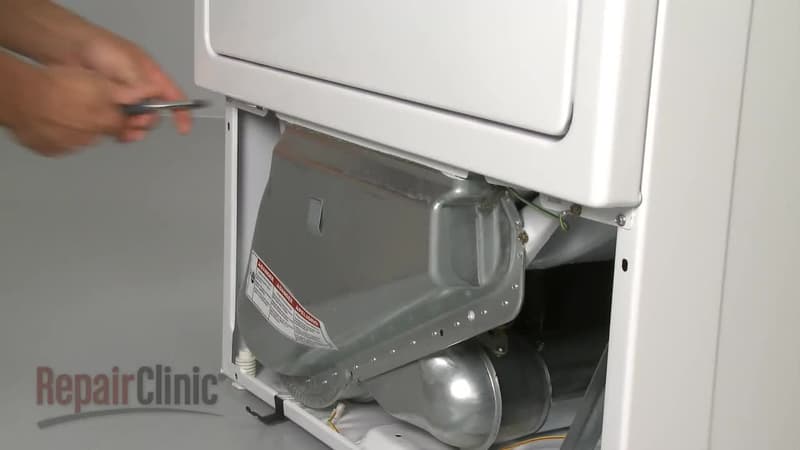
Secure the Upper Front Panel
Reinstall all the screws for the upper front panel at the top and bottom, as well as the screws for the lint screen duct.
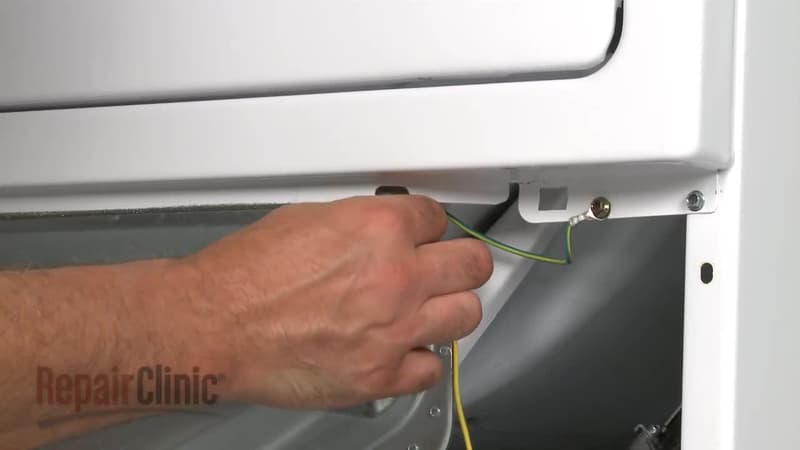
Reconnect the Moisture Sensor Wire
Reattach the moisture sensor wire to its terminal on the lint screen housing.
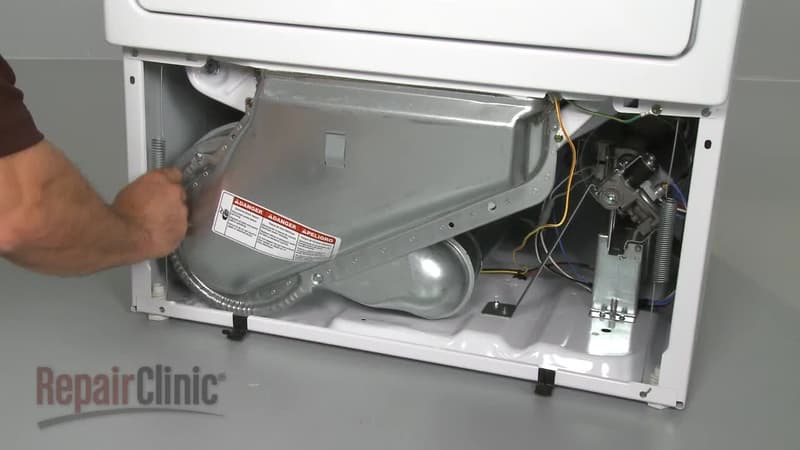
Reinstall the Door Springs
Hook the door springs back onto the front panel and the cabinet frame on both sides to restore tension.

Reinstall the Lower Front Panel
Align the bottom tabs of the lower front panel with the slots in the frame, then push the top of the panel firmly until the clips snap securely into place.
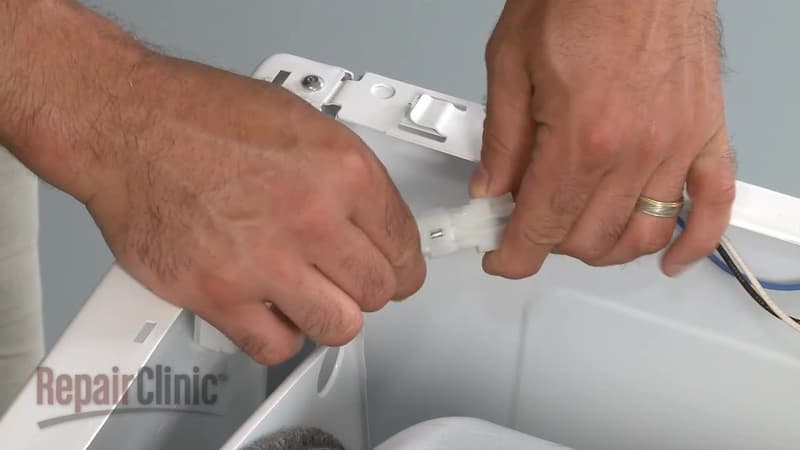
Reconnect the Door Switch
Plug the door switch wire harness back together until it clicks into place.
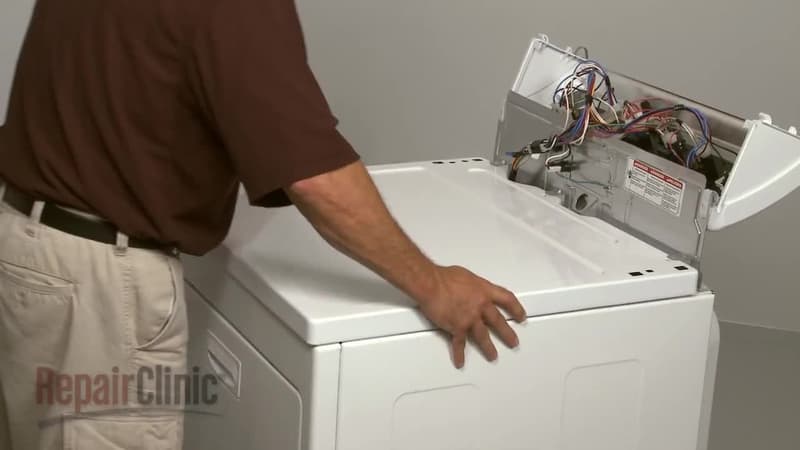
Reinstall the Main Top Panel
Place the main top panel back onto the dryer, sliding it into position. Secure it with the screws you removed earlier.
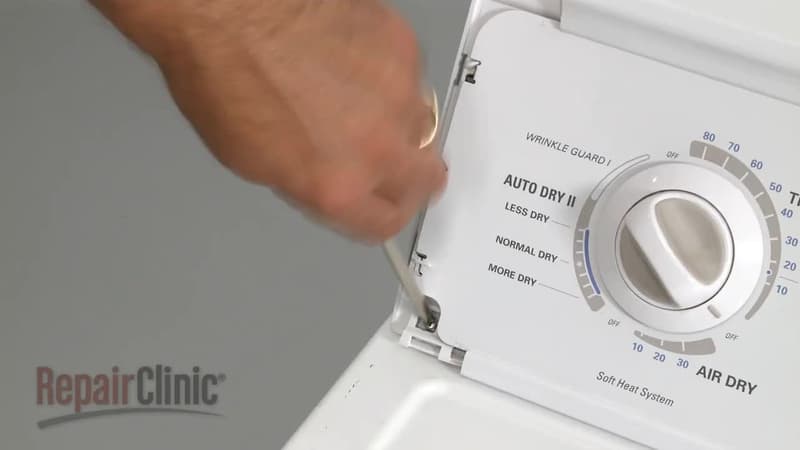
Reinstall the Control Panel
Rotate the control panel back down into its original position. Secure it by snapping it onto the clips or by replacing the screws and snapping the end caps back on, depending on your model.
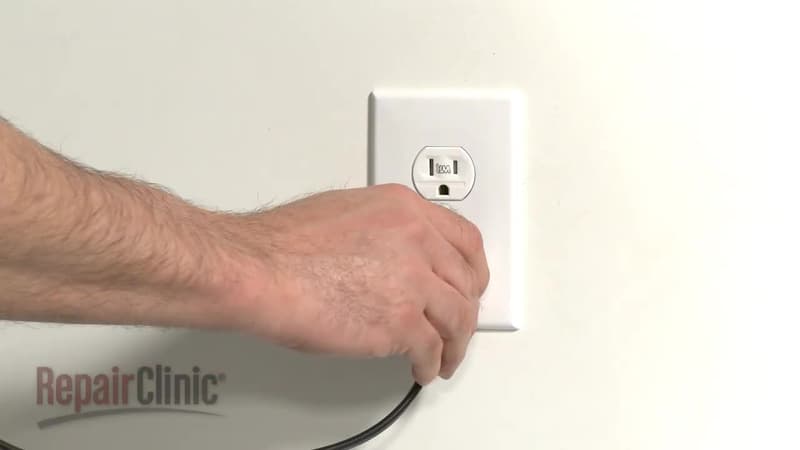
Reconnect Power and Test
Plug the dryer's power cord back into the wall outlet. Run a short cycle to confirm that the drum is turning properly and the repair was successful.
Related Articles & Videos

Drive Belt Customer Reviews
Common Problems Fixed by the Drive Belt
Based on customer reports and repair data, this part commonly fixes these issues:
Dryer stopped spinning
Dryer drum not turning
Dryer makes noise
Washer won't spin or agitate
Dryer has a burning smell
Washer won't spin
Washer won't agitate
Dryer vibrating or shaking
Dryer won't start
Washer is making loud noise
About the Drive Belt
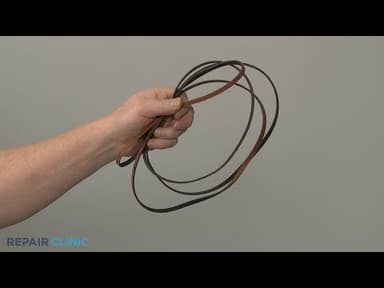
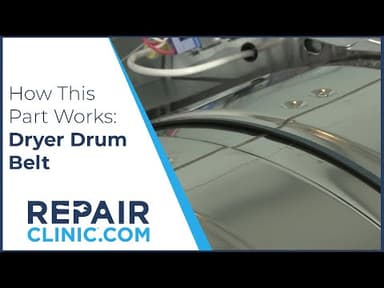
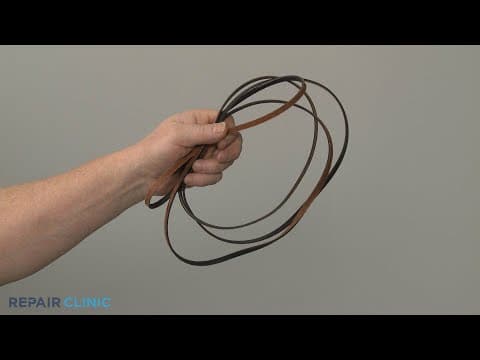
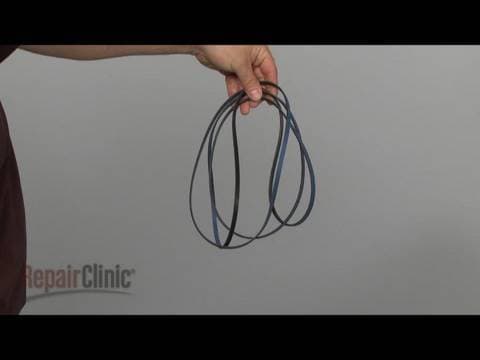
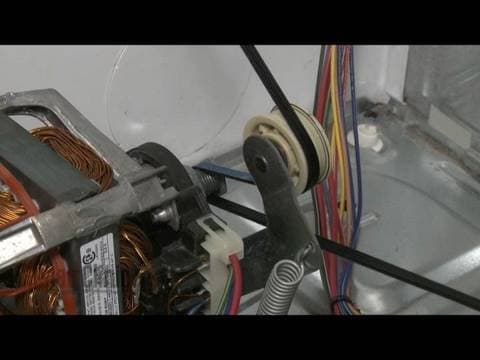
The drive belt is a very long, slender belt that wraps all the way around the dryer drum, around a tension pulley, and then around the drive motor pulley. Over time, the belt can break from normal use. If the belt is broken, the dryer won’t turn. To quickly determine if the belt is broken, reach into the dryer and turn the drum by hand. If the drum spins very easily, the belt is likely broken. Next, inspect the belt to confirm that it is broken. If the belt is broken, replace it.
Shop by Brands
Repair Help by Brands and Product Type
Alternative Part Number(s)




Family-owned and operated since 1912, Burke America Parts Group is the longest-running genuine appliance, HVAC, and outdoor power equipment parts solution in North America. At Repair Clinic, we're proud to be an international brand trusted by the pros as well as the DIY community.
About Repair Clinic