


 Price Match Guarantee
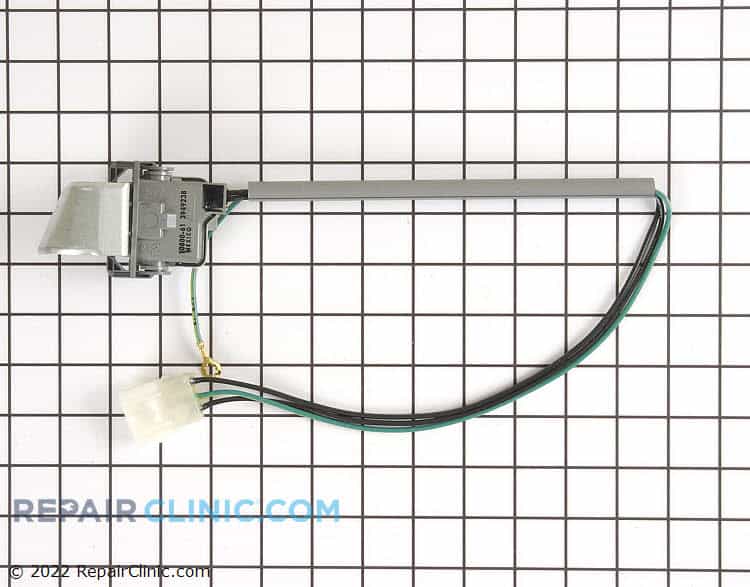
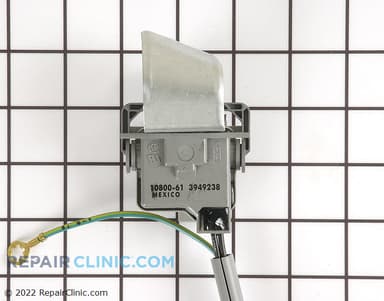
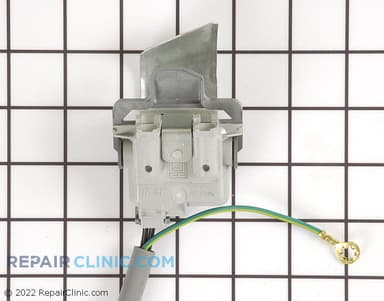
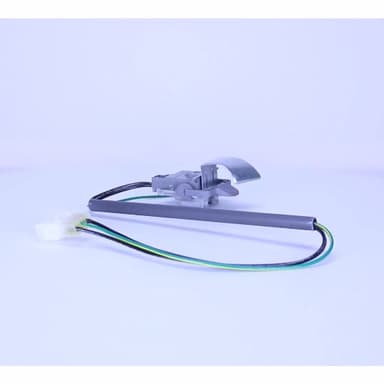

Kenmore Lid Switch Assembly WP3949238





This part WP3949238 is compatible with:
- Product Type:
- Washer/Dryer Combo, Washing Machine
- Brands:
- Kenmore
How to Replace Lid Switch Assembly WP3949238
Step 1 of 14Unplug the Washer
Before beginning any repairs, ensure your safety by unplugging the washing machine from the wall outlet to prevent electrical shock.
Open the Control Panel
The control panel must be opened to access the cabinet clips. Depending on your model, the panel is secured by screws or clips. Look for screws on the front corners; they may be hidden under plastic end caps that can be pried off. If no screws are visible, insert a putty knife into the seam between the control panel and the washer top to release the internal clips. Once unfastened, tilt the panel forward and rotate it back to rest on its hinges.
Disconnect the Lid Switch Wire Connector
Locate the plastic wire harness connector on the washer's top panel. This connector links the lid switch to the main controls. Squeeze the locking tab and pull the two halves apart to disconnect it.
Remove the Cabinet Clips
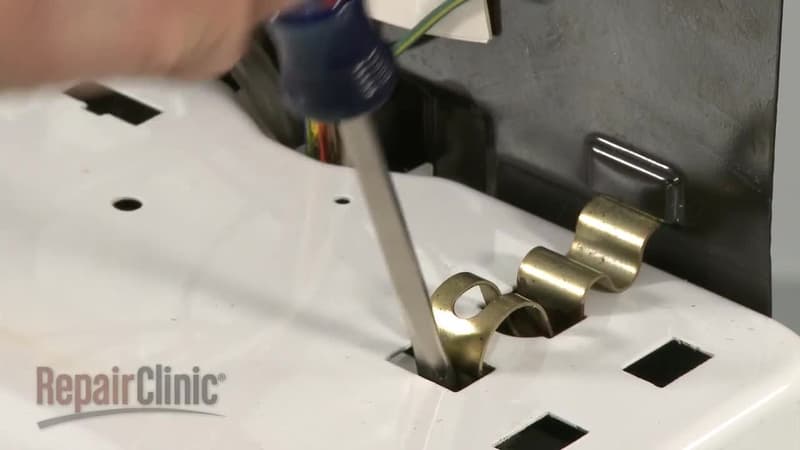
Insert a flathead screwdriver into the slots where the two large metal clips secure the washer cabinet to the rear panel. Pry upwards to pop each clip out.
Remove the Washer Cabinet
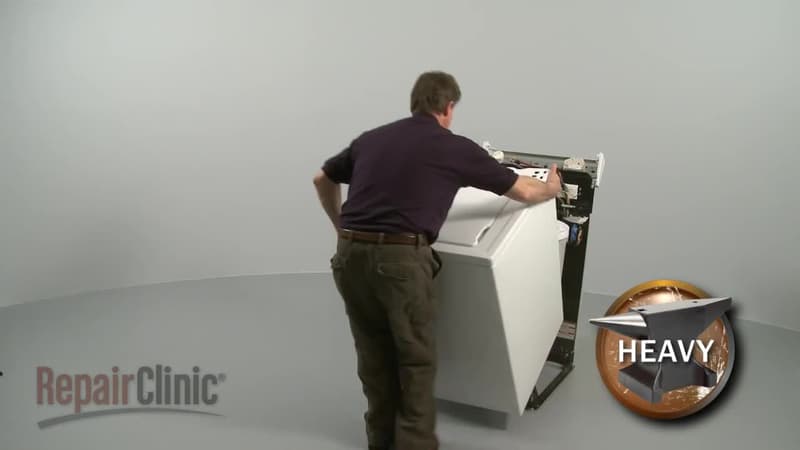
Grasp the washer cabinet on both sides, tilt it towards you, and then slide it forward to detach it from the base frame. Set the cabinet aside on a towel or blanket to prevent scratching.
Detach the Old Lid Switch Assembly
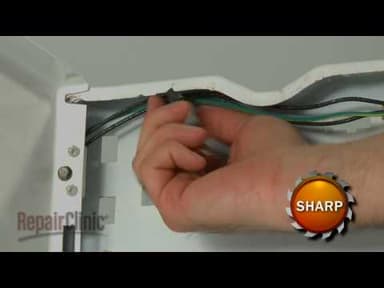
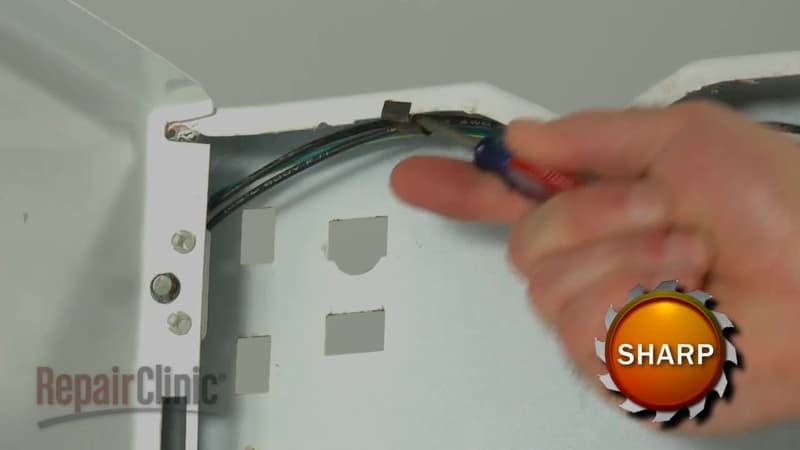
With the cabinet removed, locate the lid switch assembly. First, use a nut driver or screwdriver to remove the green grounding wire screw. Next, unscrew the two screws mounting the lid switch itself. Finally, carefully pry open the metal retaining clips along the frame to free the wire harness.
Remove the Wire Connector from Cabinet
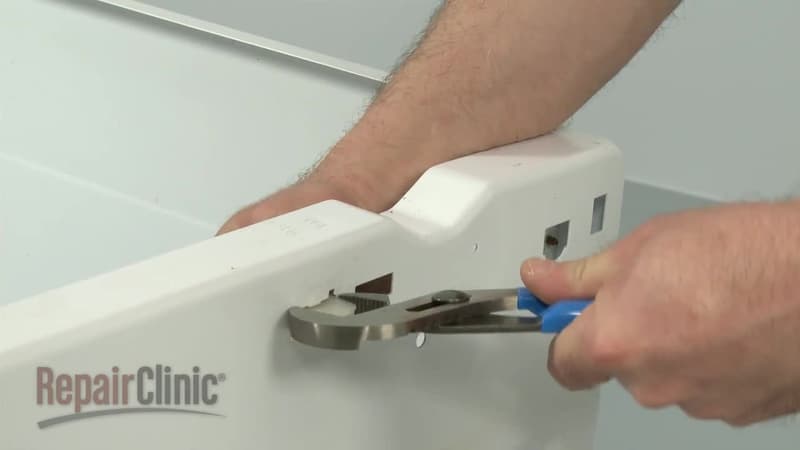
From the outside of the cabinet top, use pliers to squeeze the locking tabs on the sides of the white plastic wire connector. This will allow you to push it out of its mounting hole and completely remove the old lid switch assembly.
Install the New Lid Switch Connector
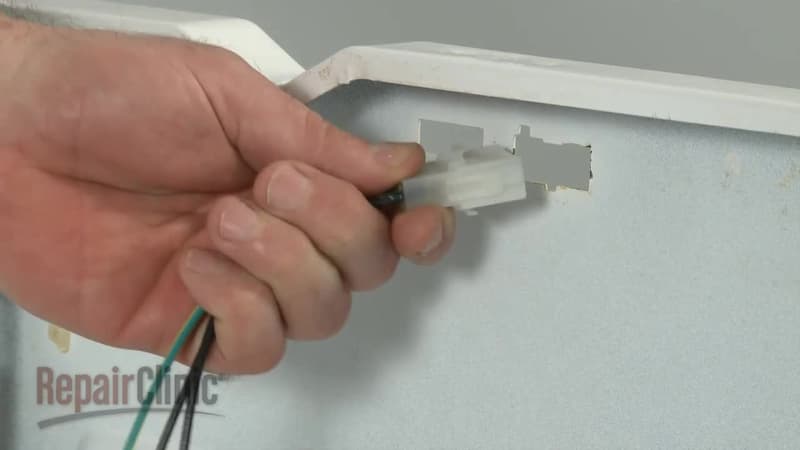
Take the new lid switch assembly and insert its wire connector into the square opening on the cabinet top. Push firmly until you hear and feel it snap securely into place.
Secure the New Lid Switch Assembly
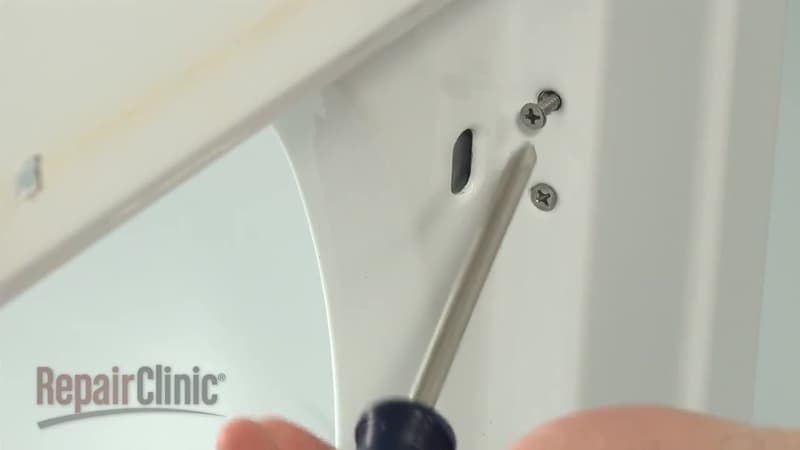
Route the new wire harness along the inside of the cabinet and tuck it into the metal retaining clips. Align the new lid switch with its mounting holes and secure it with the two screws. Lastly, reattach the green grounding wire with its screw.
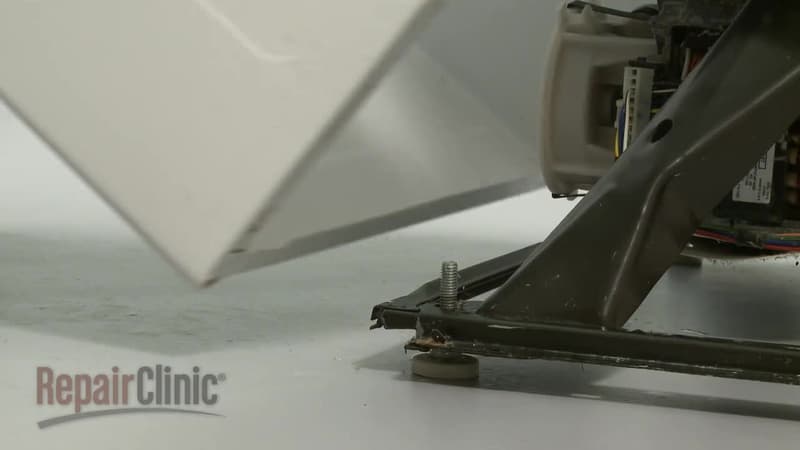
Reinstall the Washer Cabinet
Carefully position the cabinet back onto the washer base. First, slide the front lip of the cabinet underneath the base frame, then tilt the cabinet back so it sits flush against the rear panel. Make sure the side notches on the cabinet align with the tabs on the base frame for a proper fit.
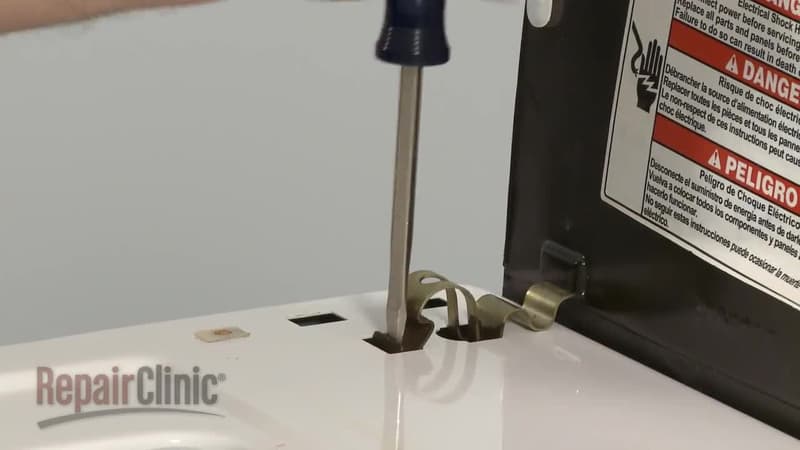
Reinstall the Cabinet Clips
Align the two large metal clips with their slots on the top of the cabinet and rear panel. Push them down firmly with your hand or tap them with the handle of your screwdriver until they snap securely into place.
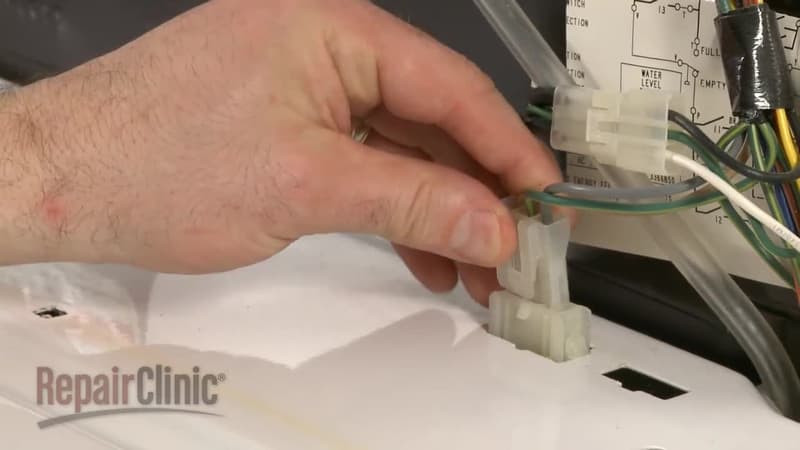
Reconnect the Wire Connector
Plug the lid switch wire harness back into its corresponding connector on the washer's top panel. Ensure it clicks into place to establish a secure connection.
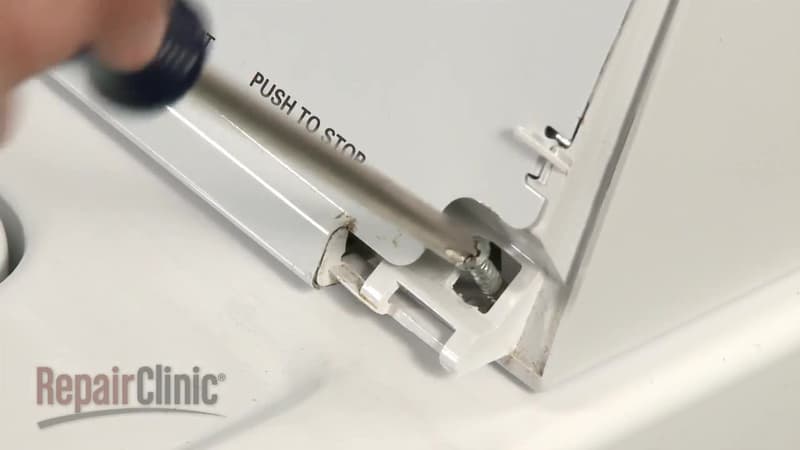
Secure the Control Panel
Rotate the control panel back down into its original position. Reinstall the screws to secure it. If your model has plastic end caps, align the bottom tab with the slot and snap the caps back on.
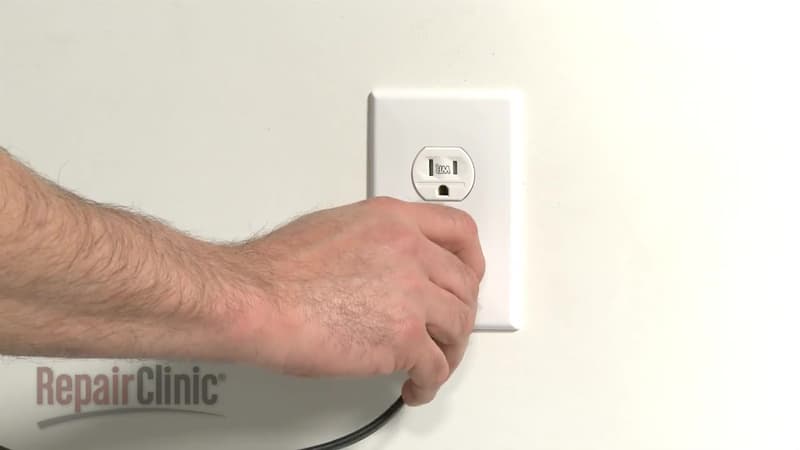
Restore Power and Test
Plug the washing machine's power cord back into the electrical outlet. Test the washer to ensure the lid switch is functioning correctly; the spin cycle should now engage when the lid is closed.
Related Articles & Videos



Lid Switch Assembly Customer Reviews
Common Problems Fixed by the Lid Switch Assembly
Based on customer reports and repair data, this part commonly fixes these issues:
About the Lid Switch Assembly
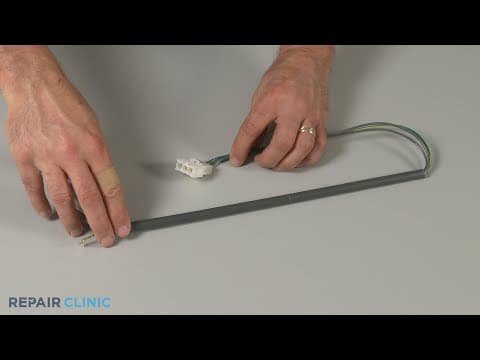
The lid switch assembly prevents the washer from spinning when the lid is open. If the lid switch assembly fails, the washer will not spin. To determine if the lid switch assembly is defective, use a multimeter to test the lid switch for continuity. If the lid switch does not have continuity, replace it.
Repair Help by Brands and Product Type
Alternative Part Number(s)




Family-owned and operated since 1912, Burke America Parts Group is the longest-running genuine appliance, HVAC, and outdoor power equipment parts solution in North America. At Repair Clinic, we're proud to be an international brand trusted by the pros as well as the DIY community.
About Repair Clinic