


 Price Match Guarantee
Humidifier Gasket & Seal Parts




Filter paper end seal kit


Humidifier Gasket and Seal Parts
Humidifier gaskets and seals prevent water leaks at connection points, tank joints, and valve openings. When you spot water pooling around the base, dripping from fittings, or moisture escaping where the water panel meets the housing, a worn or cracked gasket is almost always the culprit. These rubber or foam seals compress over time and lose their water-tight grip — replacing them is a straightforward fix that keeps your whole-home humidifier running without damage to your furnace or walls.
Gasket and seal kits are available for Aprilaire, and other major humidifier brands. Measure your tank opening diameter and connection points, or enter your model number to find the exact seal your unit needs. Most kits include multiple gasket sizes for different ports and tank connections.
- Water dripping from tank connections or solenoid valve fittings: gasket compressed or cracked; replacement restores seal
- Moisture pooling under the humidifier unit: tank-to-housing gasket failure; water escaping the intended path
- Slow water leak during operation: distribution tray gasket or drain fitting seal worn; replace as preventative maintenance
- Humidifier won't hold water in the tank: inlet valve gasket failed; water drains immediately after fill cycle
- Visible cracks or splits in rubber seals when you open the unit: age and UV exposure; replacement part restores performance
Find humidifier gasket and seal parts by entering your model number above. Exact OEM gaskets maintain proper compression and water resistance — generic seals often fail prematurely.
Humidifier Gasket & Seal Replacement FAQs
How do I know if my humidifier gasket is failing?
Water pooling beneath the unit, dripping from connection points, or moisture around the solenoid valve are the clearest signs. You may also notice the humidifier running but water not reaching the evaporator pad — that suggests an inlet valve gasket failure. Open the access panel and inspect rubber seals visually; compression cracks or splits mean replacement time.
What's the difference between a humidifier gasket and a water panel seal?
Gaskets seal tank connections, valve ports, and housing joints against water leaks. Water panel seals (or frame seals) are the rubber strips that surround the evaporator pad itself, keeping moisture flowing through the pad instead of bypassing it. Both are replaceable maintenance items — gaskets typically last 3 to 5 years, water panels 1 to 2 seasons depending on water hardness and humidity demand.
Can I use a generic gasket instead of the OEM part?
OEM gaskets are engineered for your specific humidifier model — they account for tank diameter, valve type, and operating pressure. Generic seals often compress unevenly or fail to seal properly, leading to leaks that can damage your furnace. Always use the OEM gasket for your brand and model number.
How do I replace a humidifier gasket?
Shut off the water supply and power to the humidifier. Remove the inlet water line and drain any standing water. Most gaskets are held by a single compression fitting or clip — unscrew or unclip the old gasket, clean the sealing surface, and press the new gasket firmly into place. Tighten fittings snugly but do not overtighten (finger-tight plus a quarter turn). Restore power and water, then monitor for leaks over the next 24 hours.
Shop Humidifier Gasket & Seal Replacement Online
Ensure your humidifier functions optimally with high-quality gasket and seal replacement parts. Whether you're a homeowner or a professional technician, finding and ordering the right parts. Use your model number to get the right part. Online platforms provide a variety of humidifier parts, accessories, and replacement options, including gaskets for different models. Enjoy the convenience of same-day shipping, ensuring your DIY or professional repair projects proceed without delay. Utilize model or part number lookups to quickly pinpoint exactly what you need, backed by a no-hassle 365-day return policy and our price match offer. Common humidifier issues like leaks or poor seals can easily be solved by replacing faulty gaskets, ensuring efficiency and performance. Visit Humidifier Gasket Parts for compatible parts to suit your repair needs.
Find more about fixing your humidifier with our extensive Humidifier Repair Help section.
Model Number Basics for Humidifier Owners
Check the side or back of your humidifier cabinet for a rating label showing the model number, serial number, and electrical information. On some whole-home humidifiers, the label is inside the access panel or near the water panel, so switch off power and open the cover if you do not see it outside. Record the complete model number, including letters, numbers, and any dashes or suffixes. Type it into our model number lookup and the catalog narrows to parts made for your unit. This filters the full humidifier parts selection, including gaskets, seals, valves, and other associated parts, to your specific model. You spend less time comparing dimensions and more time making an accurate repair.

Humidifier Repair Made Easier with Online Resources
The right online resources take the guesswork out of a Humidifier repair. Repair Clinic's diagnostic articles, part testing videos, exploded-view diagrams, and step-by-step written repair guides walk owners and technicians through each stage from symptom identification to final reassembly. Look up your model number to confirm the correct OEM part before you order.
Related Articles: Humidifier Repair
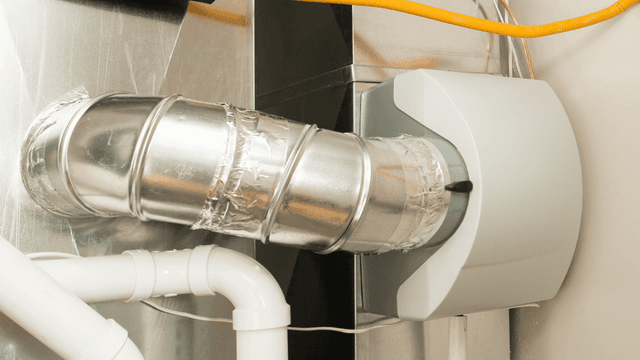
How To Fix A Leaky Humidifier
Find out five common reasons why your furnace mounted humidifier is leaking and what to check such as a clogged drain hose obstructed drain pan evaporator pad buildup damaged water distribution tray or cracked water line.
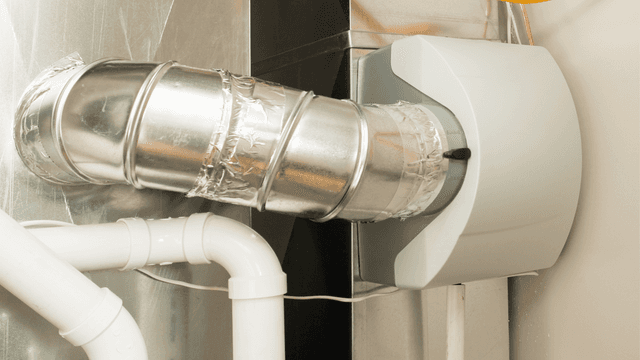
Humidifier Not Getting Water? Top 4 Reasons Why
Find the top four reasons why your furnace-mounted humidifier is not getting water and how to check issues like a clogged saddle valve, float assembly, water inlet valve, or supply line.
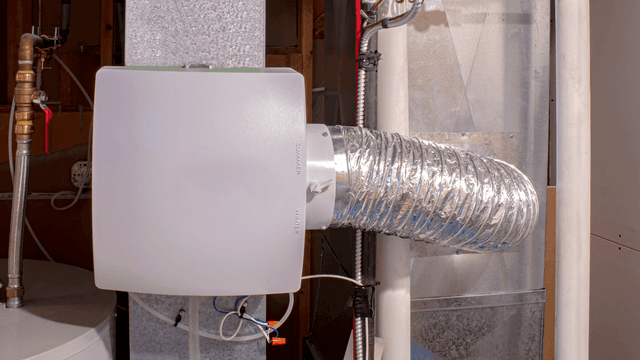
Two Simple Ways To Stop Your Humidifier From Overflowing
Learn two simple ways to stop your furnace-mounted humidifier from overflowing by clearing or straightening the drain hose and cleaning out the drain pan.




Family-owned and operated since 1912, Burke America Parts Group is the longest-running genuine appliance, HVAC, and outdoor power equipment parts solution in North America. At Repair Clinic, we're proud to be an international brand trusted by the pros as well as the DIY community.
About Repair Clinic