

Price Match Guarantee

In-stock parts ship the same day

365-Day Return Policy
Price Match GuaranteeGET PRO PRICING
Video & Articles: Appliance & Equipment RepairHow To Use A Chipper Shredder Impeller Removal Tool (753-0900)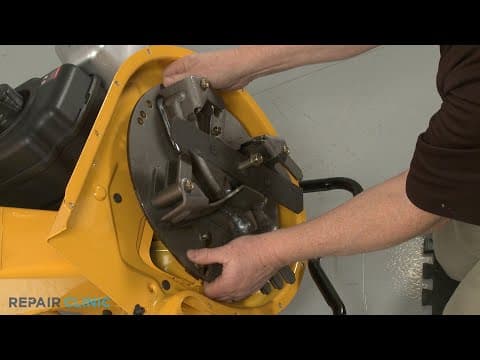
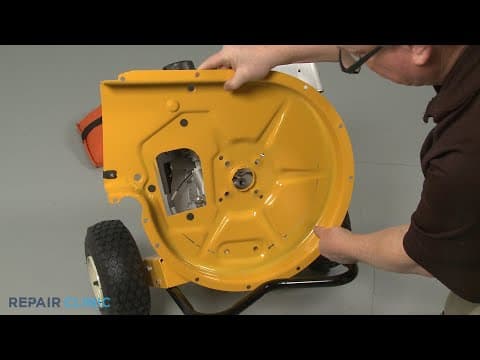
How To Use A Chipper Shredder Impeller Removal Tool (753-0900)
09:54
- Description
This video provides step-by-step instructions for using the impeller removal tool on a Cub Cadet Chipper Shredder.
All of the information in this video is applicable to the following brands: Cub Cadet
All of the information in this video is applicable to the following brands: Cub Cadet
Step By Step Instructions
1
Cub Cadet Chipper Shredder - 24A424M710
2
How to use a chipper shredder impeller removal tool
3
"Sharp, Spill, Hot, Heavy"
4
"You will need the impeller removal tool, a half-inch wrench and socket, needle-nose pliers, a small flat-head screwdriver, a 9/16th inch six-point socket, a 5/8th inch socket, a torque wrench, and a 2x4 wood support"
5
Use the half-inch wrench to unthread the nuts securing the hopper assembly support plate
6
"Using the half-inch socket, unthread the six mounting nuts securing the front of the hopper assembly"
7
Heavy
8
Tilt the hopper assembly back and lift up to fully detach the assembly from the bolts
9
Remove the shredder plate
10
Unthread the two retaining knob screws that secure the bottom of the discharge chute
11
Use the 7/16th inch wrench to secure the mounting bolt and the 7/16th inch socket to fully unthread the nut
12
"Slide out the bolt, detach the chute, and remove the two spacers"
13
Pull out the cotter pin then the screen pin using needle-nose pliers
14
"Use the half-inch socket, the small flat-head screwdriver, and the pliers to remove the upper mounting screws securing the outer flail housing"
15
Sharp
16
"Using the half-inch socket and the half-inch wrench, remove the 10 remaining nuts and bolts"
17
Fully detach the outer flail housing and set the shredder screen aside
18
Use the 2x4 to prevent the impeller from rotating
19
Sharp
20
Use the 9/16th inch six-point socket and the half-inch driver to unthread the center mounting bolt securing the shredder blade and impeller
21
Remove the 2x4
22
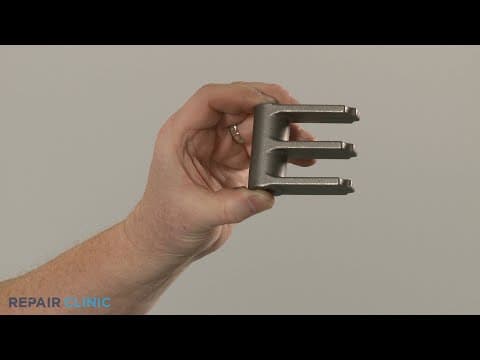
Use the 5/8th inch socket to thread the impeller removal tool into the center bolt screw hole--this will detach the impeller
23
Unthread the impeller removal tool to reinstall the impeller
24
"Alight the assembly on the motor shaft, secure it with the 2x4, and rethread the center mounting bolt "
25
Use the 9/16th inch six-point socket on a torque wrench to torque the center bolt to 50 foot pounds
26
Remove the 2x4 and position the shredder screen mounting post in the hole in the inner flair housing then realign the outer housing
27
Thread and tighten the 10 nuts and bolts
28
Rethread the two upper mounting screws using the speed clips
29
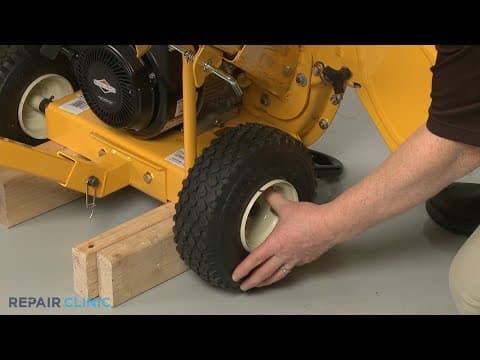
Remove the weight and return the model to its upright position
30
Reinsert the shredder screen pin and cotter pin
31
Realign the discharge chute on the impeller housing and insert the spacers
32
"Fully position the chute, then thread and tighten the retaining knob screws"
33
Realign the hopper assembly by aligning the support plate on the two upper mounting bolts first then rotate the assembly to align it on the impeller housing bolts
Description
This video provides step-by-step instructions for using the impeller removal tool on a Cub Cadet Chipper Shredder.
All of the information in this video is applicable to the following brands: Cub Cadet
All of the information in this video is applicable to the following brands: Cub Cadet
Step-By-Step Instructions
1
Cub Cadet Chipper Shredder - 24A424M710
2
How to use a chipper shredder impeller removal tool
3
"Sharp, Spill, Hot, Heavy"
4
"You will need the impeller removal tool, a half-inch wrench and socket, needle-nose pliers, a small flat-head screwdriver, a 9/16th inch six-point socket, a 5/8th inch socket, a torque wrench, and a 2x4 wood support"
5
Use the half-inch wrench to unthread the nuts securing the hopper assembly support plate
6
"Using the half-inch socket, unthread the six mounting nuts securing the front of the hopper assembly"
7
Heavy
8
Tilt the hopper assembly back and lift up to fully detach the assembly from the bolts
9
Remove the shredder plate
10
Unthread the two retaining knob screws that secure the bottom of the discharge chute
11
Use the 7/16th inch wrench to secure the mounting bolt and the 7/16th inch socket to fully unthread the nut
12
"Slide out the bolt, detach the chute, and remove the two spacers"
13
Pull out the cotter pin then the screen pin using needle-nose pliers
14
"Use the half-inch socket, the small flat-head screwdriver, and the pliers to remove the upper mounting screws securing the outer flail housing"
15
Sharp
16
"Using the half-inch socket and the half-inch wrench, remove the 10 remaining nuts and bolts"
17
Fully detach the outer flail housing and set the shredder screen aside
18
Use the 2x4 to prevent the impeller from rotating
19
Sharp
20
Use the 9/16th inch six-point socket and the half-inch driver to unthread the center mounting bolt securing the shredder blade and impeller
21
Remove the 2x4
22
Use the 5/8th inch socket to thread the impeller removal tool into the center bolt screw hole--this will detach the impeller
23
Unthread the impeller removal tool to reinstall the impeller
24
"Alight the assembly on the motor shaft, secure it with the 2x4, and rethread the center mounting bolt "
25
Use the 9/16th inch six-point socket on a torque wrench to torque the center bolt to 50 foot pounds
26
Remove the 2x4 and position the shredder screen mounting post in the hole in the inner flair housing then realign the outer housing
27
Thread and tighten the 10 nuts and bolts
28
Rethread the two upper mounting screws using the speed clips
29
Remove the weight and return the model to its upright position
30
Reinsert the shredder screen pin and cotter pin
31
Realign the discharge chute on the impeller housing and insert the spacers
32
"Fully position the chute, then thread and tighten the retaining knob screws"
33
Realign the hopper assembly by aligning the support plate on the two upper mounting bolts first then rotate the assembly to align it on the impeller housing bolts
Related Articles & Videos
09:46
Part Replacement
Cub Cadet Chipper Shredder Impeller Assembly Replacement (981-04094)
14:48
Part Replacement
Cub Cadet Chipper Shredder Inner Flail Housing Replacement (681050634021)




Our Story
Family-owned and operated since 1912, Burke America Parts Group is the longest-running genuine appliance, HVAC, and outdoor power equipment parts solution in North America. At Repair Clinic, we're proud to be an international brand trusted by the pros as well as the DIY community.
About Repair Clinic
© 2026 RepairClinic.com