

Price Match Guarantee

In-stock parts ship the same day

365-Day Return Policy
Price Match GuaranteeGET PRO PRICING
Video & Articles: Appliance & Equipment RepairWhirlpool Refrigerator Door Gasket Replacement #2159081

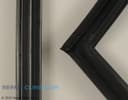
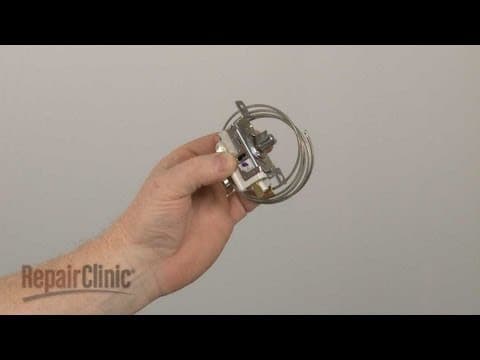
Whirlpool Refrigerator Door Gasket Replacement #2159081
Skill Level
Total Parts Cost
$173.95Estimated Savings
$112.5001:22
- Description
This video provides step-by-step repair instructions for replacing the door gasket on a Whirlpool refrigerator. The most common reasons for replacing the fridge door gasket are when it is torn or worn-out.
All of the information for this door gasket replacement video is applicable to the following brands:
Whirlpool, Kenmore, KitchenAid, Maytag, Crosley, Inglis
Tools needed: putty knife, hair dryer
All of the information for this door gasket replacement video is applicable to the following brands:
Whirlpool, Kenmore, KitchenAid, Maytag, Crosley, Inglis
Tools needed: putty knife, hair dryer
Step By Step Instructions
1
To replace the door gasket on your refrigerator first pull the old door gasket out from behind the door liner and remove it from the door.
2
Now use a putty knife to remove any excess foam from behind the liner – be careful not to insert the putty knife too far behind the liner.
3
You’re now ready to install the new door gasket.
4
Starting at the top, insert the lip of the gasket behind the door liner and snap it into place.
5
Continue along the sides and bottom until the gasket is fully installed.
6
Check to see if the gasket sets flush against the cabinet frame.
7
If not, you can use a hair dryer set on low to make the gasket more pliable so it will seal properly.
Description
This video provides step-by-step repair instructions for replacing the door gasket on a Whirlpool refrigerator. The most common reasons for replacing the fridge door gasket are when it is torn or worn-out.
All of the information for this door gasket replacement video is applicable to the following brands:
Whirlpool, Kenmore, KitchenAid, Maytag, Crosley, Inglis
Tools needed: putty knife, hair dryer
All of the information for this door gasket replacement video is applicable to the following brands:
Whirlpool, Kenmore, KitchenAid, Maytag, Crosley, Inglis
Tools needed: putty knife, hair dryer
Step-By-Step Instructions
1
To replace the door gasket on your refrigerator first pull the old door gasket out from behind the door liner and remove it from the door.
2
Now use a putty knife to remove any excess foam from behind the liner – be careful not to insert the putty knife too far behind the liner.
3
You’re now ready to install the new door gasket.
4
Starting at the top, insert the lip of the gasket behind the door liner and snap it into place.
5
Continue along the sides and bottom until the gasket is fully installed.
6
Check to see if the gasket sets flush against the cabinet frame.
7
If not, you can use a hair dryer set on low to make the gasket more pliable so it will seal properly.
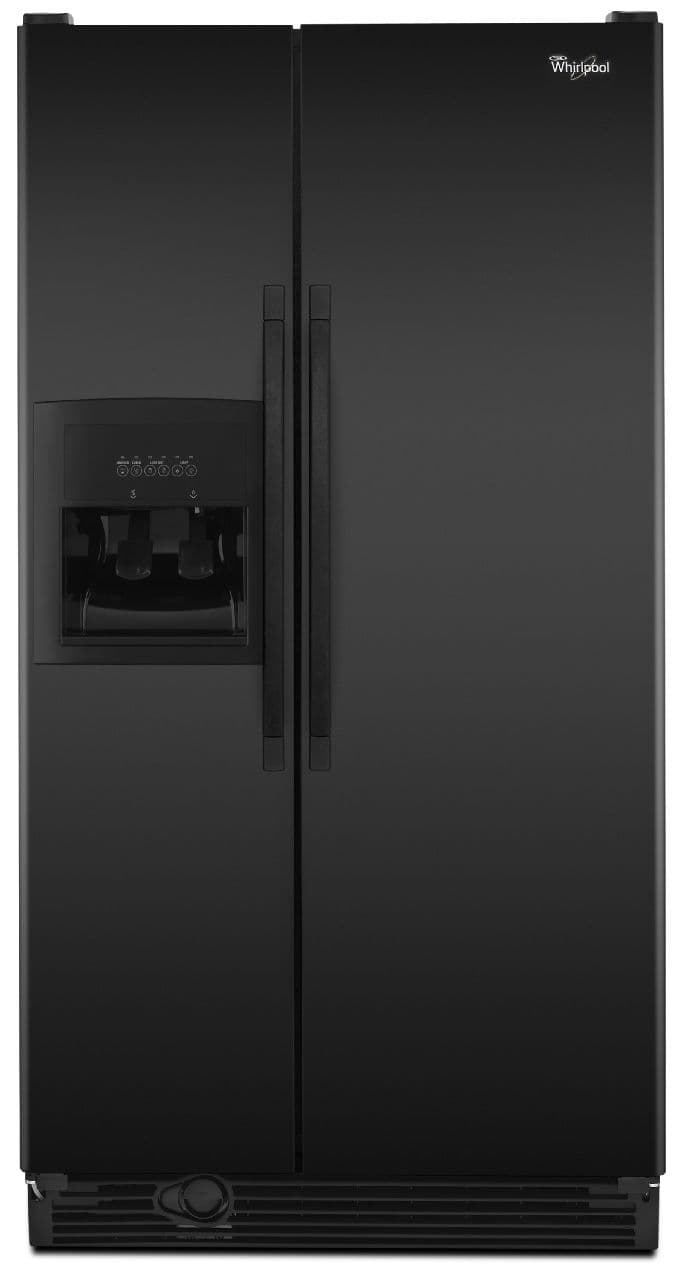
Applicable Product Model
Parts Needed
Door Gasket
$173.95
Total$0.00
Related Articles & Videos
04:55
Part Replacement
Whirlpool Refrigerator Freezing Food? Temperature Control #2198202




Our Story
Family-owned and operated since 1912, Burke America Parts Group is the longest-running genuine appliance, HVAC, and outdoor power equipment parts solution in North America. At Repair Clinic, we're proud to be an international brand trusted by the pros as well as the DIY community.
About Repair Clinic
© 2026 RepairClinic.com