

Price Match Guarantee

In-stock parts ship the same day

365-Day Return Policy
Price Match GuaranteeGET PRO PRICING
Video & Articles: Appliance & Equipment RepairWhirlpool Refrigerator Replace Water Dispenser Lever W10152859

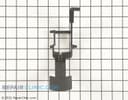
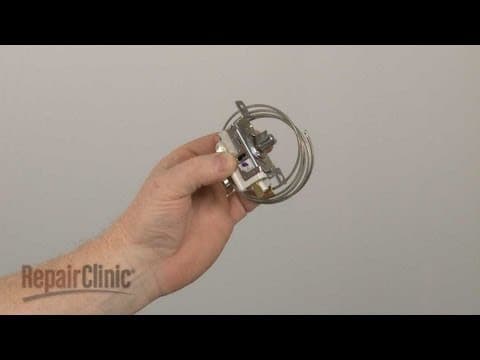
Whirlpool Refrigerator Replace Water Dispenser Lever W10152859
Skill Level
Total Parts Cost
$56.33Estimated Savings
$112.5002:50
- Description
This video provides step-by-step repair instructions for replacing the water dispenser lever (or water dispenser arm) on a Whirlpool refrigerator. The most common reason for replacing the water dispenser lever is when the water dispenser isn’t working.
All of the information for this water dispenser arm replacement video is applicable to the following brands:
Whirlpool, Kenmore, KitchenAid, Amana, Maytag, Ikea
Tools needed: putty knife, multi screwdriver
All of the information for this water dispenser arm replacement video is applicable to the following brands:
Whirlpool, Kenmore, KitchenAid, Amana, Maytag, Ikea
Tools needed: putty knife, multi screwdriver
Step By Step Instructions
1
As with any repair, you should unplug the power cord before beginning.
2
To replace the water dispenser arm in the freezer door first pull out the drip tray.
3
Now insert a putty knife behind the bottom of the dispenser façade and push the façade down while using the putty knife to pull the façade outward.
4
Note the orientation of the dispenser panel switch wires then disconnect them from the switch.
5
Now remove the screw securing the light and switch housing.
6
Depress the tabs to release the housing and use tape to hold it out of the way.
7
Now remove the screw to release the strain relief and retainer.
8
If still intact, lift the old dispenser arm out.
9
You’re now ready to install the new water dispenser arm.
10
Position the arm over the water spout bracket and insert the right pin into the hole in the housing and the left pin into the slot.
11
Realign the strain relief and retainer on the pin.
12
Replace the screw to secure.
13
Remove the tape and snap the light and switch housing into position.
14
Secure it with the screw.
15
Reconnect the wires to the appropriate terminals on the switch.
16
Align the top of the dispenser façade on the top edge of the dispenser housing then snap it into position.
17
Replace the drip tray.
18
You’re now ready to plug the power cord back in and confirm that the new water dispenser arm works properly.
Description
This video provides step-by-step repair instructions for replacing the water dispenser lever (or water dispenser arm) on a Whirlpool refrigerator. The most common reason for replacing the water dispenser lever is when the water dispenser isn’t working.
All of the information for this water dispenser arm replacement video is applicable to the following brands:
Whirlpool, Kenmore, KitchenAid, Amana, Maytag, Ikea
Tools needed: putty knife, multi screwdriver
All of the information for this water dispenser arm replacement video is applicable to the following brands:
Whirlpool, Kenmore, KitchenAid, Amana, Maytag, Ikea
Tools needed: putty knife, multi screwdriver
Step-By-Step Instructions
1
As with any repair, you should unplug the power cord before beginning.
2
To replace the water dispenser arm in the freezer door first pull out the drip tray.
3
Now insert a putty knife behind the bottom of the dispenser façade and push the façade down while using the putty knife to pull the façade outward.
4
Note the orientation of the dispenser panel switch wires then disconnect them from the switch.
5
Now remove the screw securing the light and switch housing.
6
Depress the tabs to release the housing and use tape to hold it out of the way.
7
Now remove the screw to release the strain relief and retainer.
8
If still intact, lift the old dispenser arm out.
9
You’re now ready to install the new water dispenser arm.
10
Position the arm over the water spout bracket and insert the right pin into the hole in the housing and the left pin into the slot.
11
Realign the strain relief and retainer on the pin.
12
Replace the screw to secure.
13
Remove the tape and snap the light and switch housing into position.
14
Secure it with the screw.
15
Reconnect the wires to the appropriate terminals on the switch.
16
Align the top of the dispenser façade on the top edge of the dispenser housing then snap it into position.
17
Replace the drip tray.
18
You’re now ready to plug the power cord back in and confirm that the new water dispenser arm works properly.
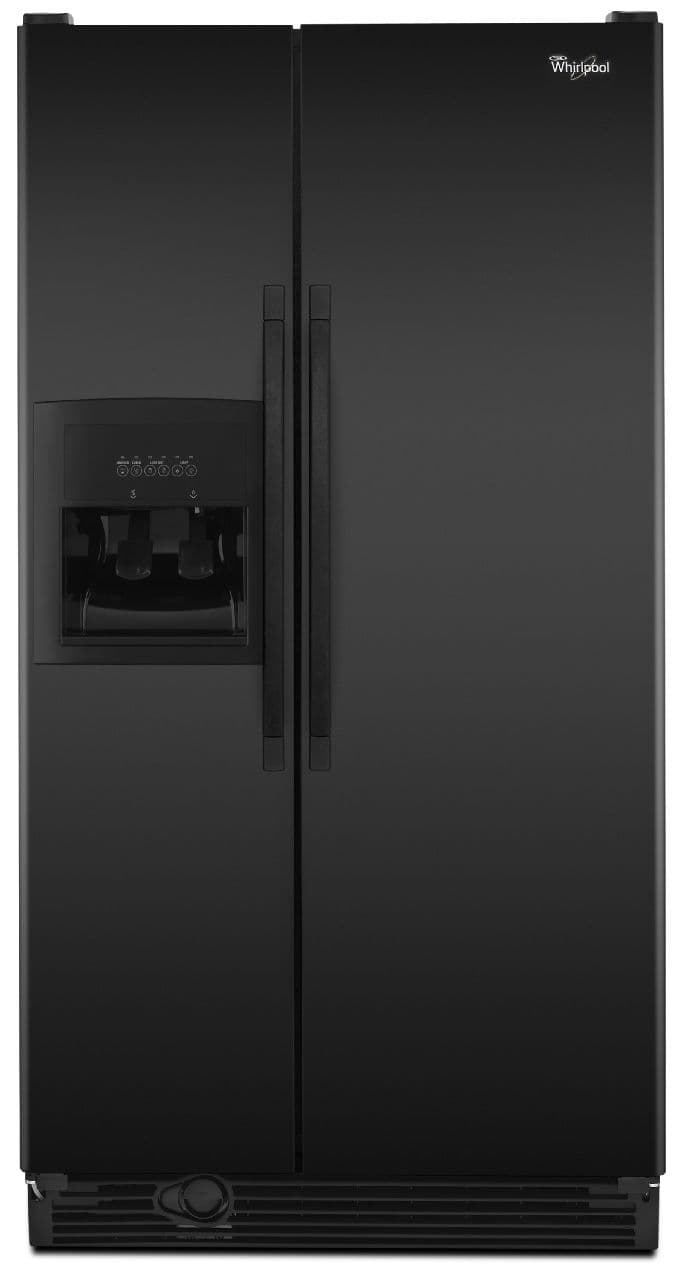
Applicable Product Model
Parts Needed
Lever
$56.33
Total$0.00
Related Articles & Videos
04:55
Part Replacement
Whirlpool Refrigerator Freezing Food? Temperature Control #2198202




Our Story
Family-owned and operated since 1912, Burke America Parts Group is the longest-running genuine appliance, HVAC, and outdoor power equipment parts solution in North America. At Repair Clinic, we're proud to be an international brand trusted by the pros as well as the DIY community.
About Repair Clinic
© 2026 RepairClinic.com