

Price Match Guarantee

In-stock parts ship the same day

365-Day Return Policy
Price Match GuaranteeGET PRO PRICING
Video & Articles: Appliance & Equipment RepairKohler Lawn Mower Small Engine Replace Oil Seal #1403207-S

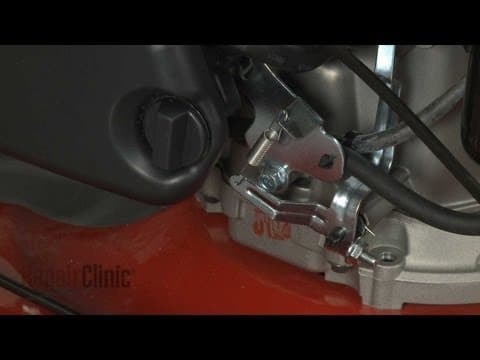
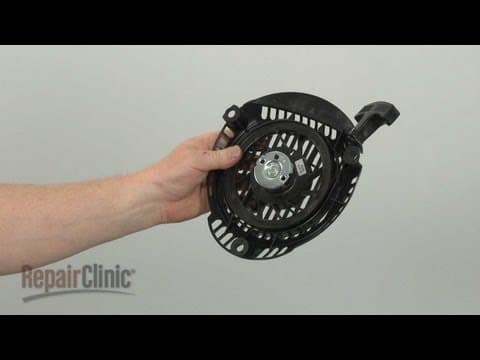
Kohler Lawn Mower Small Engine Replace Oil Seal #1403207-S
Skill Level
Total Parts Cost
$12.50Estimated Savings
$112.5002:56
- Description
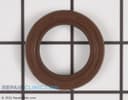
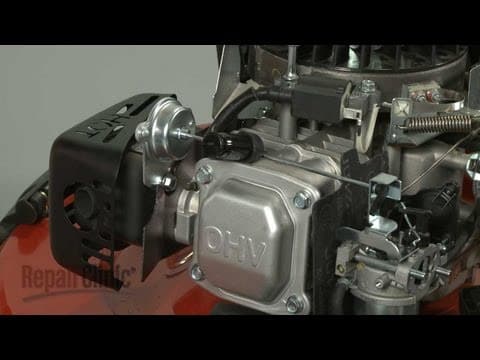
This video provides step-by-step instructions for replacing the oil seal on Kohler small engines. The most common reason for replacing the oil seal is when it is worn out, causing oil to leak out of the bottom of the engine.
All of the information in this oil seal replacement video is applicable to the following brands: Kohler
Tools used: ratchet and socket, awl, hammer, small screwdriver, torque wrench, multi screwdriver
All of the information in this oil seal replacement video is applicable to the following brands: Kohler
Tools used: ratchet and socket, awl, hammer, small screwdriver, torque wrench, multi screwdriver
Step By Step Instructions
1
Before you replace the crankcase oil seal first make sure the engine has cooled.
2
Next, you should remove the wire and boot from the spark plug to prevent the engine from accidentally starting.
3
We recommend performing this procedure with little or no oil in the engine.
4
Now carefully tip the mower on its side.
5
Be prepared for some fuel or oil to spill out.
6
Next, use a sturdy object to hold the blade in place then use a 5/8th inch socket to loosen and remove the cutting blade mounting bolt.
7
Pull off the blade support and the blade then slide off the blade driver and remove the belt from the drive pulley.
8
Move the belt out of the way and use an awl to puncture a small hole in the old crankcase oil seal.
9
Insert a screw into the hole and use it to help pry out the old seal.
10
Install the new crankcase oil seal by first applying some oil then slide it over the drive shaft and tap it into place with a hammer.
11
Reposition the belt and confirm that the washer is fully seated in the blade driver.
12
Slide on the blade driver and align the belt on the pulley.
13
Reposition the blade and support and rethread the mounting bolt.
14
Use the sturdy object to hold the blade in place then torque the bolt to manufacturer’s specifications.
15
Return the mower to its upright position.
16
Reattach the wire and boot to the spark plug.
17
Replace the oil and confirm that the engine runs properly.
Description
This video provides step-by-step instructions for replacing the oil seal on Kohler small engines. The most common reason for replacing the oil seal is when it is worn out, causing oil to leak out of the bottom of the engine.
All of the information in this oil seal replacement video is applicable to the following brands: Kohler
Tools used: ratchet and socket, awl, hammer, small screwdriver, torque wrench, multi screwdriver
All of the information in this oil seal replacement video is applicable to the following brands: Kohler
Tools used: ratchet and socket, awl, hammer, small screwdriver, torque wrench, multi screwdriver
Step-By-Step Instructions
1
Before you replace the crankcase oil seal first make sure the engine has cooled.
2
Next, you should remove the wire and boot from the spark plug to prevent the engine from accidentally starting.
3
We recommend performing this procedure with little or no oil in the engine.
4
Now carefully tip the mower on its side.
5
Be prepared for some fuel or oil to spill out.
6
Next, use a sturdy object to hold the blade in place then use a 5/8th inch socket to loosen and remove the cutting blade mounting bolt.
7
Pull off the blade support and the blade then slide off the blade driver and remove the belt from the drive pulley.
8
Move the belt out of the way and use an awl to puncture a small hole in the old crankcase oil seal.
9
Insert a screw into the hole and use it to help pry out the old seal.
10
Install the new crankcase oil seal by first applying some oil then slide it over the drive shaft and tap it into place with a hammer.
11
Reposition the belt and confirm that the washer is fully seated in the blade driver.
12
Slide on the blade driver and align the belt on the pulley.
13
Reposition the blade and support and rethread the mounting bolt.
14
Use the sturdy object to hold the blade in place then torque the bolt to manufacturer’s specifications.
15
Return the mower to its upright position.
16
Reattach the wire and boot to the spark plug.
17
Replace the oil and confirm that the engine runs properly.
Applicable Product Model
Parts Needed
Oil Seal
$12.50

Total$0.00
Related Articles & Videos




Our Story
Family-owned and operated since 1912, Burke America Parts Group is the longest-running genuine appliance, HVAC, and outdoor power equipment parts solution in North America. At Repair Clinic, we're proud to be an international brand trusted by the pros as well as the DIY community.
About Repair Clinic
© 2026 RepairClinic.com