

Price Match Guarantee

In-stock parts ship the same day

365-Day Return Policy
Price Match GuaranteeGET PRO PRICING
Video & Articles: Appliance & Equipment RepairToro Leaf Blower Won't Start? Replace Ignition Coil #290178008

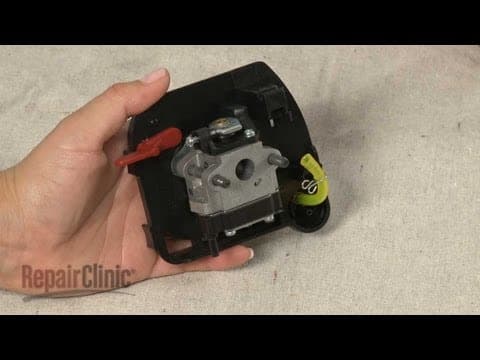
Toro Leaf Blower Won't Start? Replace Ignition Coil #290178008
Skill Level
Total Parts Cost
$28.83Estimated Savings
$112.5008:42
- Description
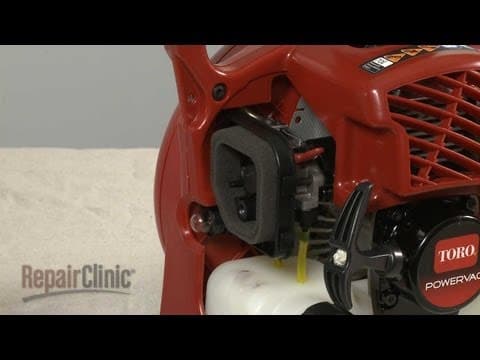
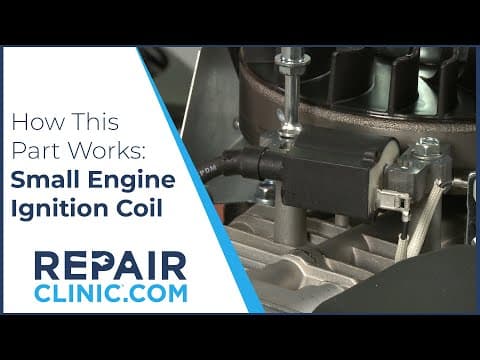
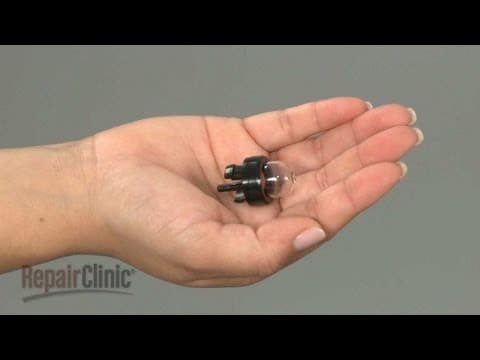
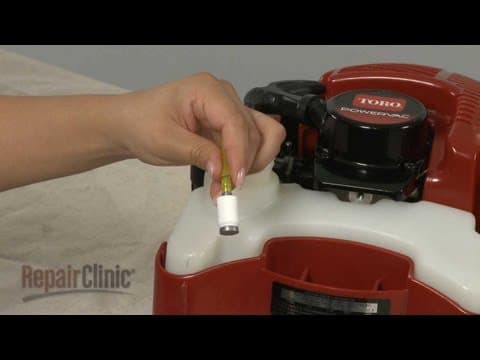
This video provides step-by-step repair instructions for replacing the ignition coil on a Toro leaf blower. The most common reason for replacing the ignition coil is when the leaf blower engine won’t start.
All of the information for this ignition coil replacement video is applicable to the following brands:
Ryobi, Toro, Black Max
Tools needed: T25 Torx screwdriver, spark plug wrench, rope, 13 mm socket, business card
All of the information for this ignition coil replacement video is applicable to the following brands:
Ryobi, Toro, Black Max
Tools needed: T25 Torx screwdriver, spark plug wrench, rope, 13 mm socket, business card
Step By Step Instructions
1
Before you replace the ignition coil on your leaf blower…
2
…first make sure the engine has cooled.
3
Next, remove the wire and boot from the spark plug.
4
Remove the blower tube if still attached.
5
Now rotate the air filter cover mounting screw counter-clockwise to release the cover.
6
Pull off the air filter.
7
Use a t-25 torx bit screwdriver to remove the screw to release the throttle cable retaining bracket.
8
Disconnect the throttle cable from the carburetor.
9
Next, remove the screws securing the engine shroud.
10
With the screws removed, pry off the shroud – this may require some effort.
11
Now remove the screws securing the fan housing.
12
Pull the housing off.
13
Use a socket or spark plug wrench to help unthread the spark plug.
14
Now confirm that the piston is in the “down” position.
15
Insert a cord into the cylinder to prevent the piston from moving.
16
Use a 13mm socket to remove the nut securing the mulching and fan blades.
17
Pull off both blades.
18
Remove the washer as well.
19
Remove the cord from the cylinder.
20
Next, remove the mounting screws securing the fuel tank.
21
Now unthread the mounting screws securing the engine.
22
Detach the on-off switch and wires and pull the engine assembly away from the blower handle housing.
23
Remove the ignition coil mounting screws…
24
…spacers and washers…and detach the old coil.
25
Prepare the new ignition coil for installation…
26
…by first transferring the on-off switch and wires from the old coil to the new one.
27
Transfer the wire retaining grommet as well.
28
Position the on-off switch grounding wire…insert the mounting screws…and slide on the spacers and washers.
29
Position the coil on the engine and thread the screws loosely.
30
Make sure the magnets on the flywheel are rotated out of the way, then pull the coil back and tighten the screws.
31
Insert a business card between the coil and flywheel then rotate the flywheel so the magnets align with the card.
32
Loosen the screws to align the coil the correct distance from the flywheel.
33
Re-tighten the screws…and remove the business card.
34
Now carefully reposition the engine assembly in the housing.
35
Thread the mounting screws loosely.
36
Postion the switch wires in the retaining grommet and secure the grommet in the notch in the housing.
37
Tighten the engine mounting screws.
38
Reposition the on-off switch and wires in the handle.
39
Replace the mounting screws to secure the fuel tank.
40
Confirm that the piston is in the “down” position and reinsert the cord into the cylinder.
41
Replace the washer on the crankshaft.
42
Now slide the fan blade onto the crankshaft followed by the mulching blade.
43
Thread and tighten the nut to secure.
44
Remove the cord from the cylinder.
45
Rethread the spark plug.
46
Be careful not to over tighten.
47
Realign the shroud.
48
Replace all of the screws.
49
Replace the fan housing…
50
…and secure it with the screws.
51
Reconnect the throttle cable to the carburetor.
52
Replace the retaining bracket…
53
…and secure it with the screw.
54
Replace the air filter by positioning it around the tabs on the filter housing.
55
Realign the cover…
56
…and rotate the mounting screw clockwise to secure.
57
Reattach the blower tube if needed.
58
Reattach the wire and boot to the spark plug…
59
…and your leaf blower should be ready for use.
Description
This video provides step-by-step repair instructions for replacing the ignition coil on a Toro leaf blower. The most common reason for replacing the ignition coil is when the leaf blower engine won’t start.
All of the information for this ignition coil replacement video is applicable to the following brands:
Ryobi, Toro, Black Max
Tools needed: T25 Torx screwdriver, spark plug wrench, rope, 13 mm socket, business card
All of the information for this ignition coil replacement video is applicable to the following brands:
Ryobi, Toro, Black Max
Tools needed: T25 Torx screwdriver, spark plug wrench, rope, 13 mm socket, business card
Step-By-Step Instructions
1
Before you replace the ignition coil on your leaf blower…
2
…first make sure the engine has cooled.
3
Next, remove the wire and boot from the spark plug.
4
Remove the blower tube if still attached.
5
Now rotate the air filter cover mounting screw counter-clockwise to release the cover.
6
Pull off the air filter.
7
Use a t-25 torx bit screwdriver to remove the screw to release the throttle cable retaining bracket.
8
Disconnect the throttle cable from the carburetor.
9
Next, remove the screws securing the engine shroud.
10
With the screws removed, pry off the shroud – this may require some effort.
11
Now remove the screws securing the fan housing.
12
Pull the housing off.
13
Use a socket or spark plug wrench to help unthread the spark plug.
14
Now confirm that the piston is in the “down” position.
15
Insert a cord into the cylinder to prevent the piston from moving.
16
Use a 13mm socket to remove the nut securing the mulching and fan blades.
17
Pull off both blades.
18
Remove the washer as well.
19
Remove the cord from the cylinder.
20
Next, remove the mounting screws securing the fuel tank.
21
Now unthread the mounting screws securing the engine.
22
Detach the on-off switch and wires and pull the engine assembly away from the blower handle housing.
23
Remove the ignition coil mounting screws…
24
…spacers and washers…and detach the old coil.
25
Prepare the new ignition coil for installation…
26
…by first transferring the on-off switch and wires from the old coil to the new one.
27
Transfer the wire retaining grommet as well.
28
Position the on-off switch grounding wire…insert the mounting screws…and slide on the spacers and washers.
29
Position the coil on the engine and thread the screws loosely.
30
Make sure the magnets on the flywheel are rotated out of the way, then pull the coil back and tighten the screws.
31
Insert a business card between the coil and flywheel then rotate the flywheel so the magnets align with the card.
32
Loosen the screws to align the coil the correct distance from the flywheel.
33
Re-tighten the screws…and remove the business card.
34
Now carefully reposition the engine assembly in the housing.
35
Thread the mounting screws loosely.
36
Postion the switch wires in the retaining grommet and secure the grommet in the notch in the housing.
37
Tighten the engine mounting screws.
38
Reposition the on-off switch and wires in the handle.
39
Replace the mounting screws to secure the fuel tank.
40
Confirm that the piston is in the “down” position and reinsert the cord into the cylinder.
41
Replace the washer on the crankshaft.
42
Now slide the fan blade onto the crankshaft followed by the mulching blade.
43
Thread and tighten the nut to secure.
44
Remove the cord from the cylinder.
45
Rethread the spark plug.
46
Be careful not to over tighten.
47
Realign the shroud.
48
Replace all of the screws.
49
Replace the fan housing…
50
…and secure it with the screws.
51
Reconnect the throttle cable to the carburetor.
52
Replace the retaining bracket…
53
…and secure it with the screw.
54
Replace the air filter by positioning it around the tabs on the filter housing.
55
Realign the cover…
56
…and rotate the mounting screw clockwise to secure.
57
Reattach the blower tube if needed.
58
Reattach the wire and boot to the spark plug…
59
…and your leaf blower should be ready for use.
Applicable Product Model



Total$0.00
Related Articles & Videos




Our Story
Family-owned and operated since 1912, Burke America Parts Group is the longest-running genuine appliance, HVAC, and outdoor power equipment parts solution in North America. At Repair Clinic, we're proud to be an international brand trusted by the pros as well as the DIY community.
About Repair Clinic
© 2026 RepairClinic.com