

Price Match Guarantee

In-stock parts ship the same day

365-Day Return Policy
Price Match GuaranteeGET PRO PRICING
Video & Articles: Appliance & Equipment RepairFrigidaire Affinity Washer Vibrates? Shock Absorber 5304485917

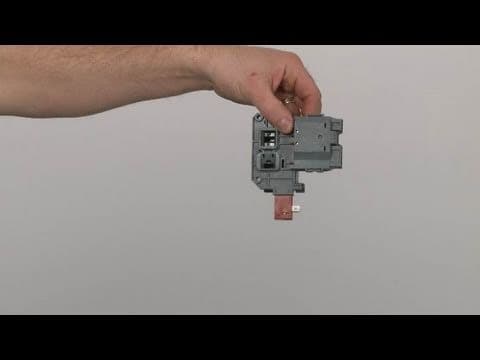
Frigidaire Affinity Washer Vibrates? Shock Absorber 5304485917
Skill Level
Total Parts Cost
$53.94Estimated Savings
$112.5004:24
- Description
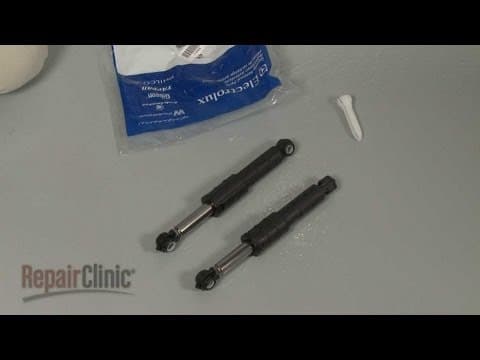
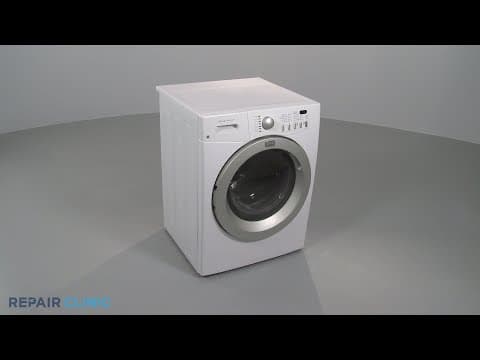
This video provides step-by-step repair instructions for replacing the shock absorber on a Frigidaire Affinity front-loading washing machine. The most common reason for replacing the shock absorber is when the washer is vibrating.
All of the information for this shock absorber replacement video is applicable to the following brands:
Frigidaire, Kenmore, Crosley, Gibson, Westinghouse, Electrolux
Tools needed: screwdriver, needle nose pliers, pliers
All of the information for this shock absorber replacement video is applicable to the following brands:
Frigidaire, Kenmore, Crosley, Gibson, Westinghouse, Electrolux
Tools needed: screwdriver, needle nose pliers, pliers
Step By Step Instructions
1
As with any repair, be sure you unplug the appliance before beginning.
2
Your first step is to remove the screws at the back of the top panel
3
Pull the panel off.
4
Next, pull out the dispenser drawer
5
Depress the tab near the back to release it.
6
Remove the housing screws
7
As well as the control panel screws on top.
8
Now, depress the tabs to release the control panel and move it out of the way.
9
Use needle-nose pliers to remove the wire clamp and spring to release the boot seal from the front panel.
10
Carefully left the washer up and support it with a wood block or comparable sturdy object.
11
This will allow you to remove the screws from the bottom of the front panel.
12
Set the wash back down
13
Remove the screws at the top of the panel.
14
Now lift the panel up and out to detach.
15
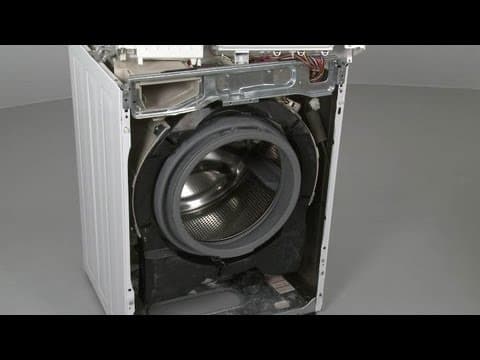
Disconnect the front panel wire harness and set the panel aside. You’re now ready to uninstall the old shock.
16
Be aware that if you are replacing the left shock, you will first need to move the motor control board out of the way.
17
Use a deep well 6-point half-inch socket to depress the tab to release the lower pin
18
Use pliers to help pull the pin out of the shock mount.
19
Repeat the procedure for the upper pin.
20
Now remove the old shock.
21
Install the new shock by positioning it into the tub mount
22
Snap the pin into place.
23
Repeat the procedure for the lower mount and pin.
24
If applicable, reposition the motor control board
25
Secure it with the screw.
26
Reconnect the front panel wire harness
27
Reposition the panel by aligning the holes in the panel with the nylon pins on the frame.
28
Replace the screws at the top of the panel.
29
Lift and support the washer
30
Then replace the screws at the bottom of the front panel.
31
Set the washer back down.
32
Realign the boot seal with the front panel
33
Secure it with the wire clamp and spring.
34
Reposition the control panel and snap it into place.
35
Replace the screws on top
36
As well as in the dispenser drawer housing.
37
Reinstall the dispenser drawer.
38
Reposition the top panel
39
Secure it with the screws.
40
You’re now ready to plug the appliance back in to make sure it’s functioning properly.
Description
This video provides step-by-step repair instructions for replacing the shock absorber on a Frigidaire Affinity front-loading washing machine. The most common reason for replacing the shock absorber is when the washer is vibrating.
All of the information for this shock absorber replacement video is applicable to the following brands:
Frigidaire, Kenmore, Crosley, Gibson, Westinghouse, Electrolux
Tools needed: screwdriver, needle nose pliers, pliers
All of the information for this shock absorber replacement video is applicable to the following brands:
Frigidaire, Kenmore, Crosley, Gibson, Westinghouse, Electrolux
Tools needed: screwdriver, needle nose pliers, pliers
Step-By-Step Instructions
1
As with any repair, be sure you unplug the appliance before beginning.
2
Your first step is to remove the screws at the back of the top panel
3
Pull the panel off.
4
Next, pull out the dispenser drawer
5
Depress the tab near the back to release it.
6
Remove the housing screws
7
As well as the control panel screws on top.
8
Now, depress the tabs to release the control panel and move it out of the way.
9
Use needle-nose pliers to remove the wire clamp and spring to release the boot seal from the front panel.
10
Carefully left the washer up and support it with a wood block or comparable sturdy object.
11
This will allow you to remove the screws from the bottom of the front panel.
12
Set the wash back down
13
Remove the screws at the top of the panel.
14
Now lift the panel up and out to detach.
15
Disconnect the front panel wire harness and set the panel aside. You’re now ready to uninstall the old shock.
16
Be aware that if you are replacing the left shock, you will first need to move the motor control board out of the way.
17
Use a deep well 6-point half-inch socket to depress the tab to release the lower pin
18
Use pliers to help pull the pin out of the shock mount.
19
Repeat the procedure for the upper pin.
20
Now remove the old shock.
21
Install the new shock by positioning it into the tub mount
22
Snap the pin into place.
23
Repeat the procedure for the lower mount and pin.
24
If applicable, reposition the motor control board
25
Secure it with the screw.
26
Reconnect the front panel wire harness
27
Reposition the panel by aligning the holes in the panel with the nylon pins on the frame.
28
Replace the screws at the top of the panel.
29
Lift and support the washer
30
Then replace the screws at the bottom of the front panel.
31
Set the washer back down.
32
Realign the boot seal with the front panel
33
Secure it with the wire clamp and spring.
34
Reposition the control panel and snap it into place.
35
Replace the screws on top
36
As well as in the dispenser drawer housing.
37
Reinstall the dispenser drawer.
38
Reposition the top panel
39
Secure it with the screws.
40
You’re now ready to plug the appliance back in to make sure it’s functioning properly.
Applicable Product Model
Related Articles & Videos




Our Story
Family-owned and operated since 1912, Burke America Parts Group is the longest-running genuine appliance, HVAC, and outdoor power equipment parts solution in North America. At Repair Clinic, we're proud to be an international brand trusted by the pros as well as the DIY community.
About Repair Clinic
© 2026 RepairClinic.com