

Price Match Guarantee

In-stock parts ship the same day

365-Day Return Policy
Price Match GuaranteeGET PRO PRICING
Video & Articles: Appliance & Equipment RepairKitchenaid Double Wall Oven Outer Door Glass Assembly (Stainless) Replacement #W10771242

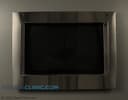
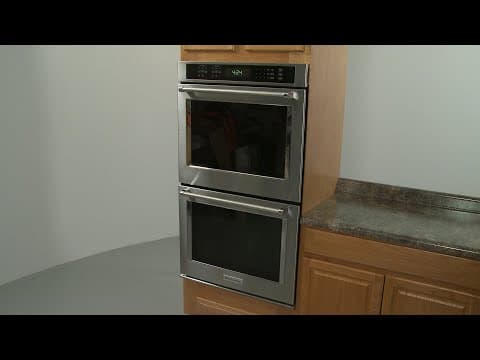
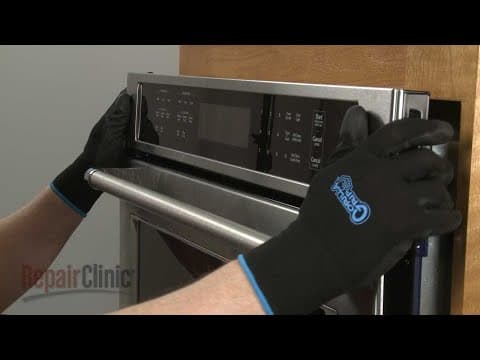
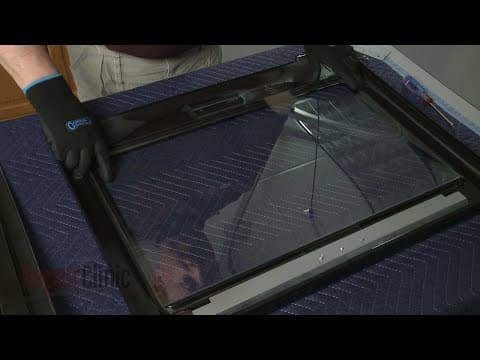
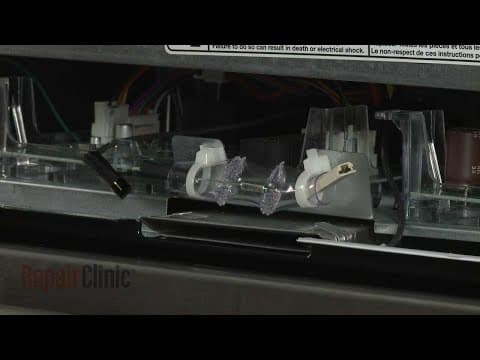
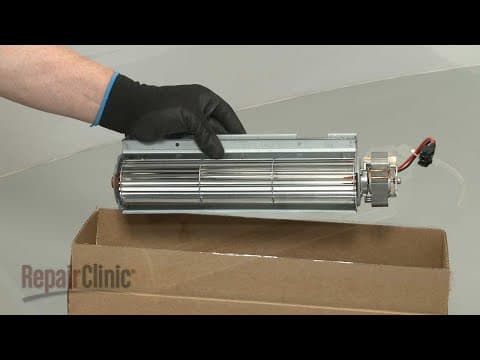
Kitchenaid Double Wall Oven Outer Door Glass Assembly (Stainless) Replacement #W10771242
Skill Level
Total Parts Cost
$605.60Estimated Savings
$112.5005:16
- Description
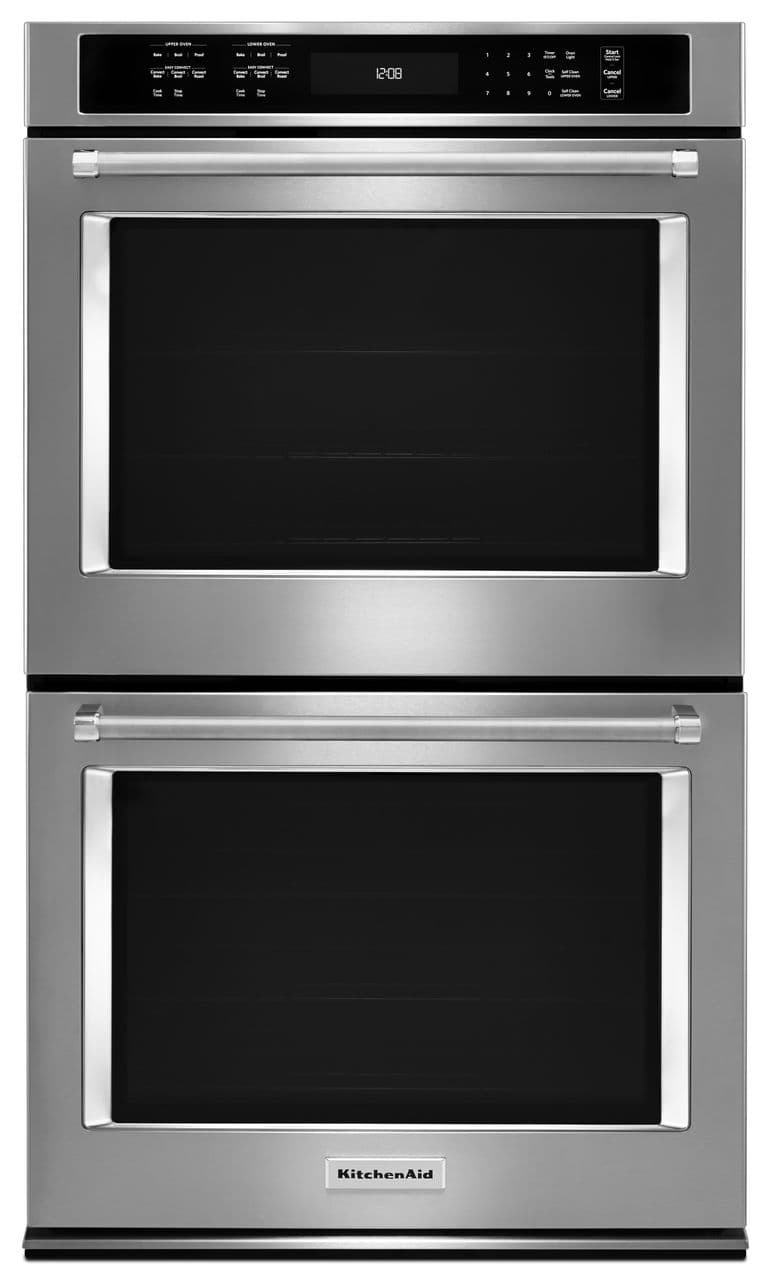
This video provides step-by-step repair instructions for replacing the outer door glass (stainless) on a Kitchenaid Double Wall Oven (model #KODE500ESS02). The most common reason for replacing the door glass is if it is damaged or dirty.
All of the information for this glass replacement video is applicable to the following brands:
Kitchenaid, Whirlpool
Tools used: Phillips-head screwdriver, 1/4" socket or nut driver
All of the information for this glass replacement video is applicable to the following brands:
Kitchenaid, Whirlpool
Tools used: Phillips-head screwdriver, 1/4" socket or nut driver
Step By Step Instructions
1
To replace an outer door glass assembly on your double wall oven,
2
Fully open the appropriate door and rotate both door hinge locks back.
3
Partially close the door, then lift and pull the door toward you to remove.
4
With the handle side down, set the door on a sturdy surface.
5
Using a Phillips head screwdriver, unthread the four screws securing the inner door frame to the outer door assembly.
6
With the screws removed, lift off the frame.
7
Lift out the window pack from the outer door assembly.
8
Now unthread the two screws securing the left door hinge, as well as the middle screws securing the lower window pack bracket.
9
With the screws removed, slide the hinge assembly out.
10
Repeat to remove the right-side door hinge and window bracket.
11
Detach the upper window pack brackets as well.
12
Next, unthread the two screws to release the door handle.
13
Prepare the new outer door glass assembly for installation by transferring the window pack retaining clips and sight rails from the old assembly to the new one.
14
Make sure the two holes in the rails are facing the top of the door.
15
Line up the door handle on the new outer door assembly, then thread and tighten the two screws to secure.
16
Insert both door hinge assemblies into the outer door frame.
17
Secure them with the screws.
18
Realign all of the window pack brackets, securing them with the screws.
19
Now position the window pack in the outer door assembly so the engraved up notations are visible.
20
Position the inner door frame on the new outer door assembly.
21
Thread and tighten the four screws to secure.
22
The short screws secure the bottom of the frame.
23
Reinstall the oven door by inserting the door hinges into the hinge slots at a 45-degree angle.
24
Lower the door to its fully open position, then rotate the hinge locks forward.
Description
This video provides step-by-step repair instructions for replacing the outer door glass (stainless) on a Kitchenaid Double Wall Oven (model #KODE500ESS02). The most common reason for replacing the door glass is if it is damaged or dirty.
All of the information for this glass replacement video is applicable to the following brands:
Kitchenaid, Whirlpool
Tools used: Phillips-head screwdriver, 1/4" socket or nut driver
All of the information for this glass replacement video is applicable to the following brands:
Kitchenaid, Whirlpool
Tools used: Phillips-head screwdriver, 1/4" socket or nut driver
Step-By-Step Instructions
1
To replace an outer door glass assembly on your double wall oven,
2
Fully open the appropriate door and rotate both door hinge locks back.
3
Partially close the door, then lift and pull the door toward you to remove.
4
With the handle side down, set the door on a sturdy surface.
5
Using a Phillips head screwdriver, unthread the four screws securing the inner door frame to the outer door assembly.
6
With the screws removed, lift off the frame.
7
Lift out the window pack from the outer door assembly.
8
Now unthread the two screws securing the left door hinge, as well as the middle screws securing the lower window pack bracket.
9
With the screws removed, slide the hinge assembly out.
10
Repeat to remove the right-side door hinge and window bracket.
11
Detach the upper window pack brackets as well.
12
Next, unthread the two screws to release the door handle.
13
Prepare the new outer door glass assembly for installation by transferring the window pack retaining clips and sight rails from the old assembly to the new one.
14
Make sure the two holes in the rails are facing the top of the door.
15
Line up the door handle on the new outer door assembly, then thread and tighten the two screws to secure.
16
Insert both door hinge assemblies into the outer door frame.
17
Secure them with the screws.
18
Realign all of the window pack brackets, securing them with the screws.
19
Now position the window pack in the outer door assembly so the engraved up notations are visible.
20
Position the inner door frame on the new outer door assembly.
21
Thread and tighten the four screws to secure.
22
The short screws secure the bottom of the frame.
23
Reinstall the oven door by inserting the door hinges into the hinge slots at a 45-degree angle.
24
Lower the door to its fully open position, then rotate the hinge locks forward.
Applicable Product Model
Parts Needed
Outer Door Glass
$605.60
Total$0.00
Related Articles & Videos
03:31
Part Replacement
Kitchenaid Double Wall Oven Control Panel Assembly (Black) Replacement #W11087449
02:50
Part Replacement
Kitchenaid Double Wall Oven Inner Door Glass Replacement #W10827059
08:02
Part Replacement
Kitchenaid Double Wall Oven Cooling Fan Blower Replacement #W10861504




Our Story
Family-owned and operated since 1912, Burke America Parts Group is the longest-running genuine appliance, HVAC, and outdoor power equipment parts solution in North America. At Repair Clinic, we're proud to be an international brand trusted by the pros as well as the DIY community.
About Repair Clinic
© 2026 RepairClinic.com