

Price Match Guarantee

In-stock parts ship the same day

365-Day Return Policy
Price Match GuaranteeGET PRO PRICING
Video & Articles: Appliance & Equipment RepairKitchenaid Microwave Inner Door Panel Replacement #W10737653

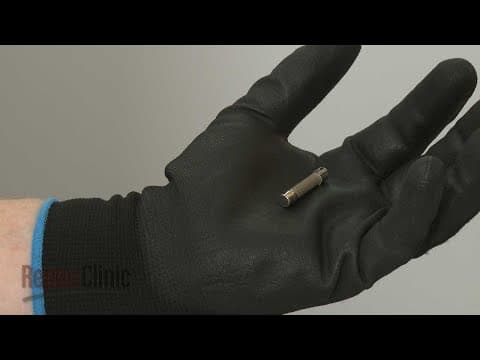
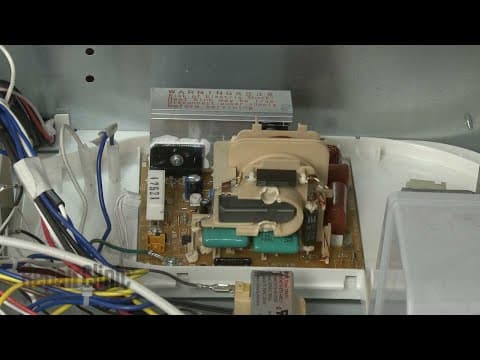
Kitchenaid Microwave Inner Door Panel Replacement #W10737653
Skill Level
Total Parts Cost
$194.77Estimated Savings
$112.5004:04
- Description
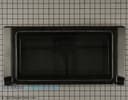
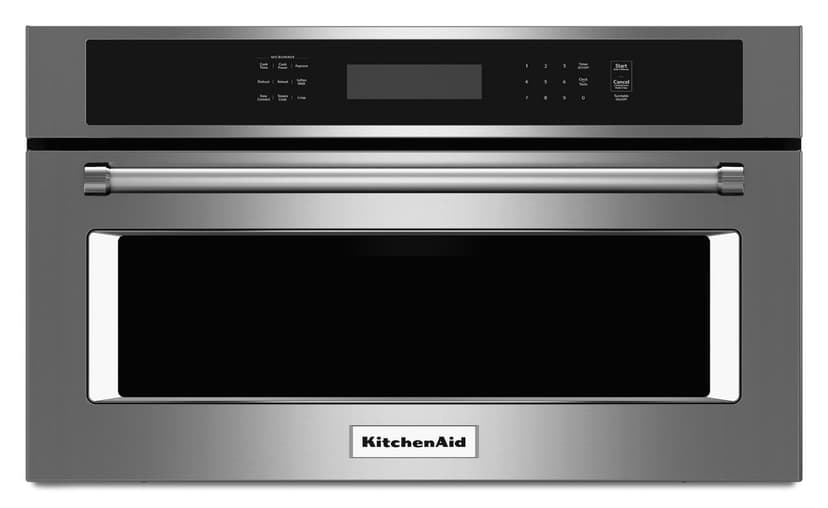
This video provides step-by-step repair instructions for replacing the inner door panel on a Kitchenaid microwave (Model #KMBP100ESS01). The most common reason for replacing the panel is if it is damaged.
All of the information for this door panel replacement video is applicable to the following brands:
Kitchenaid, Whirlpool
Tools used: multi-screwdriver
All of the information for this door panel replacement video is applicable to the following brands:
Kitchenaid, Whirlpool
Tools used: multi-screwdriver
Step By Step Instructions
1
Microwave Oven -Model KMBP100ESS01
2
KitchenAid Built-In Microwave Oven Inner Door Panel Replacement
3
ATTENTION: TOOLS & ASSISTANCE NEEDED:
4
"Step 1: You will need a Phillips-head screwdriver, a flat-head screwdriver, a paper clip, T-20 Torx bit, and 1/8th drill bit and drill. "
5
"Step 2: Before you begin, be sure to turn off the power supply to the oven junction box. "
6
Step 3: Open the oven door and use a 1/8th inch bit to drill out the rivet securing the sliding arm to the door.
7
Step 4: We recommend inserting a paper clip through the hole in the sliding arm to prevent it from sliding back through the frame.
8
Step 5: Now insert a flat-head screwdriver into each door hinge to hold the hinges in place.
9
Step 6: Use a T-20 Torx bit to unthread the two screws securing the door to the hinges.
10
Step 7: Slide the door off the hinges and set it on a sturdy surgace with the handle side down.
11
Step 8: Use a small flat-head screwdriver to help remove the two screw hole plugs.
12
Step 9: Use a Phillips-head screwdriver to help remove the two screw hole plugs.
13
Step 10: Lift off the old panel and set it aside.
14
Step 11: Prepare the new inner door panel for installation by installing a new foam strip to the inside of the panel below the window.
15
"Step 12: Align the new inner door panel on the outer door assembly, slide it up, and thread the screws to secure. "
16
Step 13: Snap in the screw hole plugs.
17
Step 14: Thread and tighten the screws to secure.
18
Step 15: Remove the screwdrivers as well as the paperclip from the sliding arm if applicable.
19
"Step 16: Align the sliding arm with the door anchor. If necessary, punch out the old rivet from the bushing. "
20
Step 17: Insert the bushing into the arm and secure with a new rivet.
21
Step 18: Turn on the power supply back on to the microwave.
22
Congrats! Your microwave oven is ready for use.
Description
This video provides step-by-step repair instructions for replacing the inner door panel on a Kitchenaid microwave (Model #KMBP100ESS01). The most common reason for replacing the panel is if it is damaged.
All of the information for this door panel replacement video is applicable to the following brands:
Kitchenaid, Whirlpool
Tools used: multi-screwdriver
All of the information for this door panel replacement video is applicable to the following brands:
Kitchenaid, Whirlpool
Tools used: multi-screwdriver
Step-By-Step Instructions
1
Microwave Oven -Model KMBP100ESS01
2
KitchenAid Built-In Microwave Oven Inner Door Panel Replacement
3
ATTENTION: TOOLS & ASSISTANCE NEEDED:
4
"Step 1: You will need a Phillips-head screwdriver, a flat-head screwdriver, a paper clip, T-20 Torx bit, and 1/8th drill bit and drill. "
5
"Step 2: Before you begin, be sure to turn off the power supply to the oven junction box. "
6
Step 3: Open the oven door and use a 1/8th inch bit to drill out the rivet securing the sliding arm to the door.
7
Step 4: We recommend inserting a paper clip through the hole in the sliding arm to prevent it from sliding back through the frame.
8
Step 5: Now insert a flat-head screwdriver into each door hinge to hold the hinges in place.
9
Step 6: Use a T-20 Torx bit to unthread the two screws securing the door to the hinges.
10
Step 7: Slide the door off the hinges and set it on a sturdy surgace with the handle side down.
11
Step 8: Use a small flat-head screwdriver to help remove the two screw hole plugs.
12
Step 9: Use a Phillips-head screwdriver to help remove the two screw hole plugs.
13
Step 10: Lift off the old panel and set it aside.
14
Step 11: Prepare the new inner door panel for installation by installing a new foam strip to the inside of the panel below the window.
15
"Step 12: Align the new inner door panel on the outer door assembly, slide it up, and thread the screws to secure. "
16
Step 13: Snap in the screw hole plugs.
17
Step 14: Thread and tighten the screws to secure.
18
Step 15: Remove the screwdrivers as well as the paperclip from the sliding arm if applicable.
19
"Step 16: Align the sliding arm with the door anchor. If necessary, punch out the old rivet from the bushing. "
20
Step 17: Insert the bushing into the arm and secure with a new rivet.
21
Step 18: Turn on the power supply back on to the microwave.
22
Congrats! Your microwave oven is ready for use.
Applicable Product Model
Parts Needed
Inner Door Panel
$194.77
Total$0.00
Related Articles & Videos




Our Story
Family-owned and operated since 1912, Burke America Parts Group is the longest-running genuine appliance, HVAC, and outdoor power equipment parts solution in North America. At Repair Clinic, we're proud to be an international brand trusted by the pros as well as the DIY community.
About Repair Clinic
© 2026 RepairClinic.com